BACK TO BLOG PAGE Tagged In

Easy Recipe

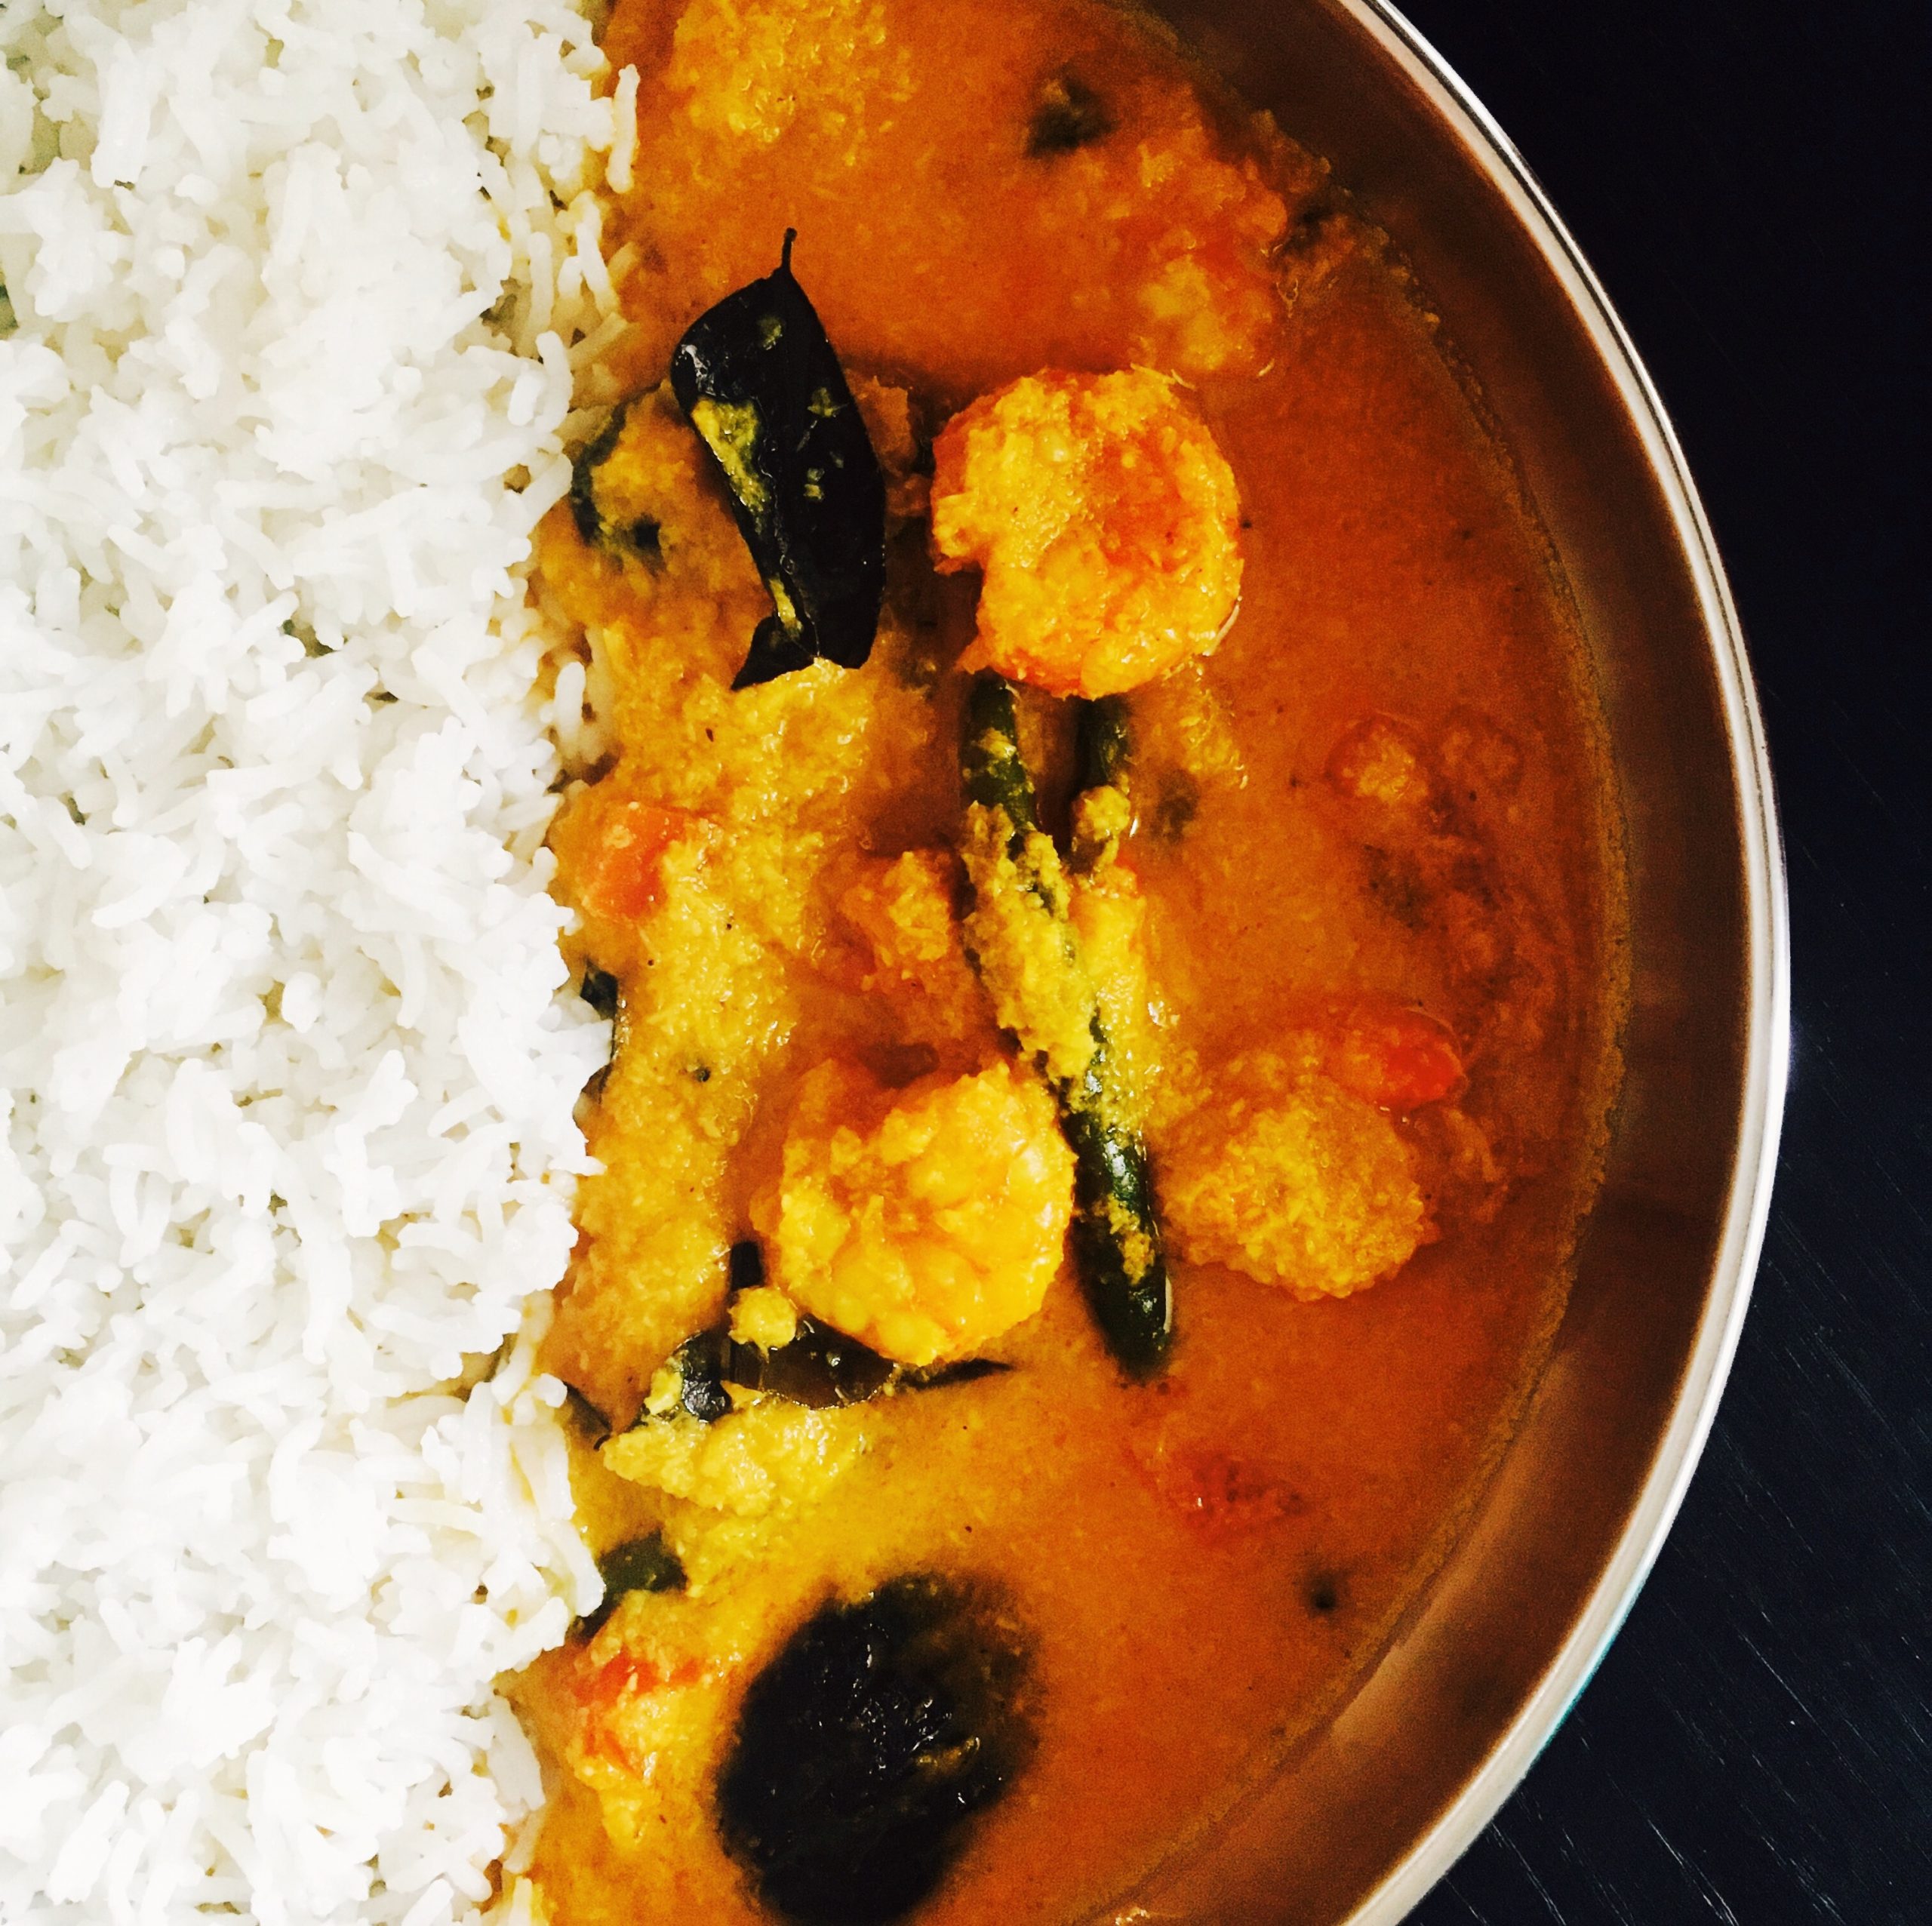
Coastal Style Prawn Curry
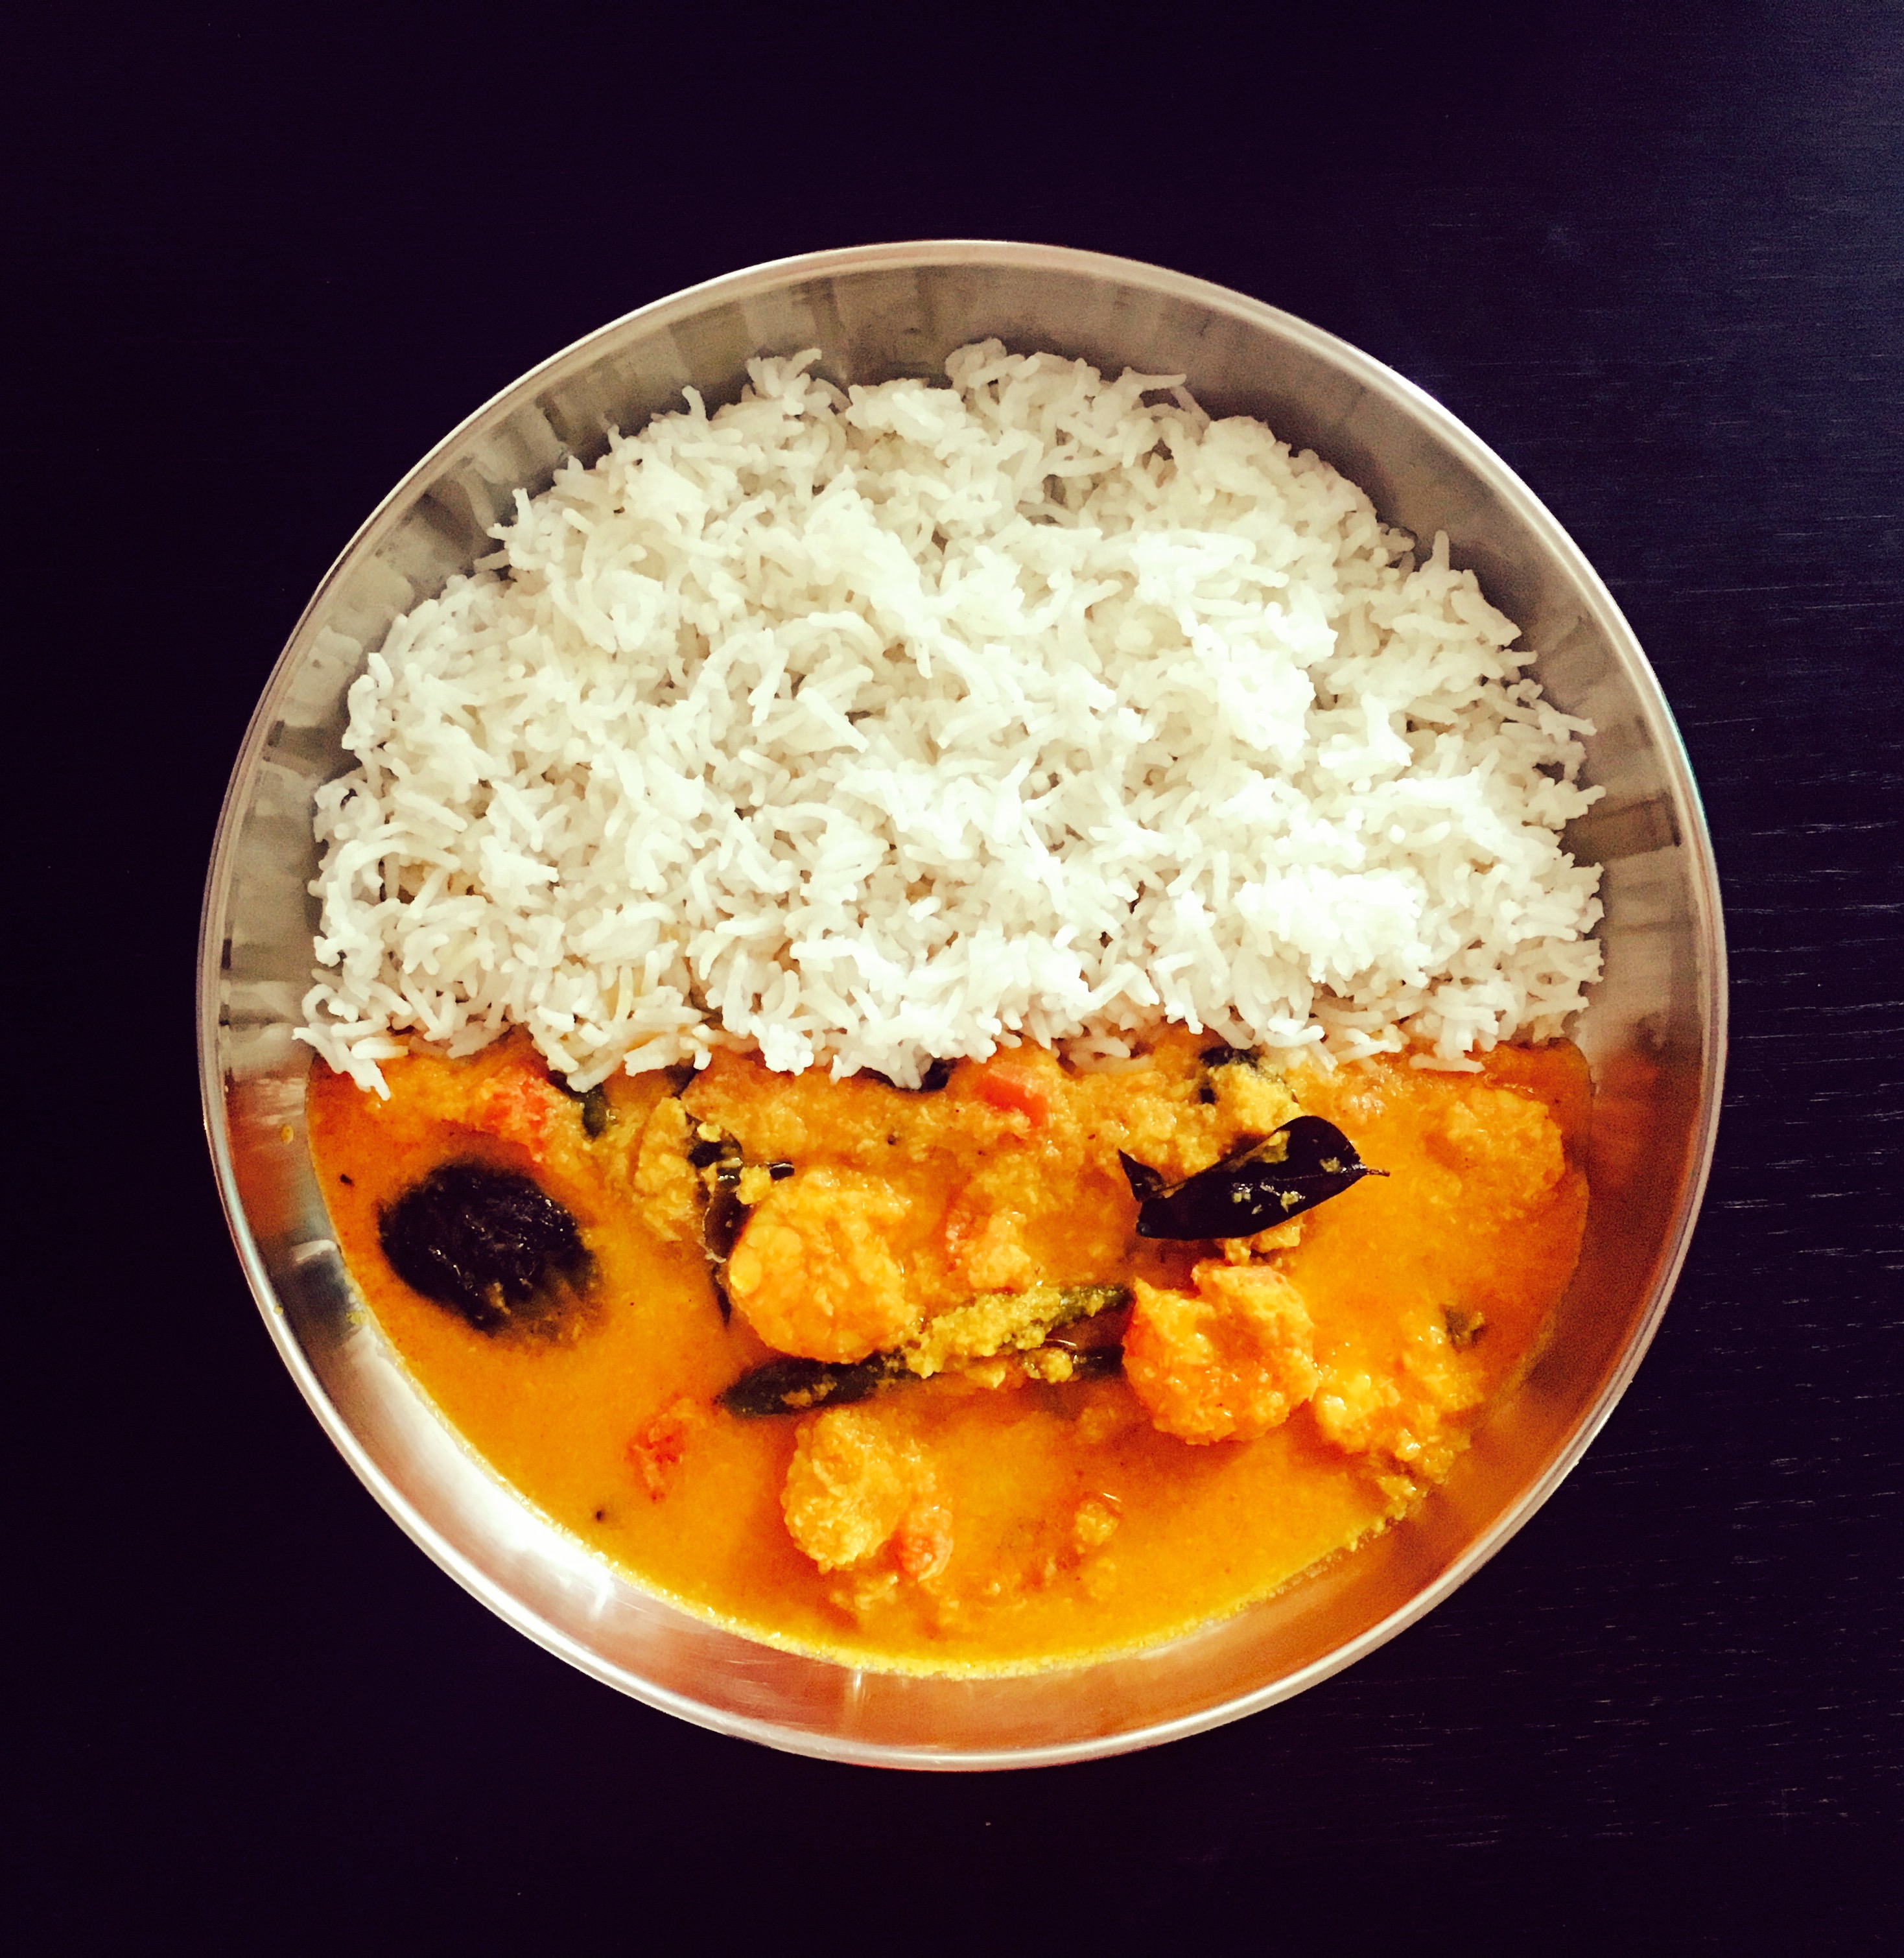
Coastal Style Prawn Curry

Anjali Venugopal July 31, 2017 2 COMMENTS

IMG_7229

My undying love for coastal flavours and cuisine is not the best kept secret. On the days I am not whipping up flavours from the seaside in the kitchen, take it for granted that my mind will be wandering far away, somewhere on pristine, white sands with a cool sea breeze on my face, salt on my lips, watching the waves wash against the shore, tirelessly. There is indeed something so comforting, so soothing about the ocean; especially in the dead of the night, under the moonlight.

Although it’d be criminal to whine, sitting in the beautiful city of Vienna, I cannot help but admit that I do sometimes miss the close proximity of the ocean and the fresh sea food that comes with the package of living by the coast. Anyway, today being one of my fidgety days when I can’t seem to find enough patience to put pen to paper, I am going to get down to business sooner than usual. This recipe is as easy as coastal cuisine gets. It is an authentic Kerala delicacy and may be prepared using prawns or fish. Another fact that may garner your interest is that you can fix on a south Kerala style or a north Kerala style depending on the variety of tamarind you use. Read on for more.

Things you will need:

  • Prawns- 500 gms
  • Grated coconut- ½ cup (even full fat desiccated coconut works fine)
  • Fenugreek seeds- ½ tsp
  • Turmeric powder- ½ tsp
  • Chilli powder- 1 tbsp (vary according to spice tolerance)
  • Tomatoes- 1 chopped roughly
  • Onion- 1 small
  • Green chillies- 3 slit
  • Ginger- a half inch stick
  • Malabar Tamarind/Cocum- 4-5 pieces soaked in water for 15 minutes. (If you would like to make this a south Kerala delicacy, instead of the cocum, take a gooseberry sized tamarind ball, soak it in water and take the juice)
  • Curry leaves- 2 sprigs
  • Cooking oil (I prefer to use coconut oil for the authentic flavour

How to go about it:

  1. Make a smooth paste out of the coconut, turmeric, chilli powder, onion, ginger and water enough to make it a loose paste.
  2. Heat 2 tbsp cooking oil in a wok, and allow the fenugreek seeds to splutter. Add the coconut paste to the wok with sufficient water to make a thick gravy. Add the chopped tomatoes, curry leaves, salt and slit green chillies. Add the soaked cocum pieces (or if you are using ordinary tamarind, add the juice to the gravy but make sure you reduce the water used to make the gravy, lest the gravy should be too watery)
  3. Add the cleaned prawns to the gravy, mix well, bring to a boil and leave the gravy to simmer for about 20 minutes keeping the wok closed.
  4. Your prawn curry is ready to be served with steamed white rice, or idiyappams (string hoppers) 🙂
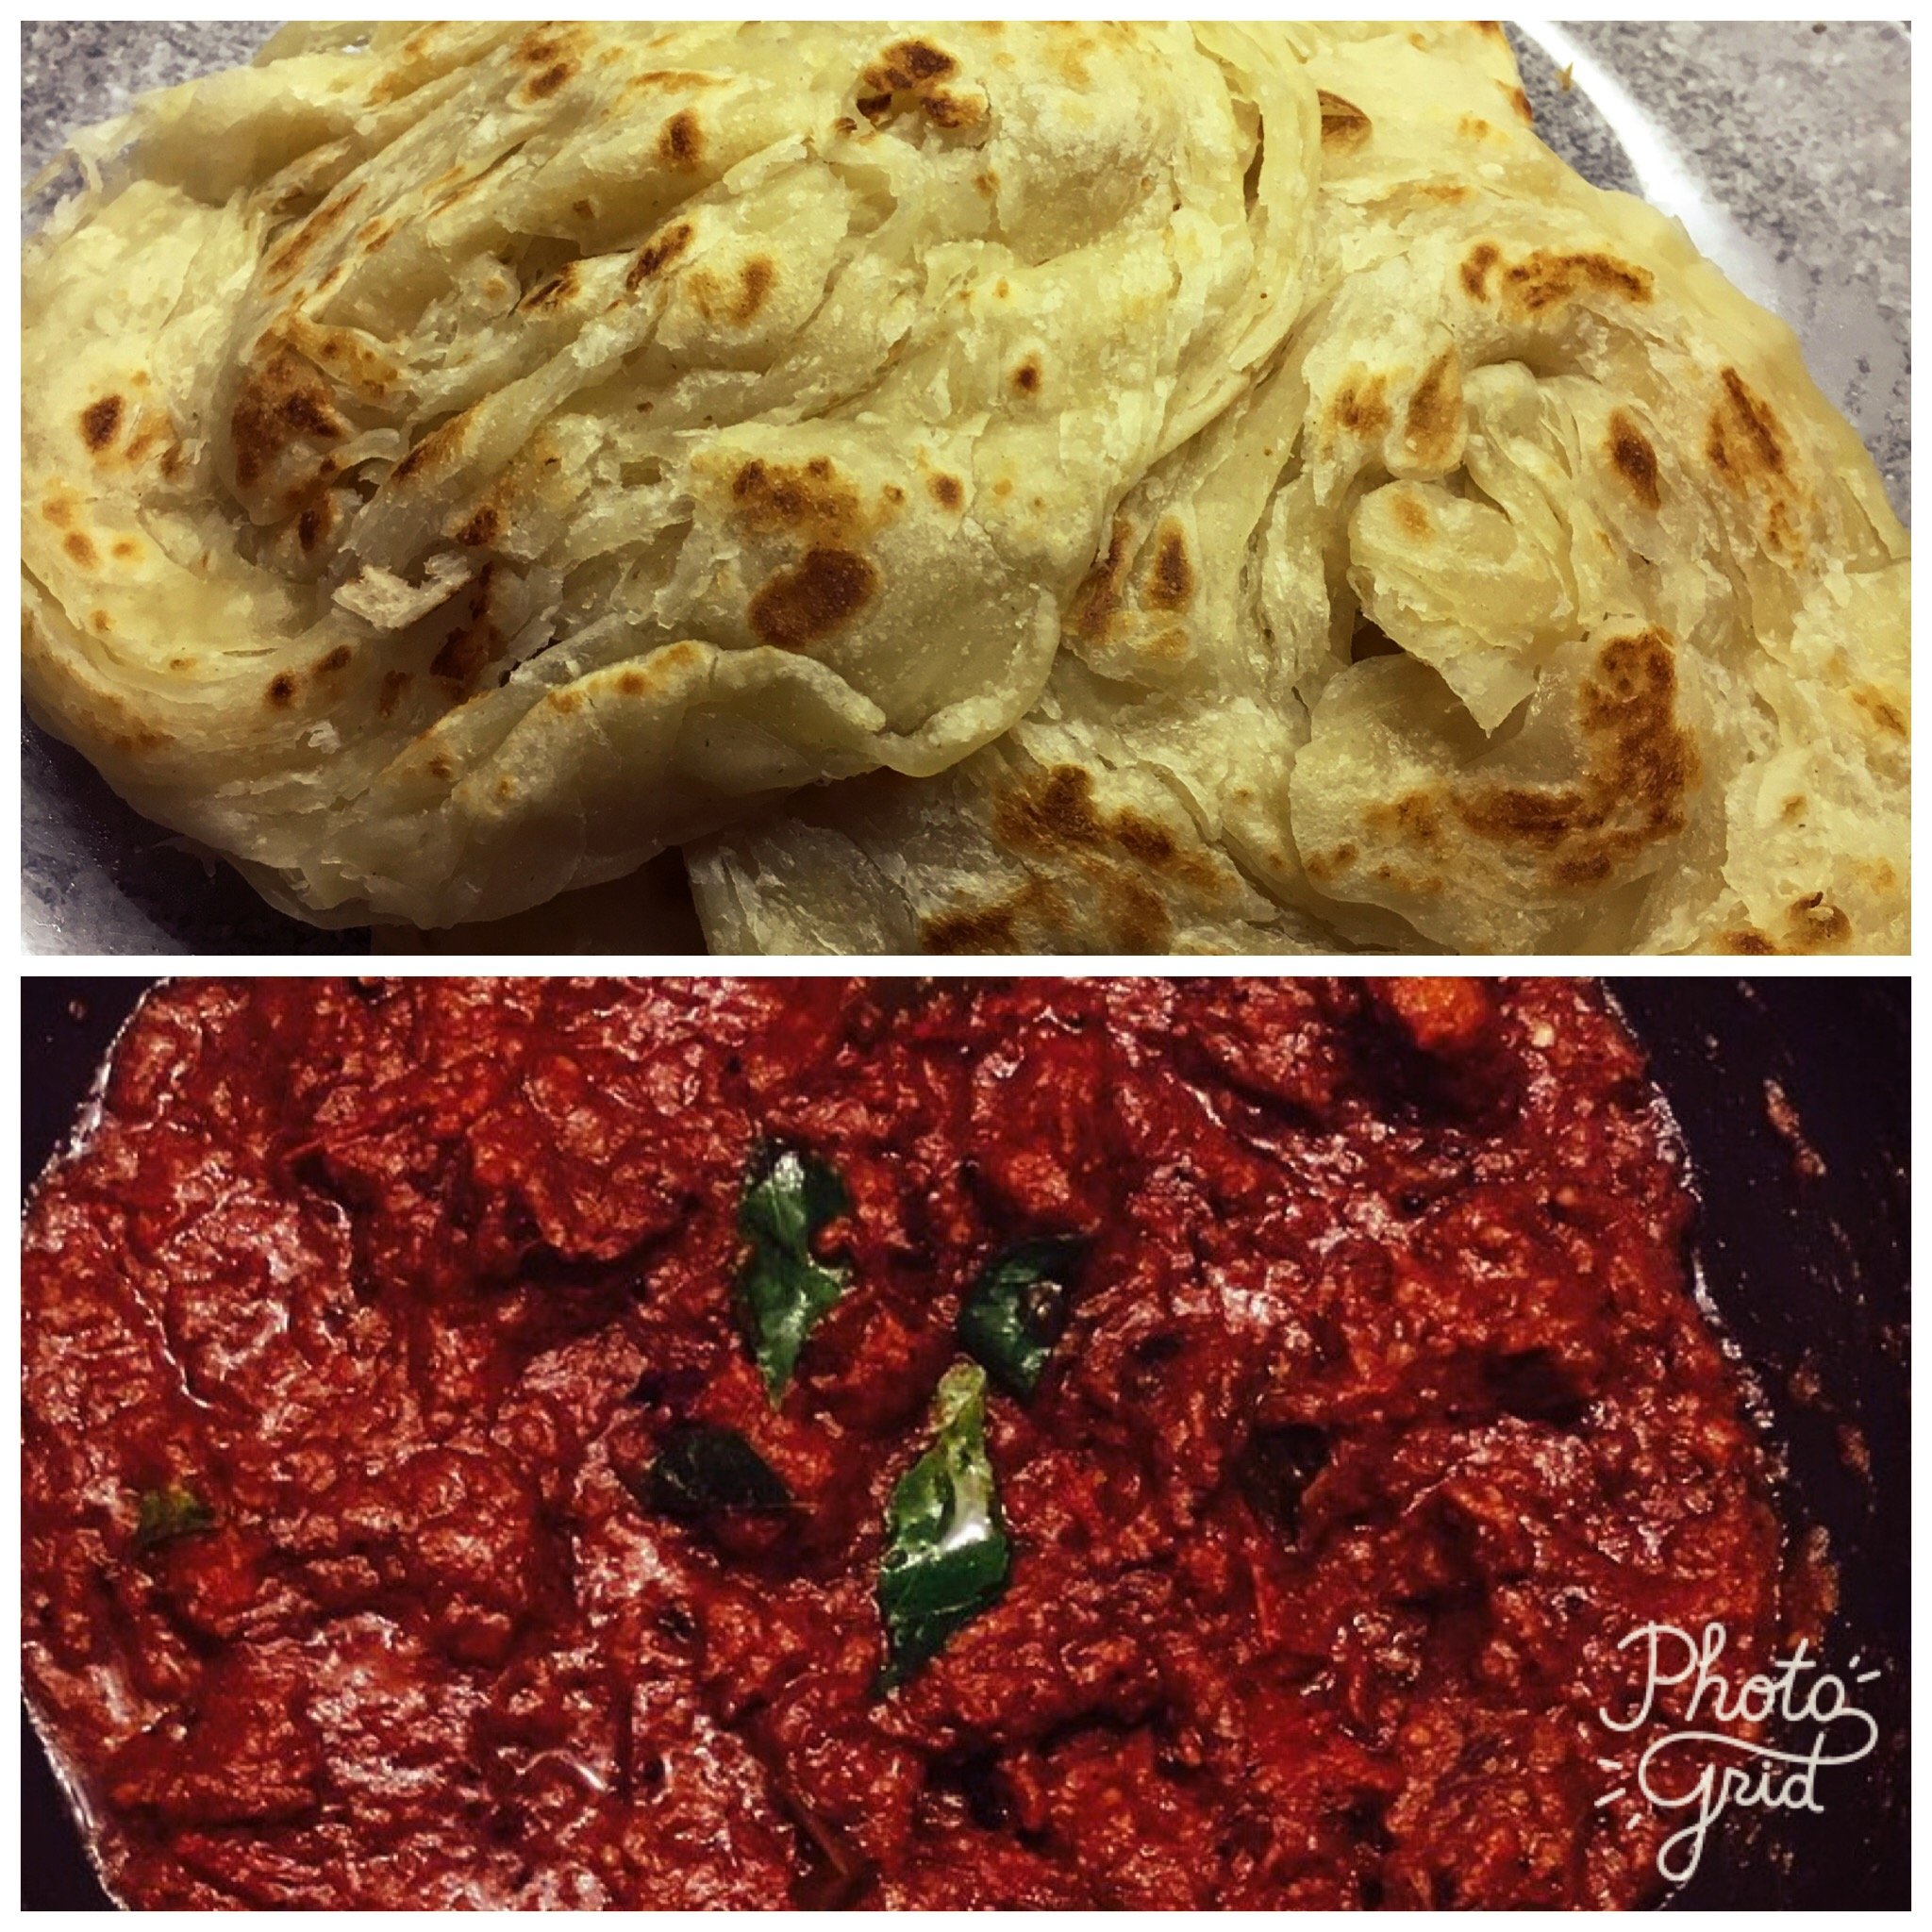
Homemade Kerala Parottas!

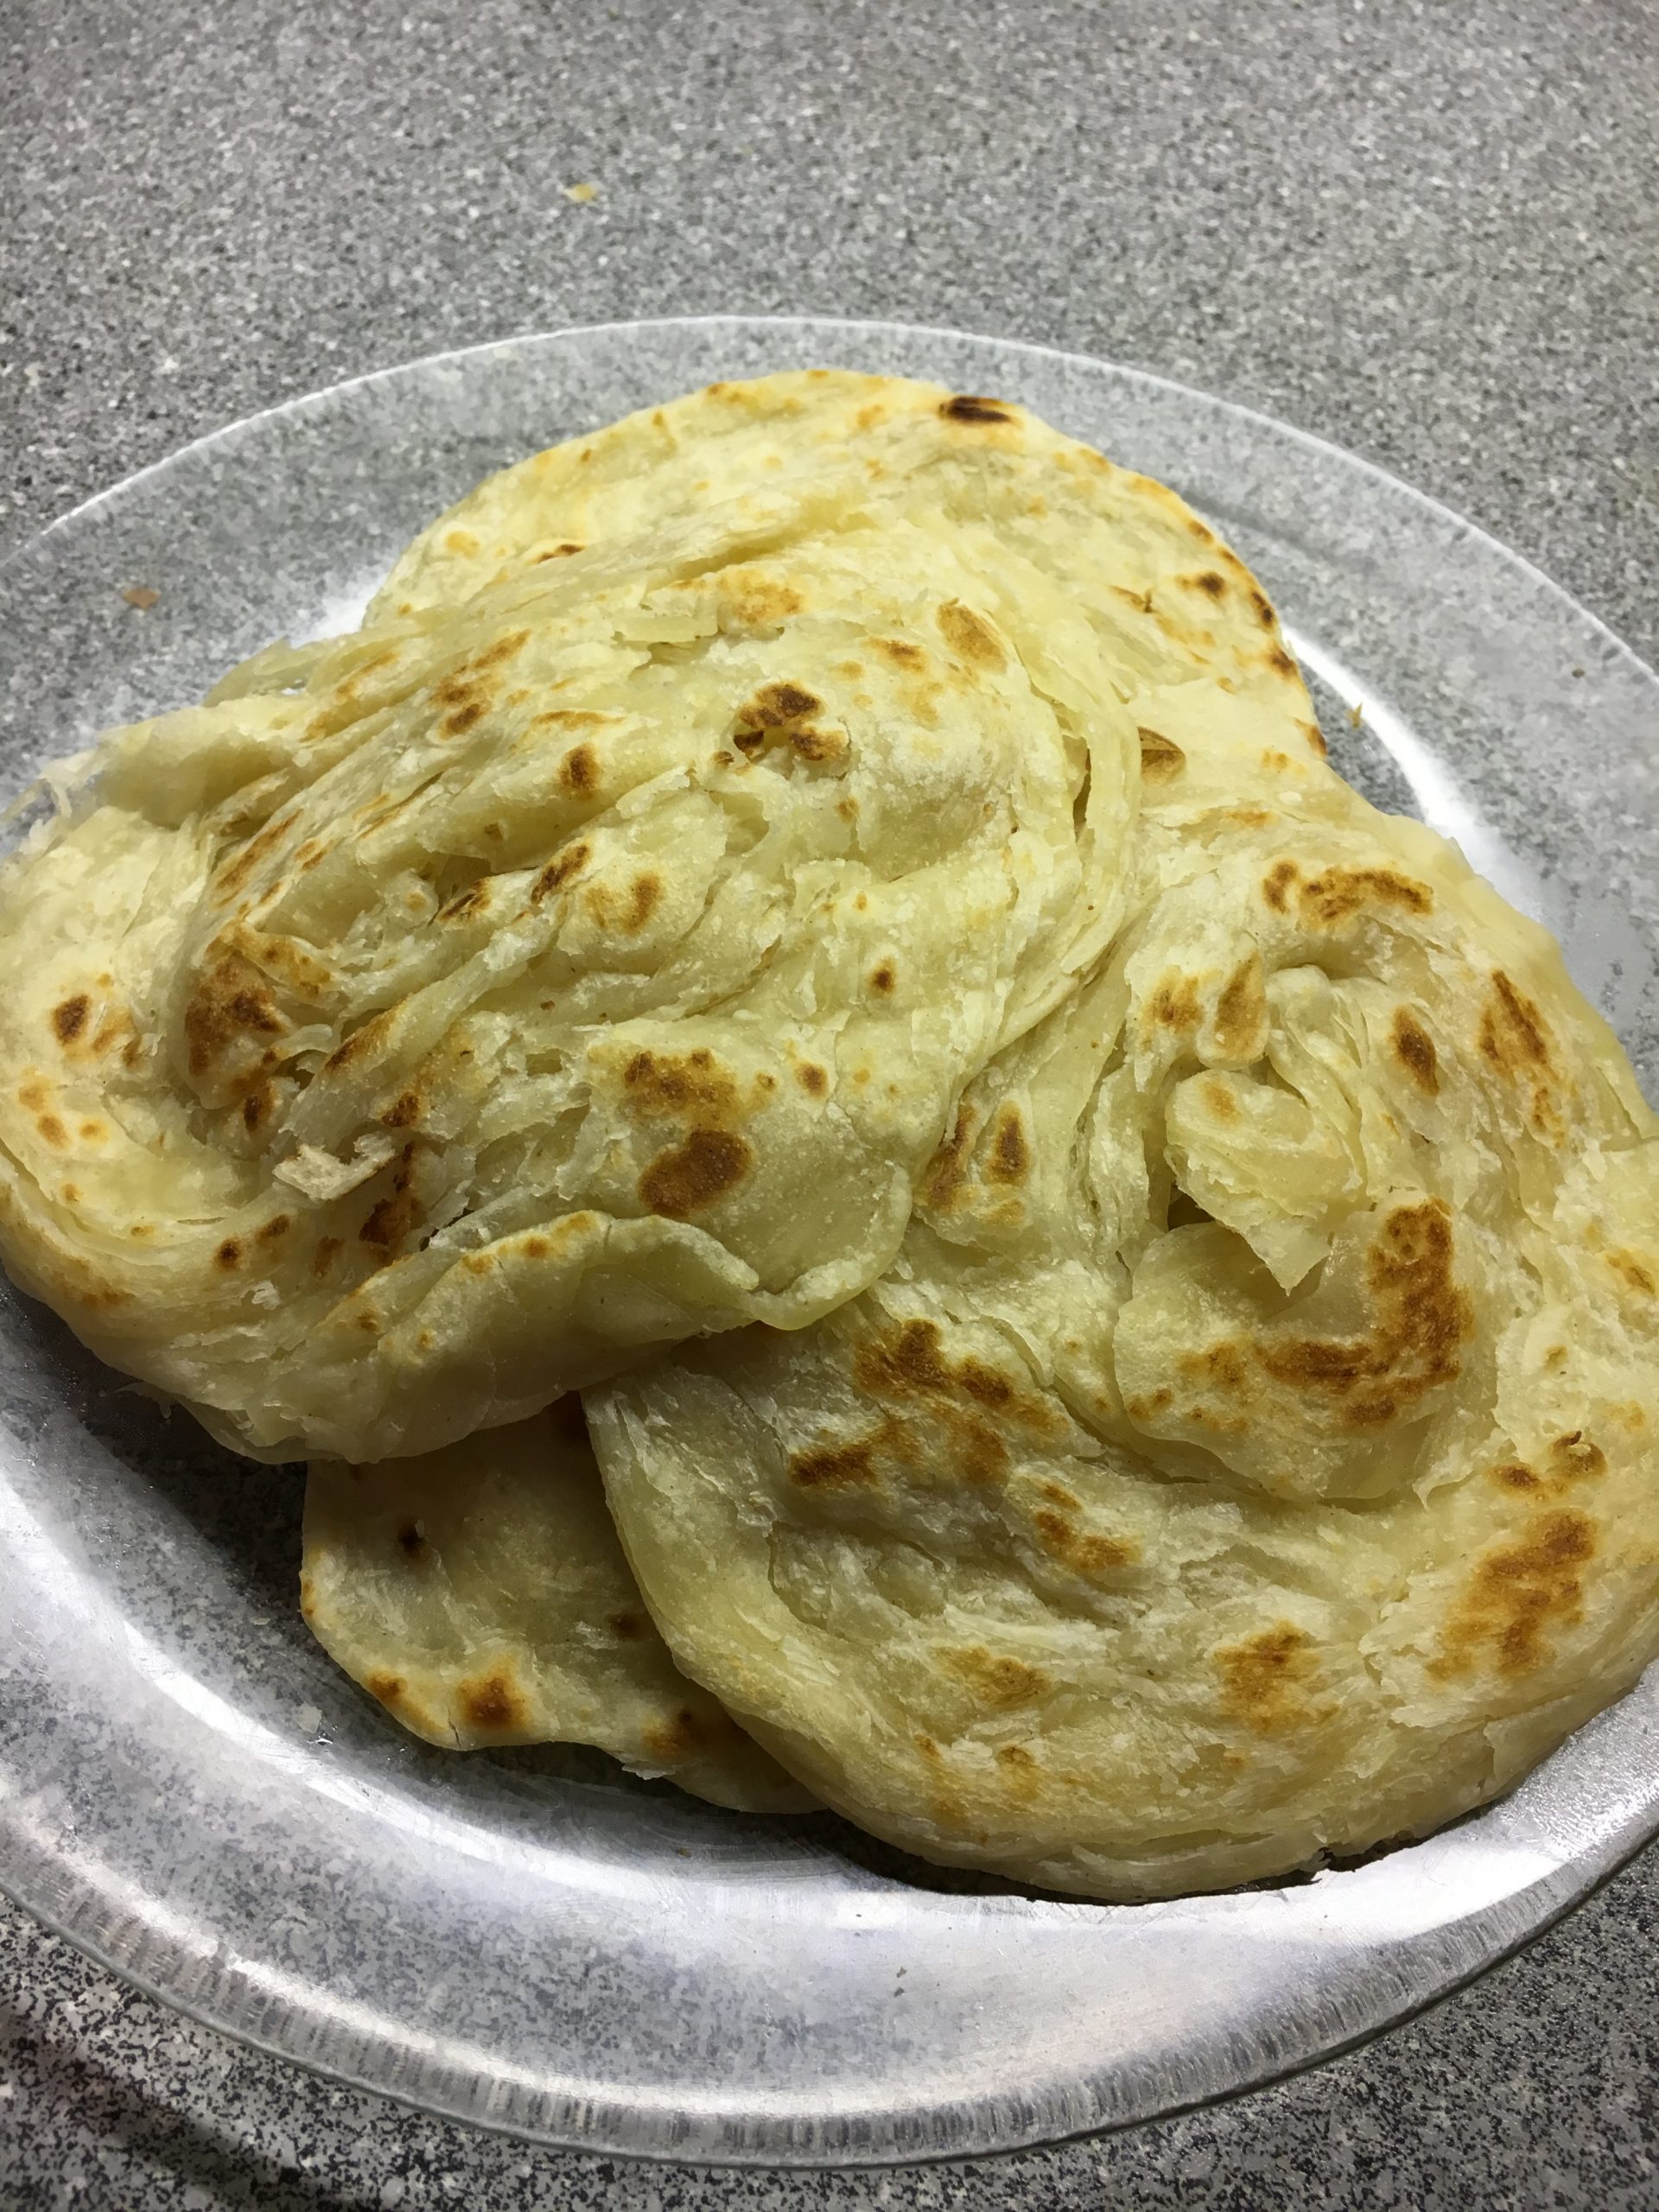
Homemade Kerala Parottas!

Anjali Venugopal June 9, 2017 NO COMMENTS

IMG_4983It is a lovely, sunny afternoon with a cool breeze in the hipster part of Vienna, and here I am sipping on a large mug of wheat beer with just the right amount of froth, on a Thursday while I sit down in this little nook, by the cobbled by-lanes of this dreamy city, under the blue skies, to work on the blog; one of the many luxuries a part time legal career offers you and something that ensures that my sanity (or the lack of it) stays put. As I look around, I see tourists in pretty, flowery outfits and seemingly over-the-top sunglasses, scaling the old architecture in this part of the city; grumpy looking women on their way back home with what looks like full bags of groceries; lovers reuniting in a tight embrace; over excited kids on their scooters whizzing by (and I cannot help but say a prayer that they get back to their respective homes in one piece); immaculately dressed women in their early thirties (I assume) observing intently the paintings and some exquisite art (which is right out of the boundaries of my comprehension), exhibited in the circle about 30 meters from the spot I have decided to call my own. I must admit at this point that I have always been quite fascinated (bordering on suspicious) by people who call themselves connoisseurs of modern art, jazz and wine. Maybe they know, maybe they don’t, who am I to tell? I will laugh (in my head, of course) and laugh, I will.
Let me get to what I came here for, before the beer kicks in. So, today I have finally decided to put out my post on Kerala Parottas. The one thing, with the blasphemous accompaniment of beef fry, that can get you lynched in almost every other part of India except my own. But as they say in the recent release in Malayalam Cinema, Godha, Parotta and Beef roast/fry is not something trivial for a true bred Malayali like me; it is an emotion (check the scene out here); an emotion that got injected into my veins a long time before I knew it; an emotion that takes me back, thousands of miles away to that green speck in the globe where I was born, raised and taught to love unconditionally without giving as much as a thought to trifling matters such as religion, political affiliation or food preferences; an emotion that takes me back to the times in my childhood when I have sat in the back seat of the car with my sister, and my mom who called shot gun even before I was born.

Another sip of this beautiful beer gets me reminiscing and takes me back straight to the backseat of our Ford Ikon which has seen me wave vigorously at strangers in fits of excitement and laughter that overcame me during our family trips to Munnar, as well as when the tears fell silently down my cheeks at 16, like little streams that flowed past the lush green in the mountains, when my dad passed his verdict on the boy I thought I had then given my heart to. Ah how we grow up! Anyway. I vividly remember the times I have spent in that very seat, with my mom and sister waiting for my dad to bring back that packet; the packet that smelled as though the heavens had descended; that packet which could make even a statue purr in delight; hot parottas and right-off-the-stove beef roast. While we waited in the car, we have stared endlessly at the art and the dexterity with which the chettan at the roadside stall slapped the parotta dough against the steel coated table, kneading it with so much love, not once questioning his liberal use of cooking oil, flattening the dough with so much skill that made our jaws drop to the ground. That is probably when that emotion called ‘Parotta’ got kindled somewhere in the left side of my chest.

So, getting down to business. Today, I share with you that one recipe which took me ages to pen down, primarily because of the confusion created in the process of fixing my amateur video. However, I have gathered all the courage in me to get it sorted and to let out to the world the fact that Kerala Parottas are doable at home; within the confines of your own kitchen; unsupervised. Also, I used Rapeseed oil which has the least saturated fat among all oils, quite contrary to the popular belief that Kerala Parottas are oily and supremely unhealthy. I wouldn’t call this healthy under any circumstances, however, that is not what a pure blood Mallu aims at while deciding to go for these beauties. So, here you go.

Things you will need: (for about 8-10 medium sized parottas)

  • Maida/ All purpose flour- 1.5 cups
  • Cooking oil
  • Salt
  • Sugar

How to go about it

  1. First step towards Kerala Parottas is to make a soft dough. Add about half a teaspoon of salt and about the same quantity of sugar to the flour along with about two tablespoons of oil to the flour. Add water little by little and then knead it to form a soft ball. This step is super important and you need to ensure that the dough is kneaded well and there are no cracks visible on the surface of the ball of flour. Take your time with this step. I kneaded the ball for about a full 10 minutes.
  2. Once this is done, cover the dough with a damp cloth and let it rest for 30 minutes. No concessions there. Sorry.
  3. The next step would be to make small, even balls of the dough. Make balls that are about 1.5 to 2 inches in diameter. No, you do not need to fetch the rule for this purpose, it is merely an approximate.
  4. Knead the dough balls well for a minute each. Set them aside for another five minutes.
  5. The next step is to flatten the balls out to form disks that are about five inches in diameter. Basically, all you need to do is to flatten them out with your hand to form circular looking discs. As you make each disc, make sure you brush sufficient oil to each of them before stacking them up together. This will make sure that the discs do not stick to one another. Once the discs are stacked up, let them rest for another 10 minutes.
  6. The next step is the crucial one. Now that you have left the discs to rest, they will spread out easily which is what needs to be done. So, take one disc at a time, lay it out on a flat, clean surface and start spreading it out by pulling the edges. It will now easily spread to form a thin sheet and you need to pull it from all sides in order to spread it out evenly.
  7. Gather the spread out dough from one side, so it resembles a handkerchief that is being held from one corner, and place the dough on your free palm as a spiral.
  8. Once the spirals have been made, brush a little bit of oil on them before you let them rest for another 5 minutes.
  9. Next, flatten the spirals out with your hand to make the parottas.
  10. Heat a tawa/pan up, brush some cooking oil on it, and place the parottas on it. Each side would need to cook for about two minutes. Once the parottas start getting that lovely, brown colour, take them off the tawa/pan.
  11. Once all the parottas have been cooked, stack them up again, and then clap your hands after keeping the stack in between. Please check video if this step is unclear. This is to hep in fluffing the parottas out, and again a crucial step.
  12. Your fluffy parottas are now ready to be served hot with a delicious beef roast, the recipe for which is available right here 🙂

And in case all of that sounds too dense, the video I have put together is below (it is sped up, but very amateur work, so do bear with my lack of skill :P):

[wpvideo 1O3Qbarp]

Stir Fried Carrots in Chilli Onion Paste

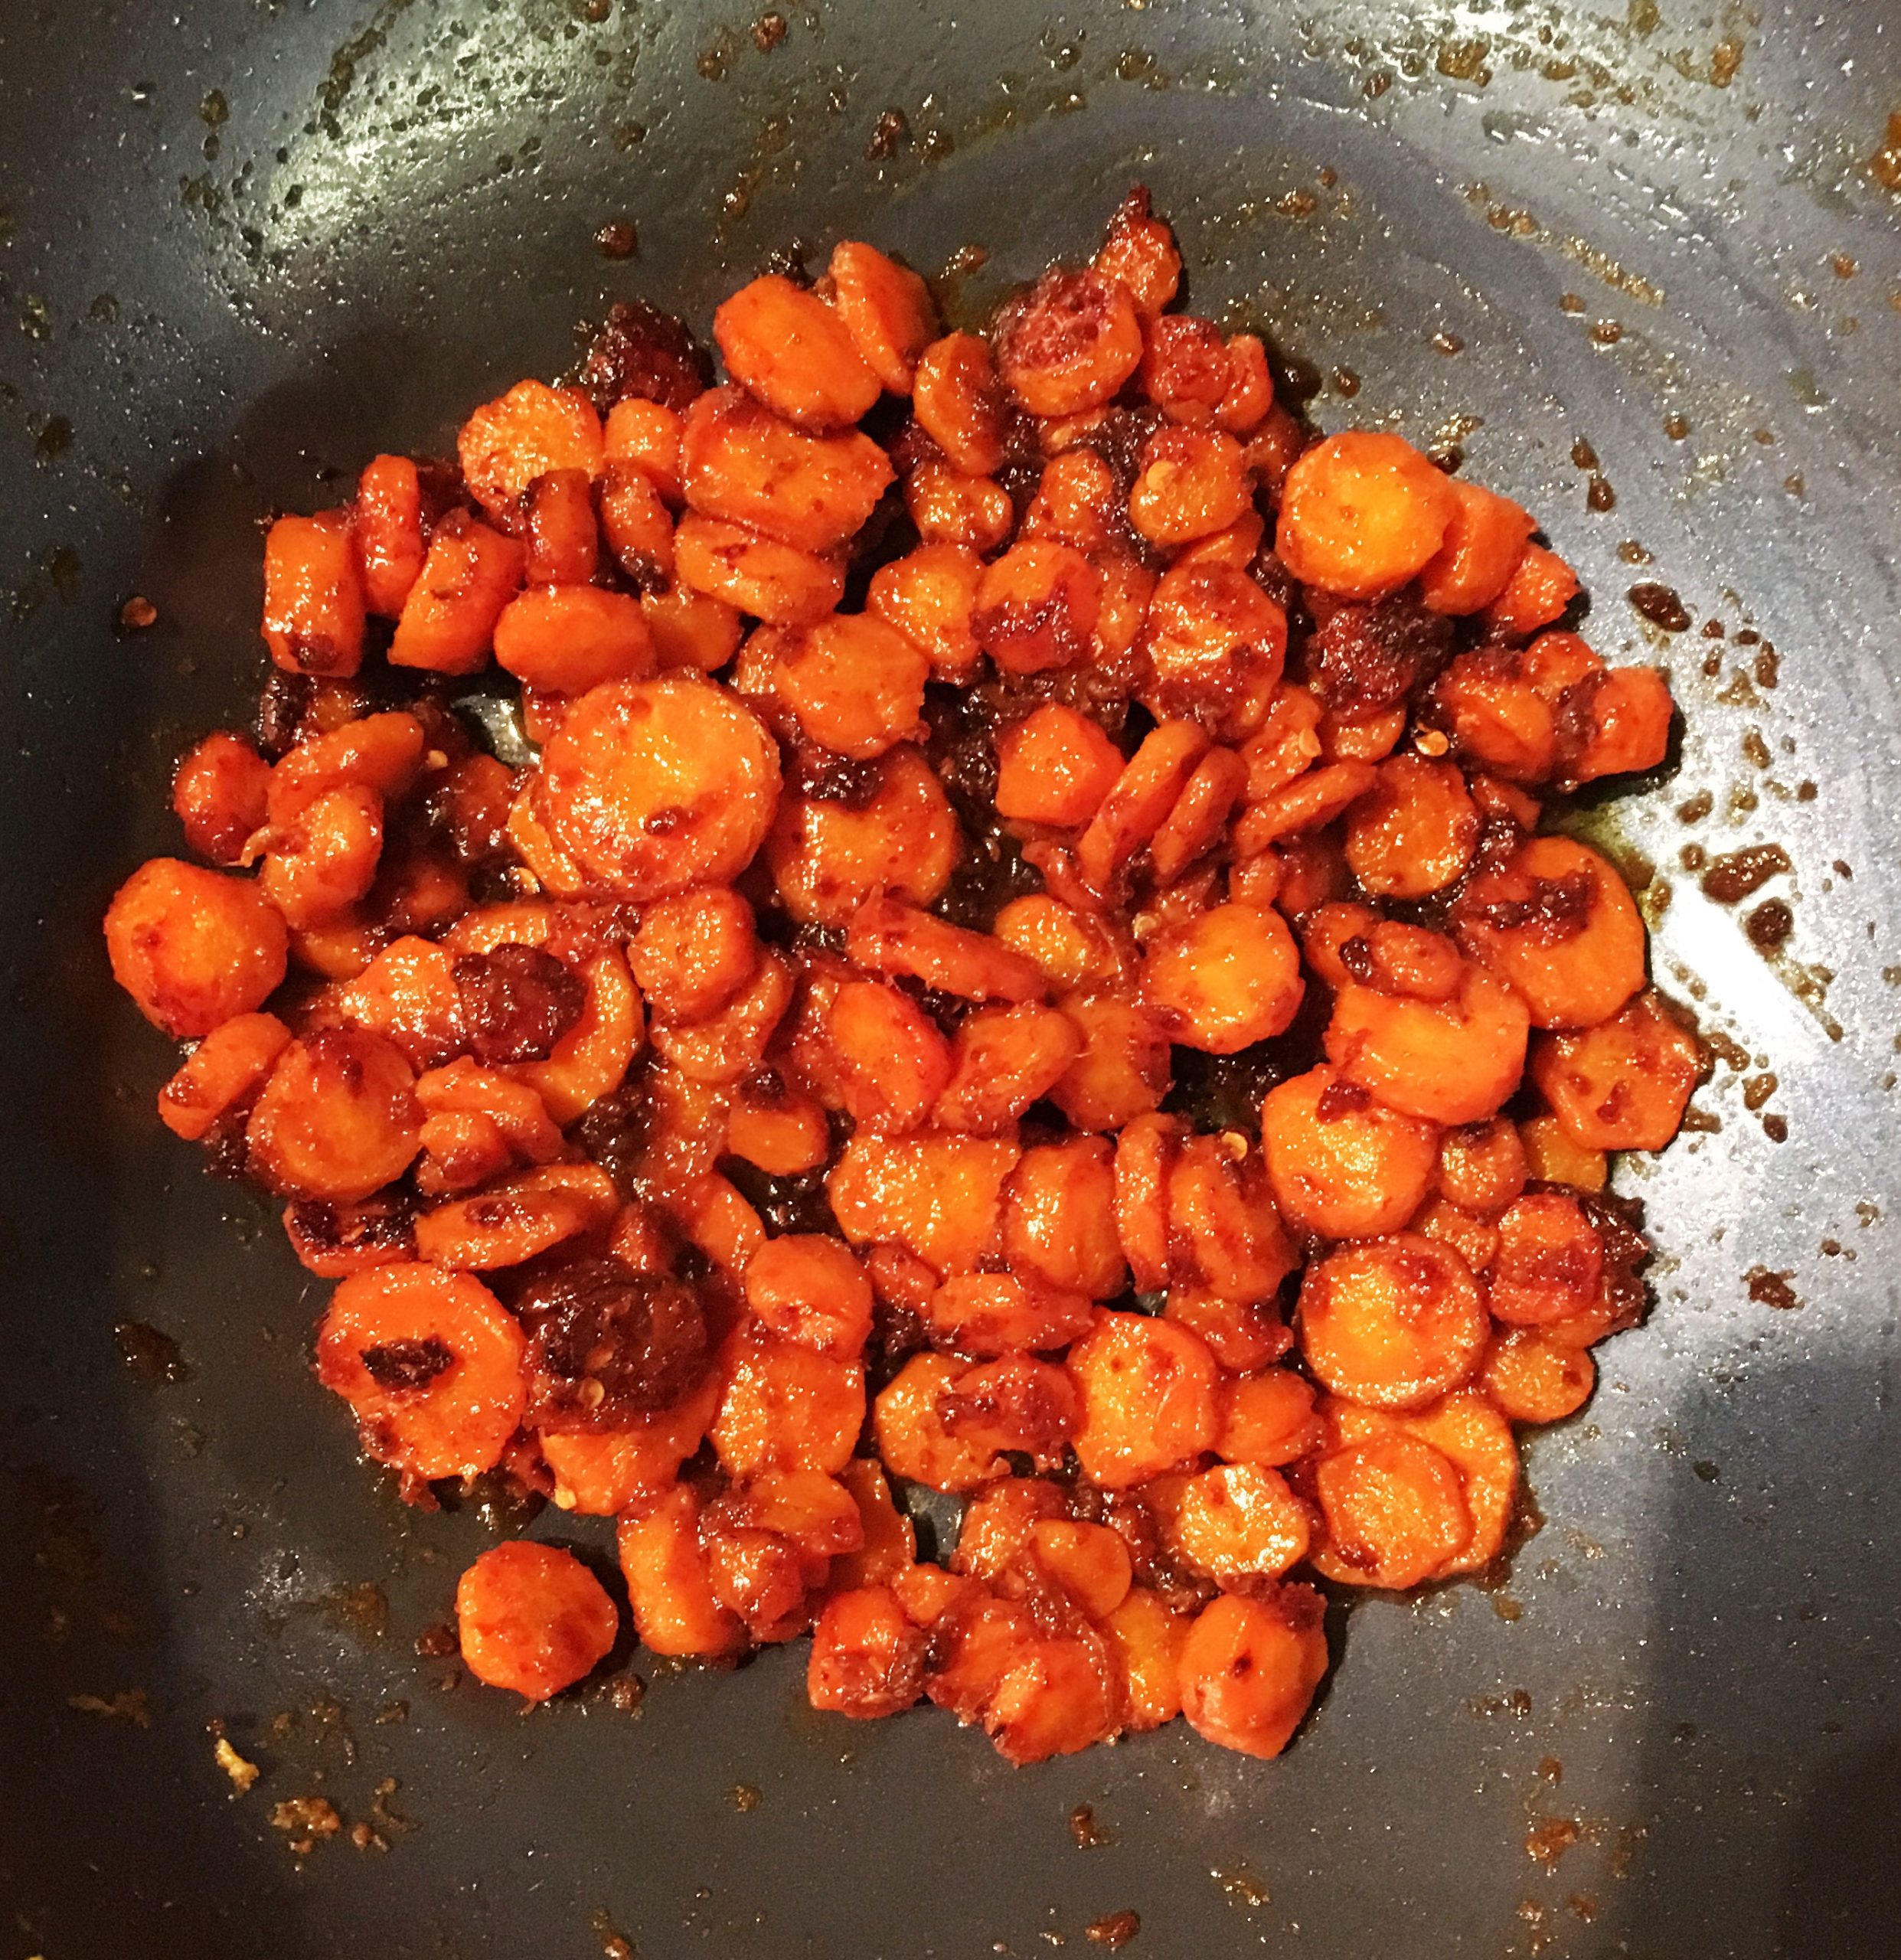
Stir Fried Carrots in Chilli Onion Paste

Anjali Venugopal June 3, 2017 NO COMMENTS

IMG_4590


My love and passion for home cooked meals is not something that germinated in my veins overnight. I grew up in a household that took (and still continues to take) home cooking extremely seriously; to the extent that I can with the help of a negligible amount of effort to back me up, recall practically all the occasions my family has eaten out during my childhood. Both my Amma and my grandma are fantastic cooks with a convincing belief in a fact that they have proved time and again; that a wholesome, home cooked meal is the secret to fitness and good health. And this is possibly what got me hooked to the idea that the tastiest food, the food that gives a nudge to all your five senses, the food that lingers on in your mind for days after you have tasted it, can be whipped up within the confines of your own kitchen while you have absolute control over the quality and the quantity of every ingredient that goes into the wok.

Good food has always been held in great regard in my home; where every dish prepared is critically evaluated; praised when it was called for and criticized (constructively of course) otherwise; where a lot of love and effort goes into the preparation of a meal. As a Hindu household in Kerala, it should come as no surprise when I tell you that we have and continue to celebrate festivals of all other religions alike. I use the term ‘Hindu’ with caution, lest I should be brought within the ambit of the sheer mockery our country, headed by fanatic goons masquerading as saviours of this pure and noble way of life, propels today, shamelessly under the guise of this term. No, I am not one of them. And proudly so.

Let me not unnecessarily venture into areas that make my blood boil.

The term ‘celebration’ in my home had one, and only one meaning and that was to make a delicious, home cooked meal. I still see the twinkle in Amma’s eye when she brings up suggestions such as “maybe we should buy some tender mutton for Christmas” or “how about we prepare a yummy biryani for Eid?”

That would be followed by all of us sitting down together for lunch, laughing, smacking our lips in delight and wiping our plates clean. This practice went on meticulously for all the years I was at home and in all probability counts for a large chunk of the fondest of memories I hold within. Ah those were the days!

Today I share with you yet another incredibly easy recipe which you can whip up with around three ingredients. The base for this yummy recipe is something a lot of us don’t find too exciting; carrots. This has been a favourite dish all through my childhood and I have lost track of the number of times, Amma packed me this for lunch. Till rather recently, I was completely unaware of the possibilities of having this with anything else but rice, or Chapattis. A friend tried this recipe out and came up with the option of using this in a sandwich with some grated cheese. So, the possibilities are many, try it out and keep me posted as always.

Things you will need:

  • Carrots- 4 or 5 large ones (Chopped into round disks, not too fat)
  • Onion- 1 medium sized
  • Dried red chillies- 4-5 (vary according to heat tolerance)
  • Cooking oil
  • Salt


How to go about it:

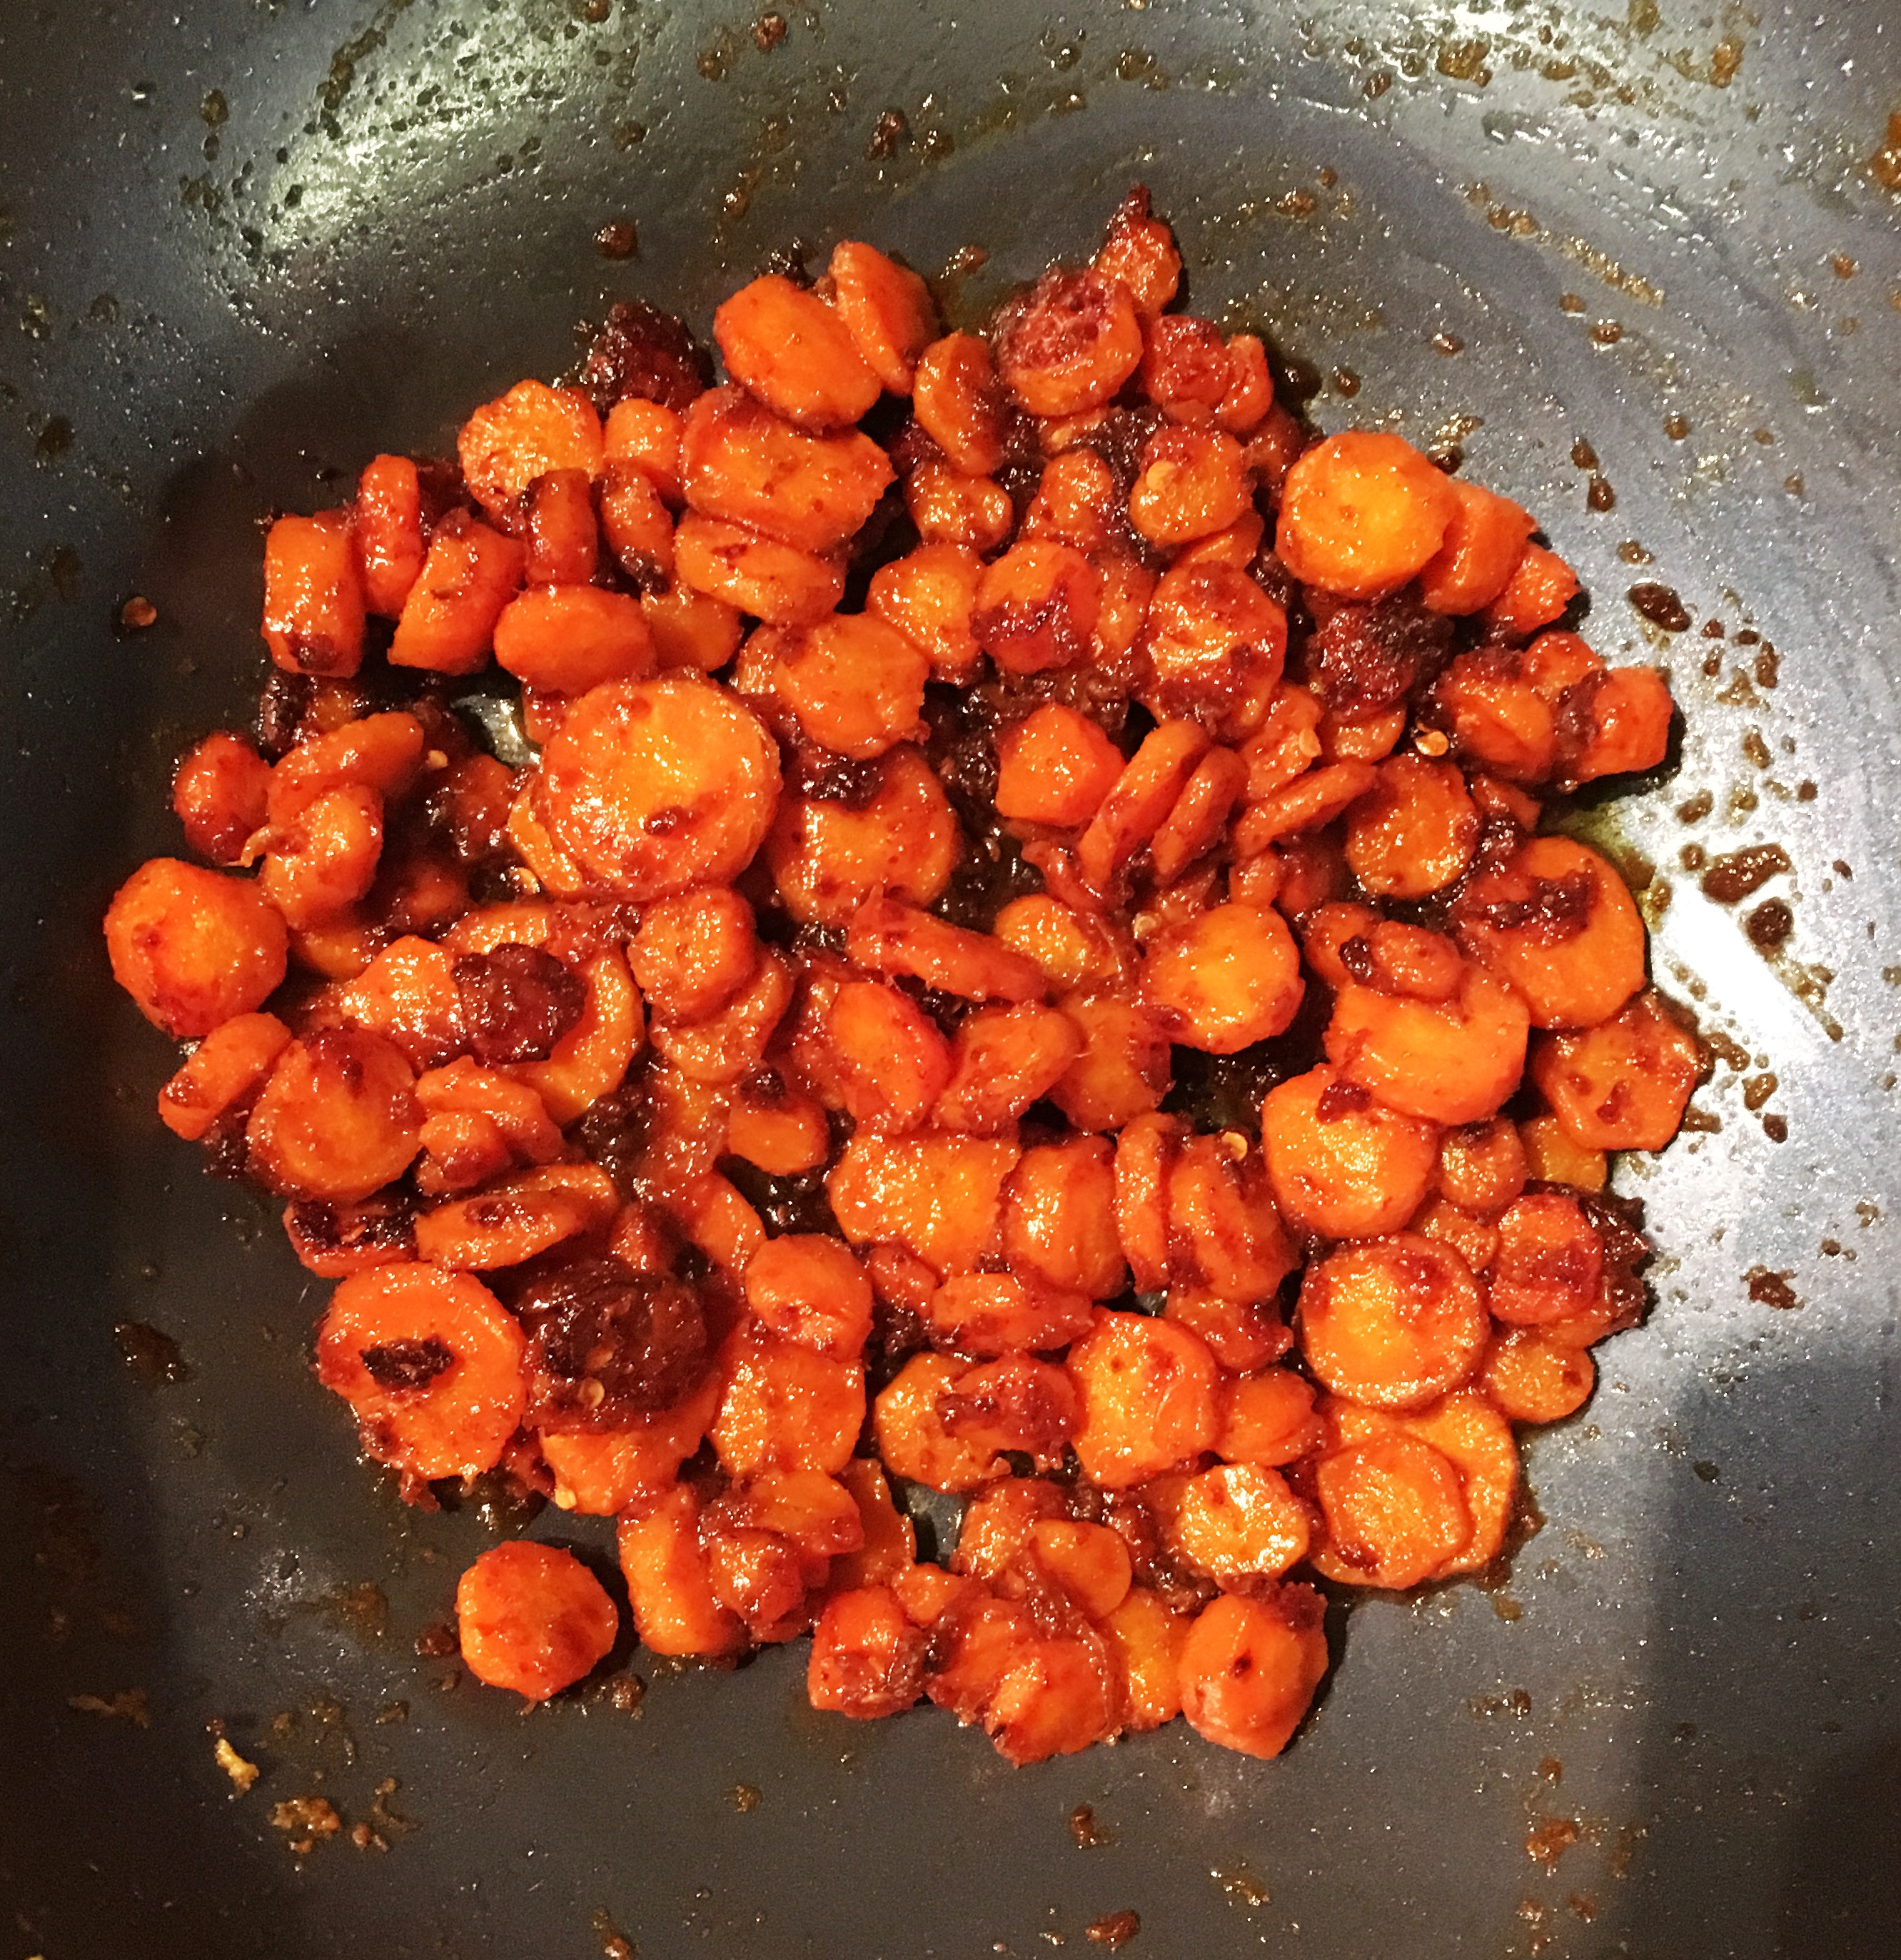
  1. Grind the onion and the dried red chillies to form a roughly smooth paste.
  2. Heat some cooking oil in a wok, add the chopped carrots and the onion paste to it with adequate salt. Stir well to make sure the paste is evenly distributed. Add about ¼ glass of water, keep the wok closed and let the carrots cook well.
  3. Once the carrots are cooked, get the excess water to evaporate. Once that is done, add a bit more oil and nicely fry up the carrots. This should take about ten minutes or maybe a slight bit more. The key to this recipe is to make sure the onion paste is nice and brown, since this is what gives it that lovely flavour. So, as I always tell you, patience is the key 🙂

That was easy as pie wasn’t it? Serve with rice or chapatis and dal or even as a sandwich topping with some grate cheese. Yum Yum. This dish is quite a favourite in my part of the world and I feel it deserves a lot more. So try it out, and let me know!


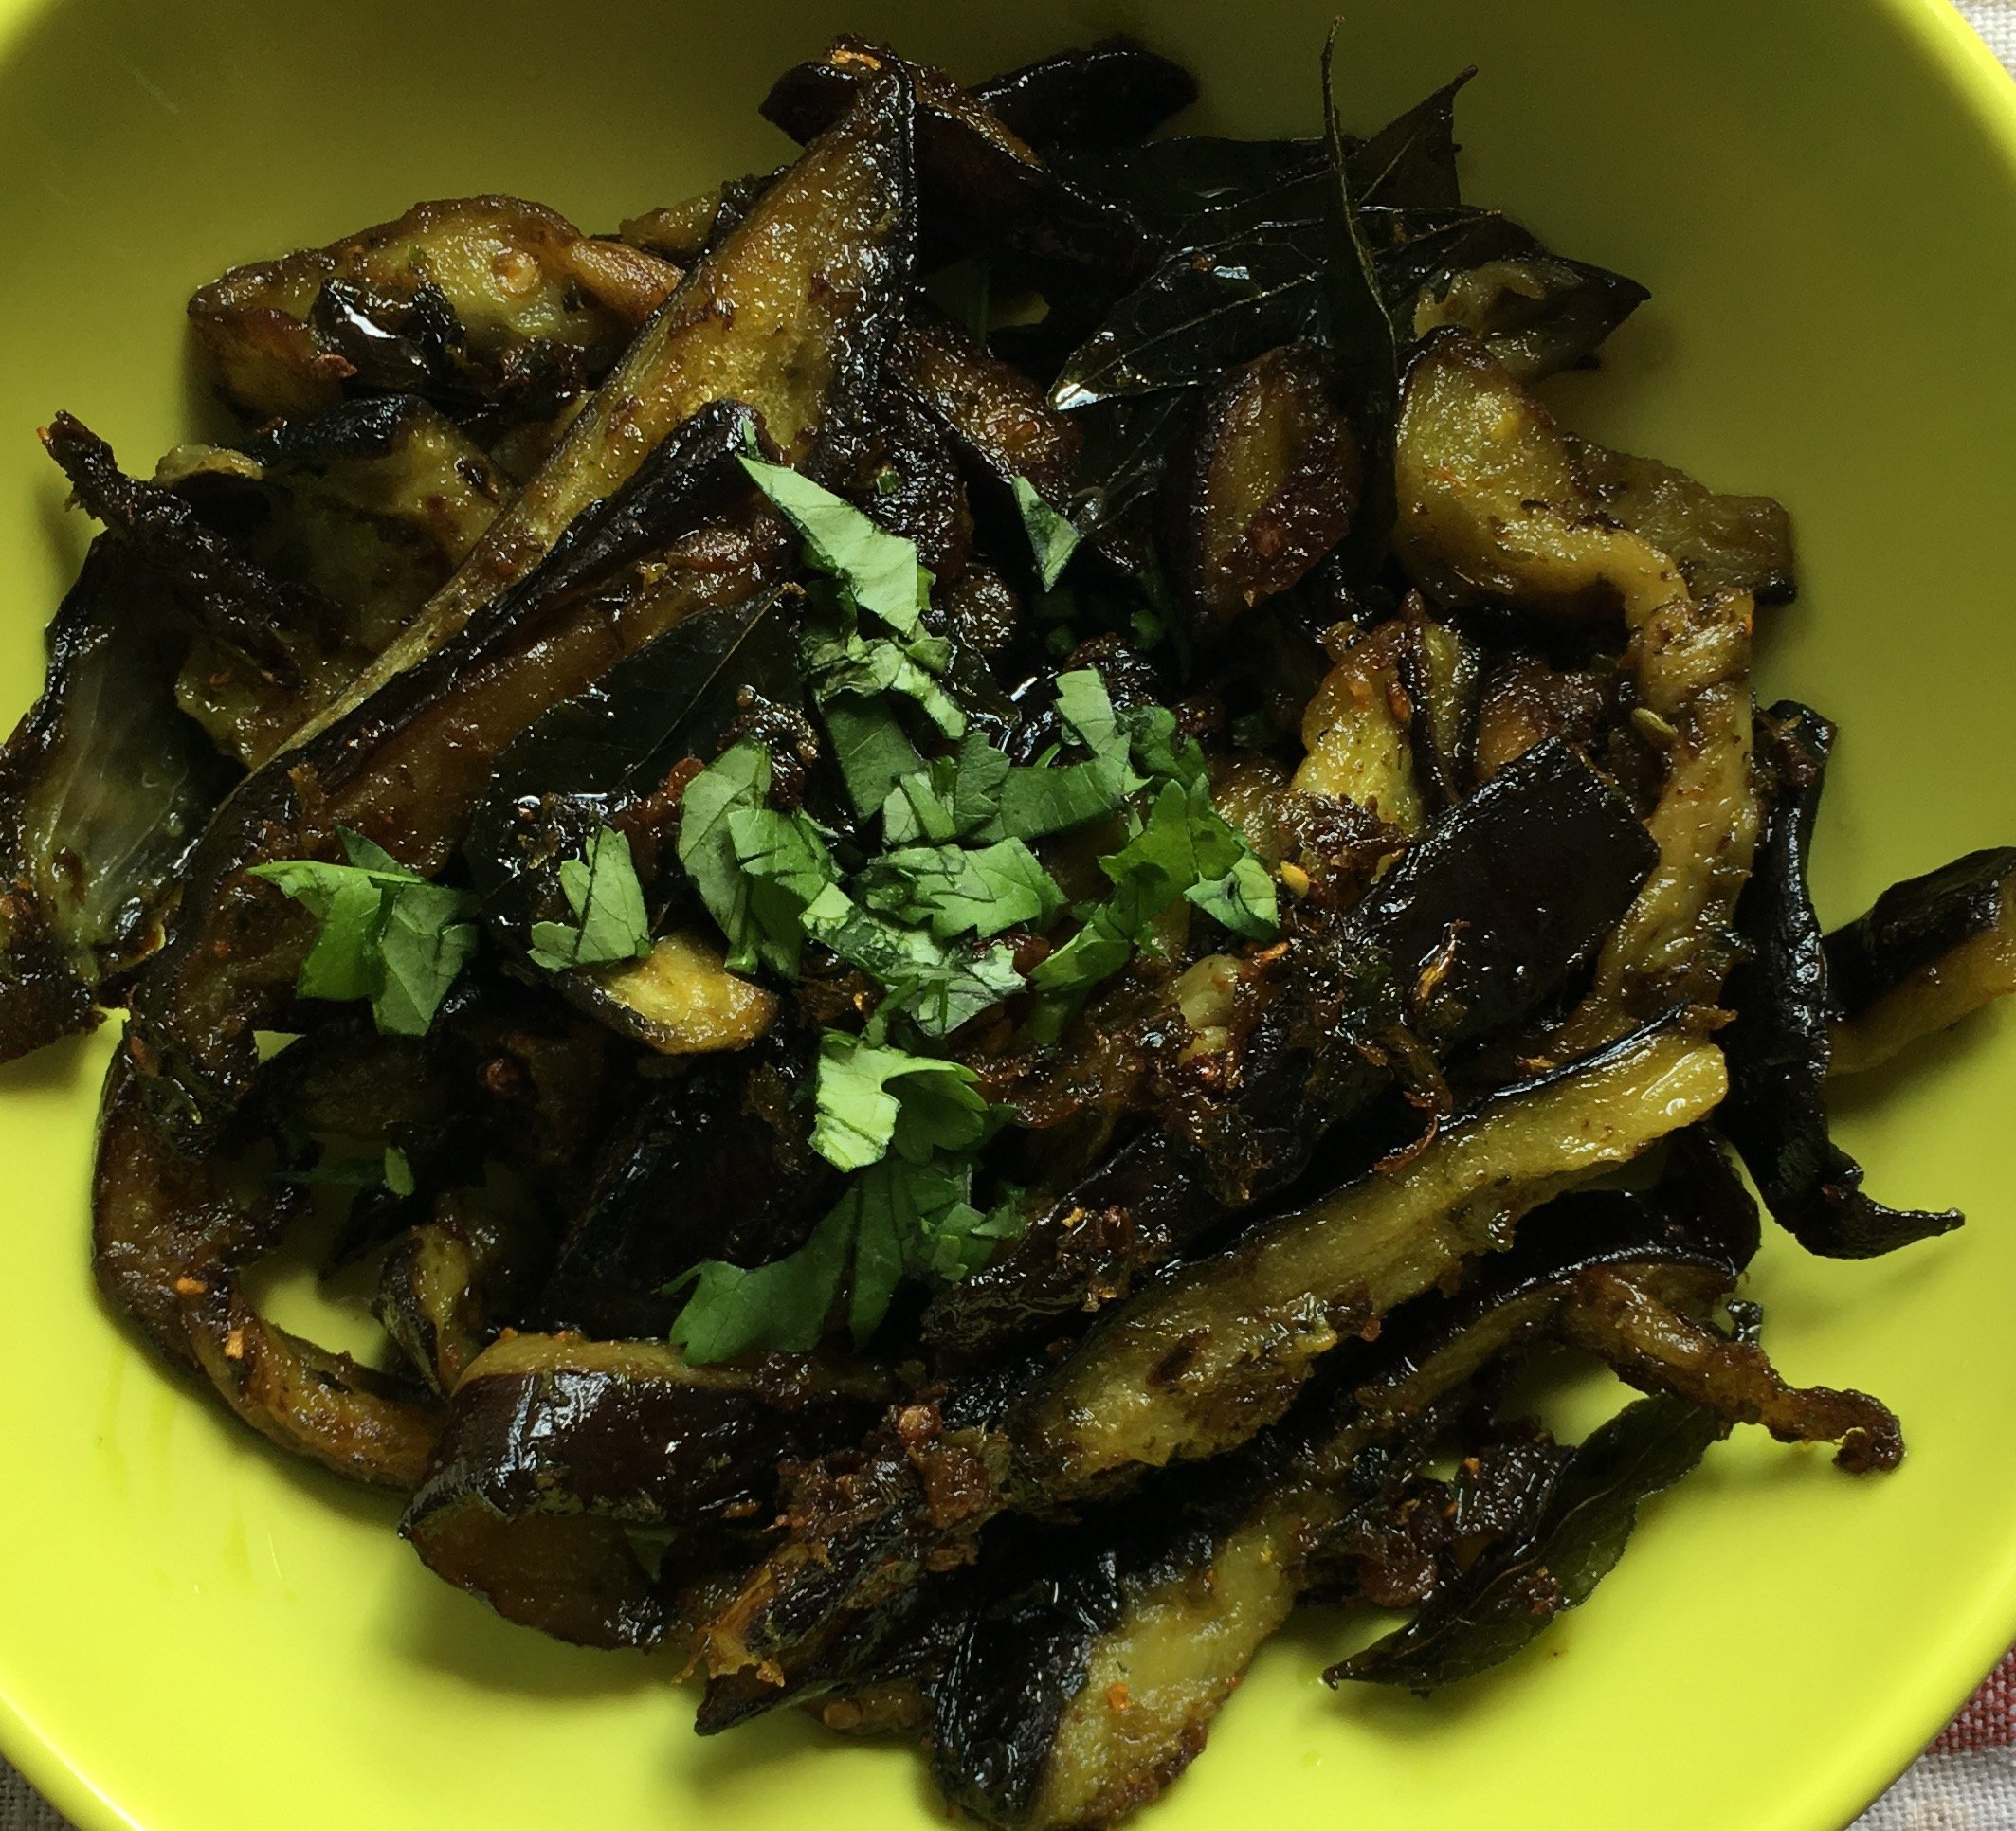
Fried Eggplant in Coriander Chilli paste

Fried Eggplant in Coriander Chilli paste

Anjali Venugopal May 16, 2017 NO COMMENTS

IMG_4024Getting to leave work when the sun is still out is a lovely feeling. Also, this is something which I promise to never take for granted considering all the frowns (and mumbles) that I have had to put up with in India, if and when I ever had the audacity to as much as walk out of the office door any minute before the wee hours of the night (or morning). Yesterday, as I was skipping down the winding stairs in the old, beautiful Viennese structure that houses my workplace a little past 5, I gulped when I realized that this would have been treated as nothing but a half a day’s worth of work in India. This thought nudged that sense of gratitude in me for letting me escape the monotony in that part of the world where ‘work-life balance’ is just an unholy, fictional term which is never to be uttered and is treated almost at par with the term ‘remuneration’. On giving it a second thought, I think ‘remuneration’ still takes the gleaming trophy.
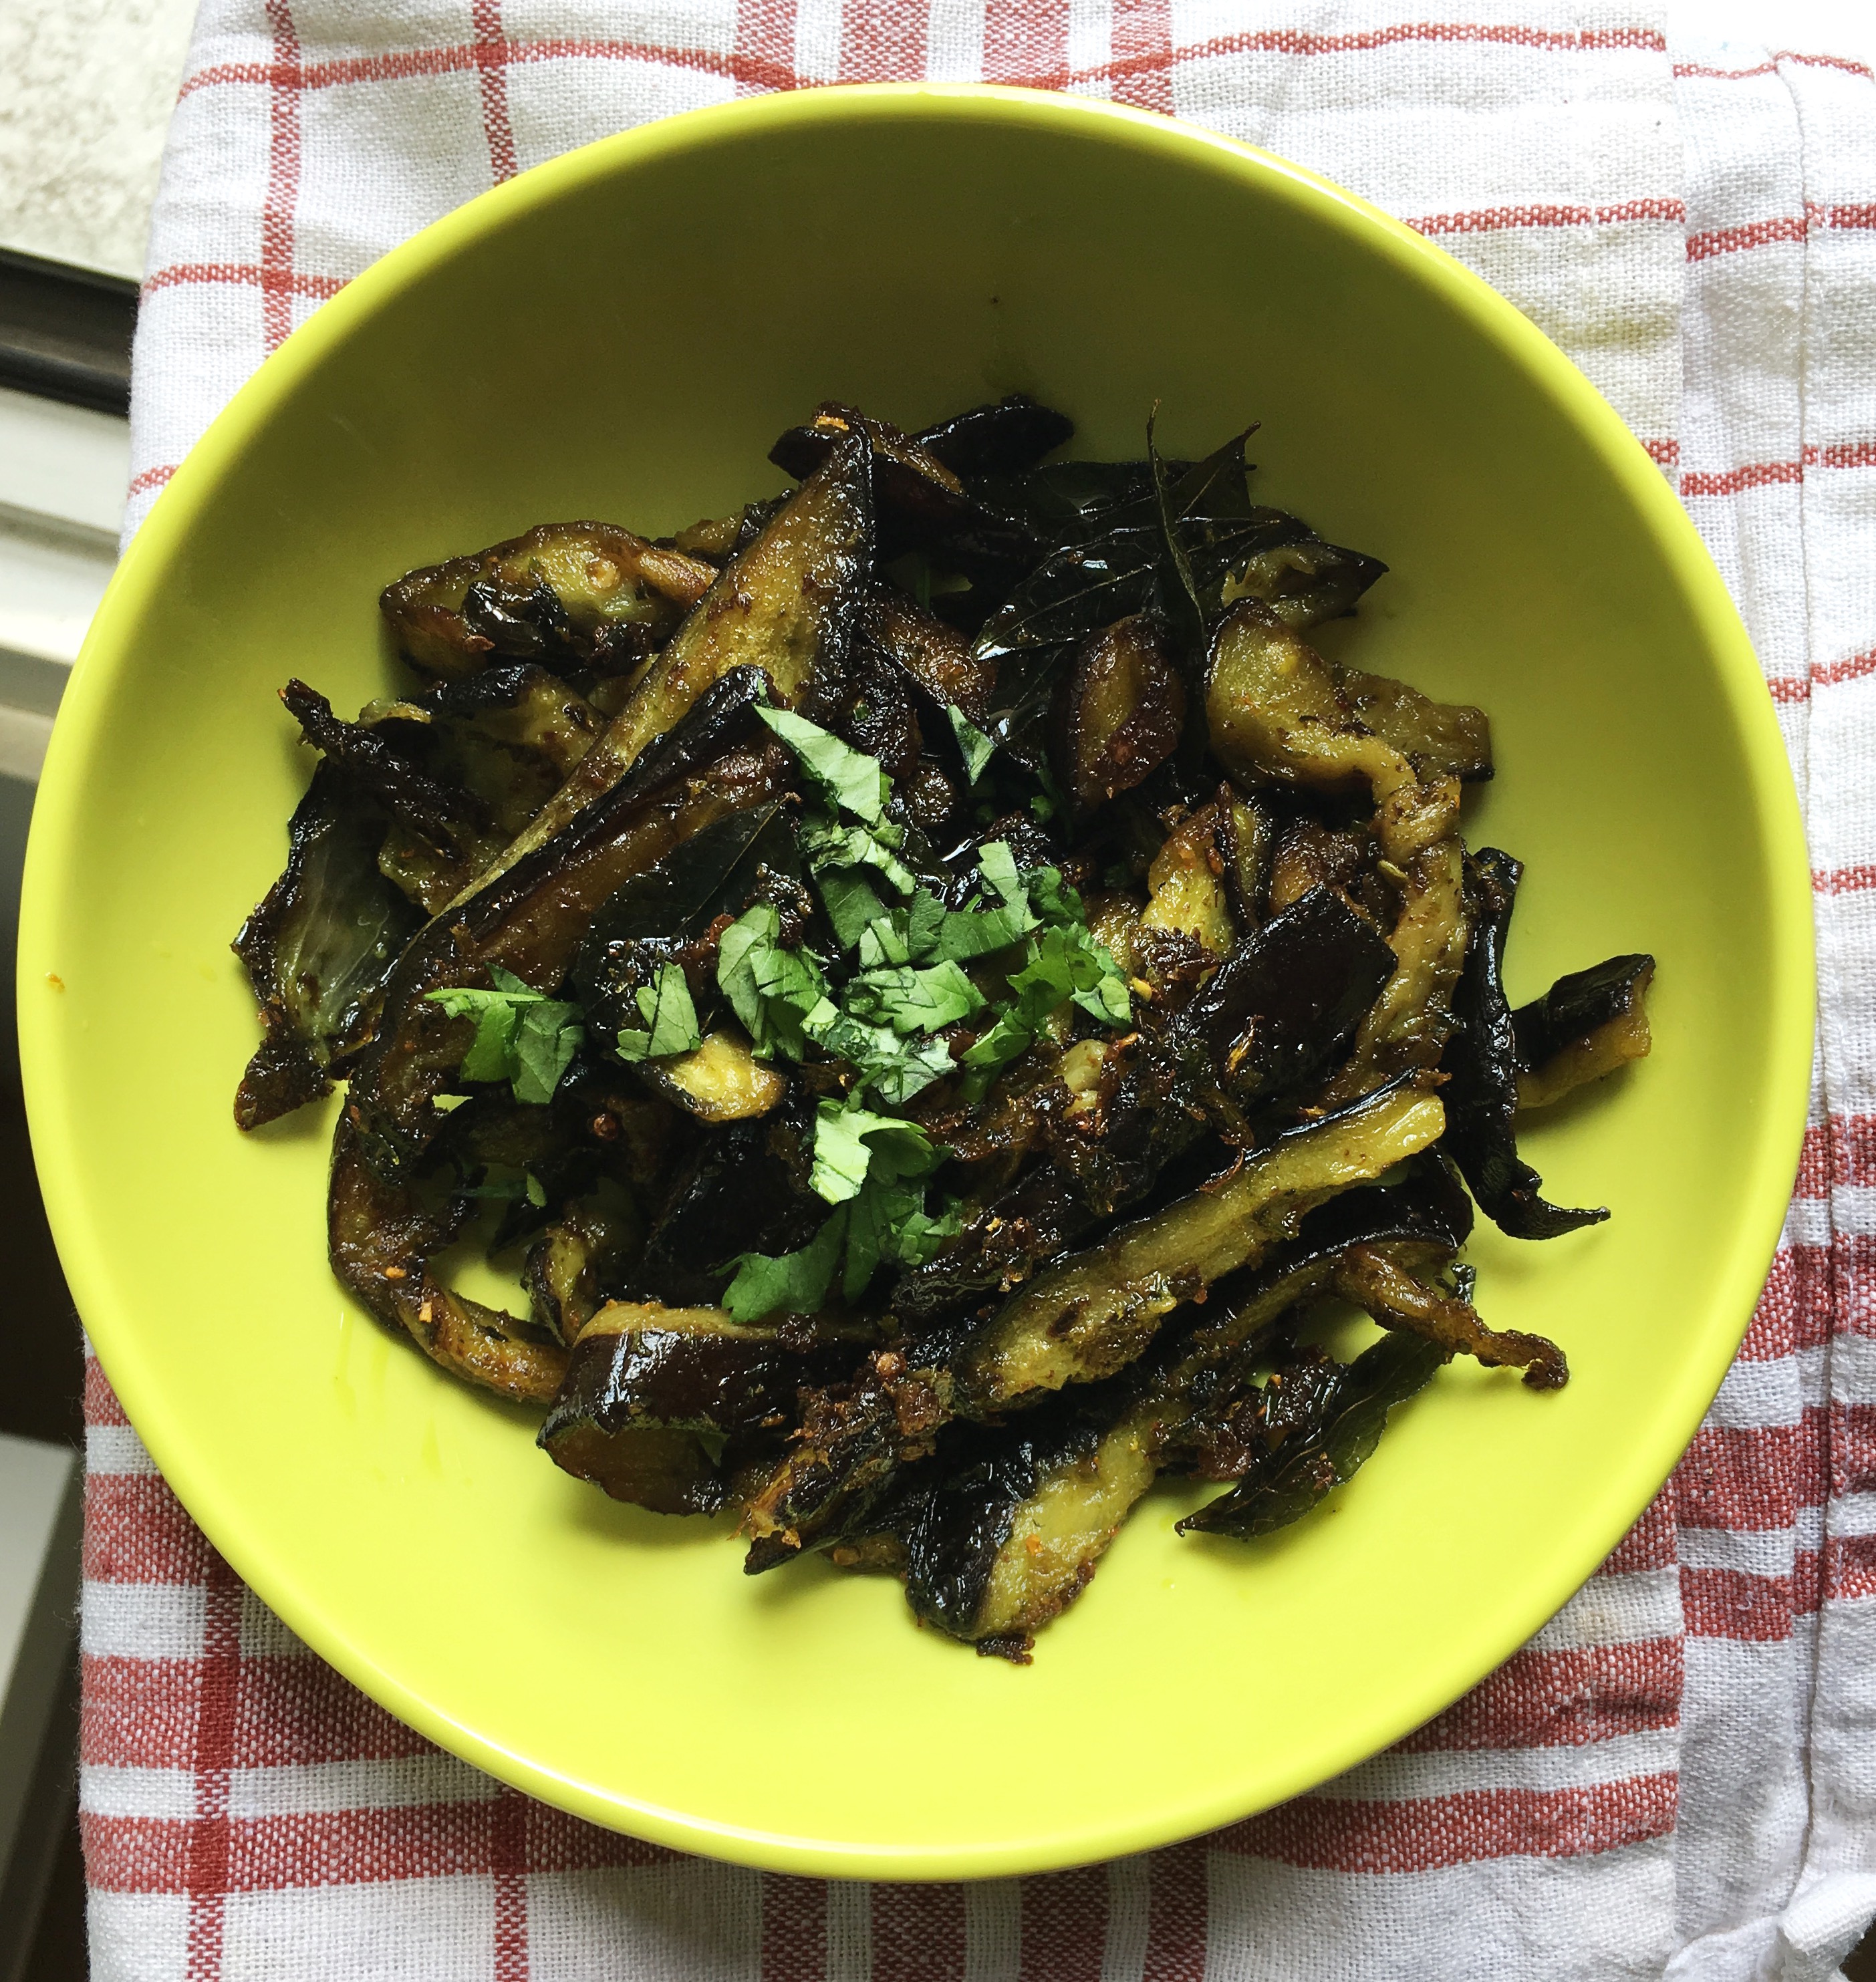
We live in a world where it is somehow illogically unpardonable to speak about money at your work place, lest you should be seen as “money minded”. When being confident of your own worth (on monetary terms, of course) was deemed to be an outright crime I will never know. So, in short, once you decide to take up an employment in an organization, you are expected to erase from your memory the fact that you have a home to go back to; the fact that you have people in your life who would want (maybe need) a fraction of your time every day; the fact that you had something called a ‘life’ right before you made up your mind to inscribe your initials onto that sheet of white paper with fine print which is your employment contract. And all this without being as much as concerned about the sum that is expected to hit your bank accounts (hopefully) by the end of every month? Really now?

I am not one to preach about high flying deals like “quit your job and travel the world”. On a side note, I have always thought that such ideas are nothing but absurd, and propounded by kids who have a tad too much in their respective bank accounts all thanks to the gold plated spoons they were born with in their mouths; gold that came from the lives of toil their parents lived. Coming from an upper middle class family, I don’t need to be taught about the importance of being able to fund for yourself and for the people you love. I do not need to be taught the sheer delight a well-earned pay cheque brings. All that bothers me is the fact that the term profession and all that it stands for in our world today, is seldom seen as the ‘means to the end’; the end which is your happiness. Instead, it is seen as the end in itself and that my friend, I feel is ridiculous.

Yesterday, as I walked back home from the subway station in the warm sunshine, with the lovely, cool spring wind on my face, I felt strangely content. I was happy to go back to our warm, cosy little apartment while the sun still streamed in; while I was still pepped up as opposed to my Indian law firm days when all I would have the energy to do once I got back home in the dead of the night was to change in to my pyjamas before hitting the sack. I was in such a light mood as I got back home, that I wanted to cook something elaborate for dinner. So, I changed into one of my oversized tees and a clean pair of stone washed denims, made a visit to the supermarket round the corner, came back home and prepared a feast for the two of us, opened a can of beer each, chattered about my day to the Husband, watched a movie and went to bed early. This was the kind of day I had always dreamt of while in India. And today, as I live the dream, I cannot help but wish the same for every one of us.

Anyway getting down to business. A lot of you had written to me with suggestions for the blog and I could not be any happier. Something that I come across a tad too often is that I should concentrate more on vegetarian dishes and this is something I plan to take up very seriously. So today, I share with you a recipe to a vegetarian dish which you can whip up in practically no time. This is something I chanced upon during my pursuits to get to something more complicated which a friend of mine had suggested. Although I did not quite get the dish I had in mind quite straight, what came out of the experiment was delicious. So, here goes.

What you will need:

  1. Brinjal/Aubergines/Eggplant- 250 gms (cut into long pieces)
  2. Coriander leaves- 1 small bunch
  3. Green chilies- 4 or 5 (vary according to your heat tolerance levels)
  4. Turmeric powder- ¼ tsp
  5. Cooking oil
  6. Salt
  7. Curry leaves (optional)


How to go about it.

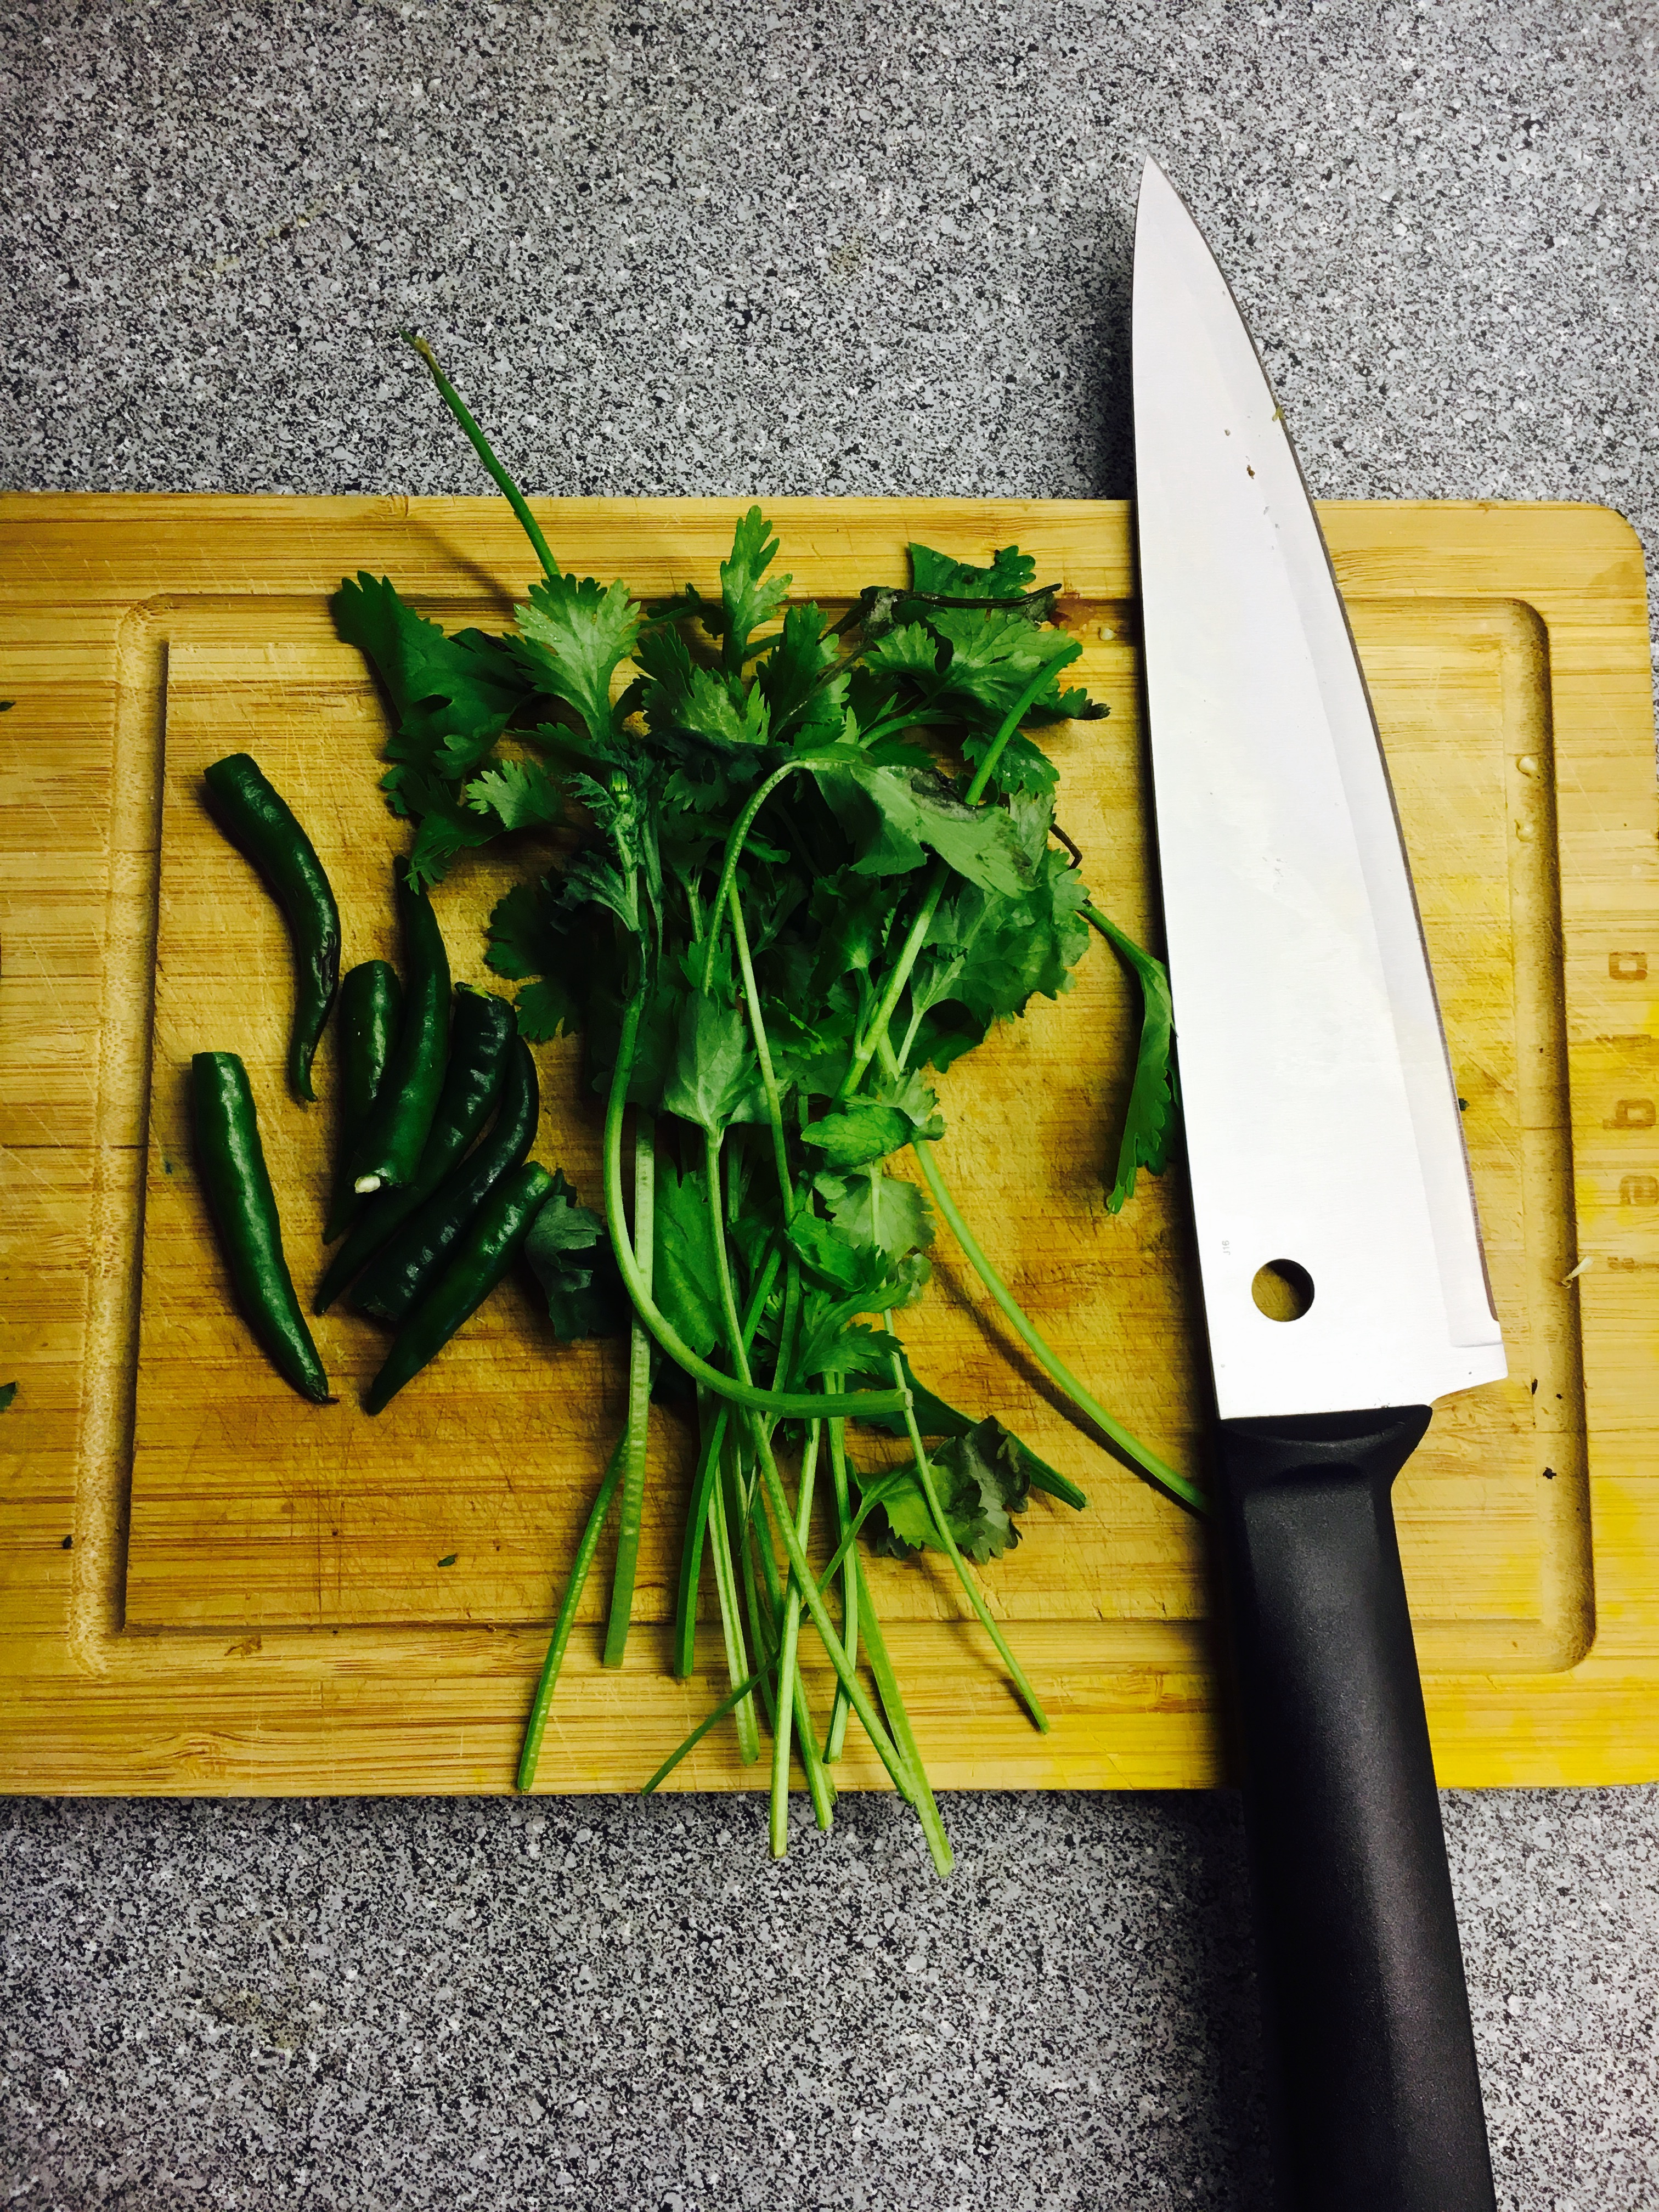
  1. Make a smooth paste of the coriander and the green chilies and keep aside.IMG_3949
  2. Heat some cooking oil in a wok and temper some curry leaves. Add the cut eggplant to the wok and sauté well. Add the salt and turmeric, mix well and keep the wok closed to make sure the eggplants are cooked well. Once they turn soft, add a bit more oil in case you feel the wok is running dry, and fry the aubergines till they are almost well done. This should take about 10 to 12 minutes.
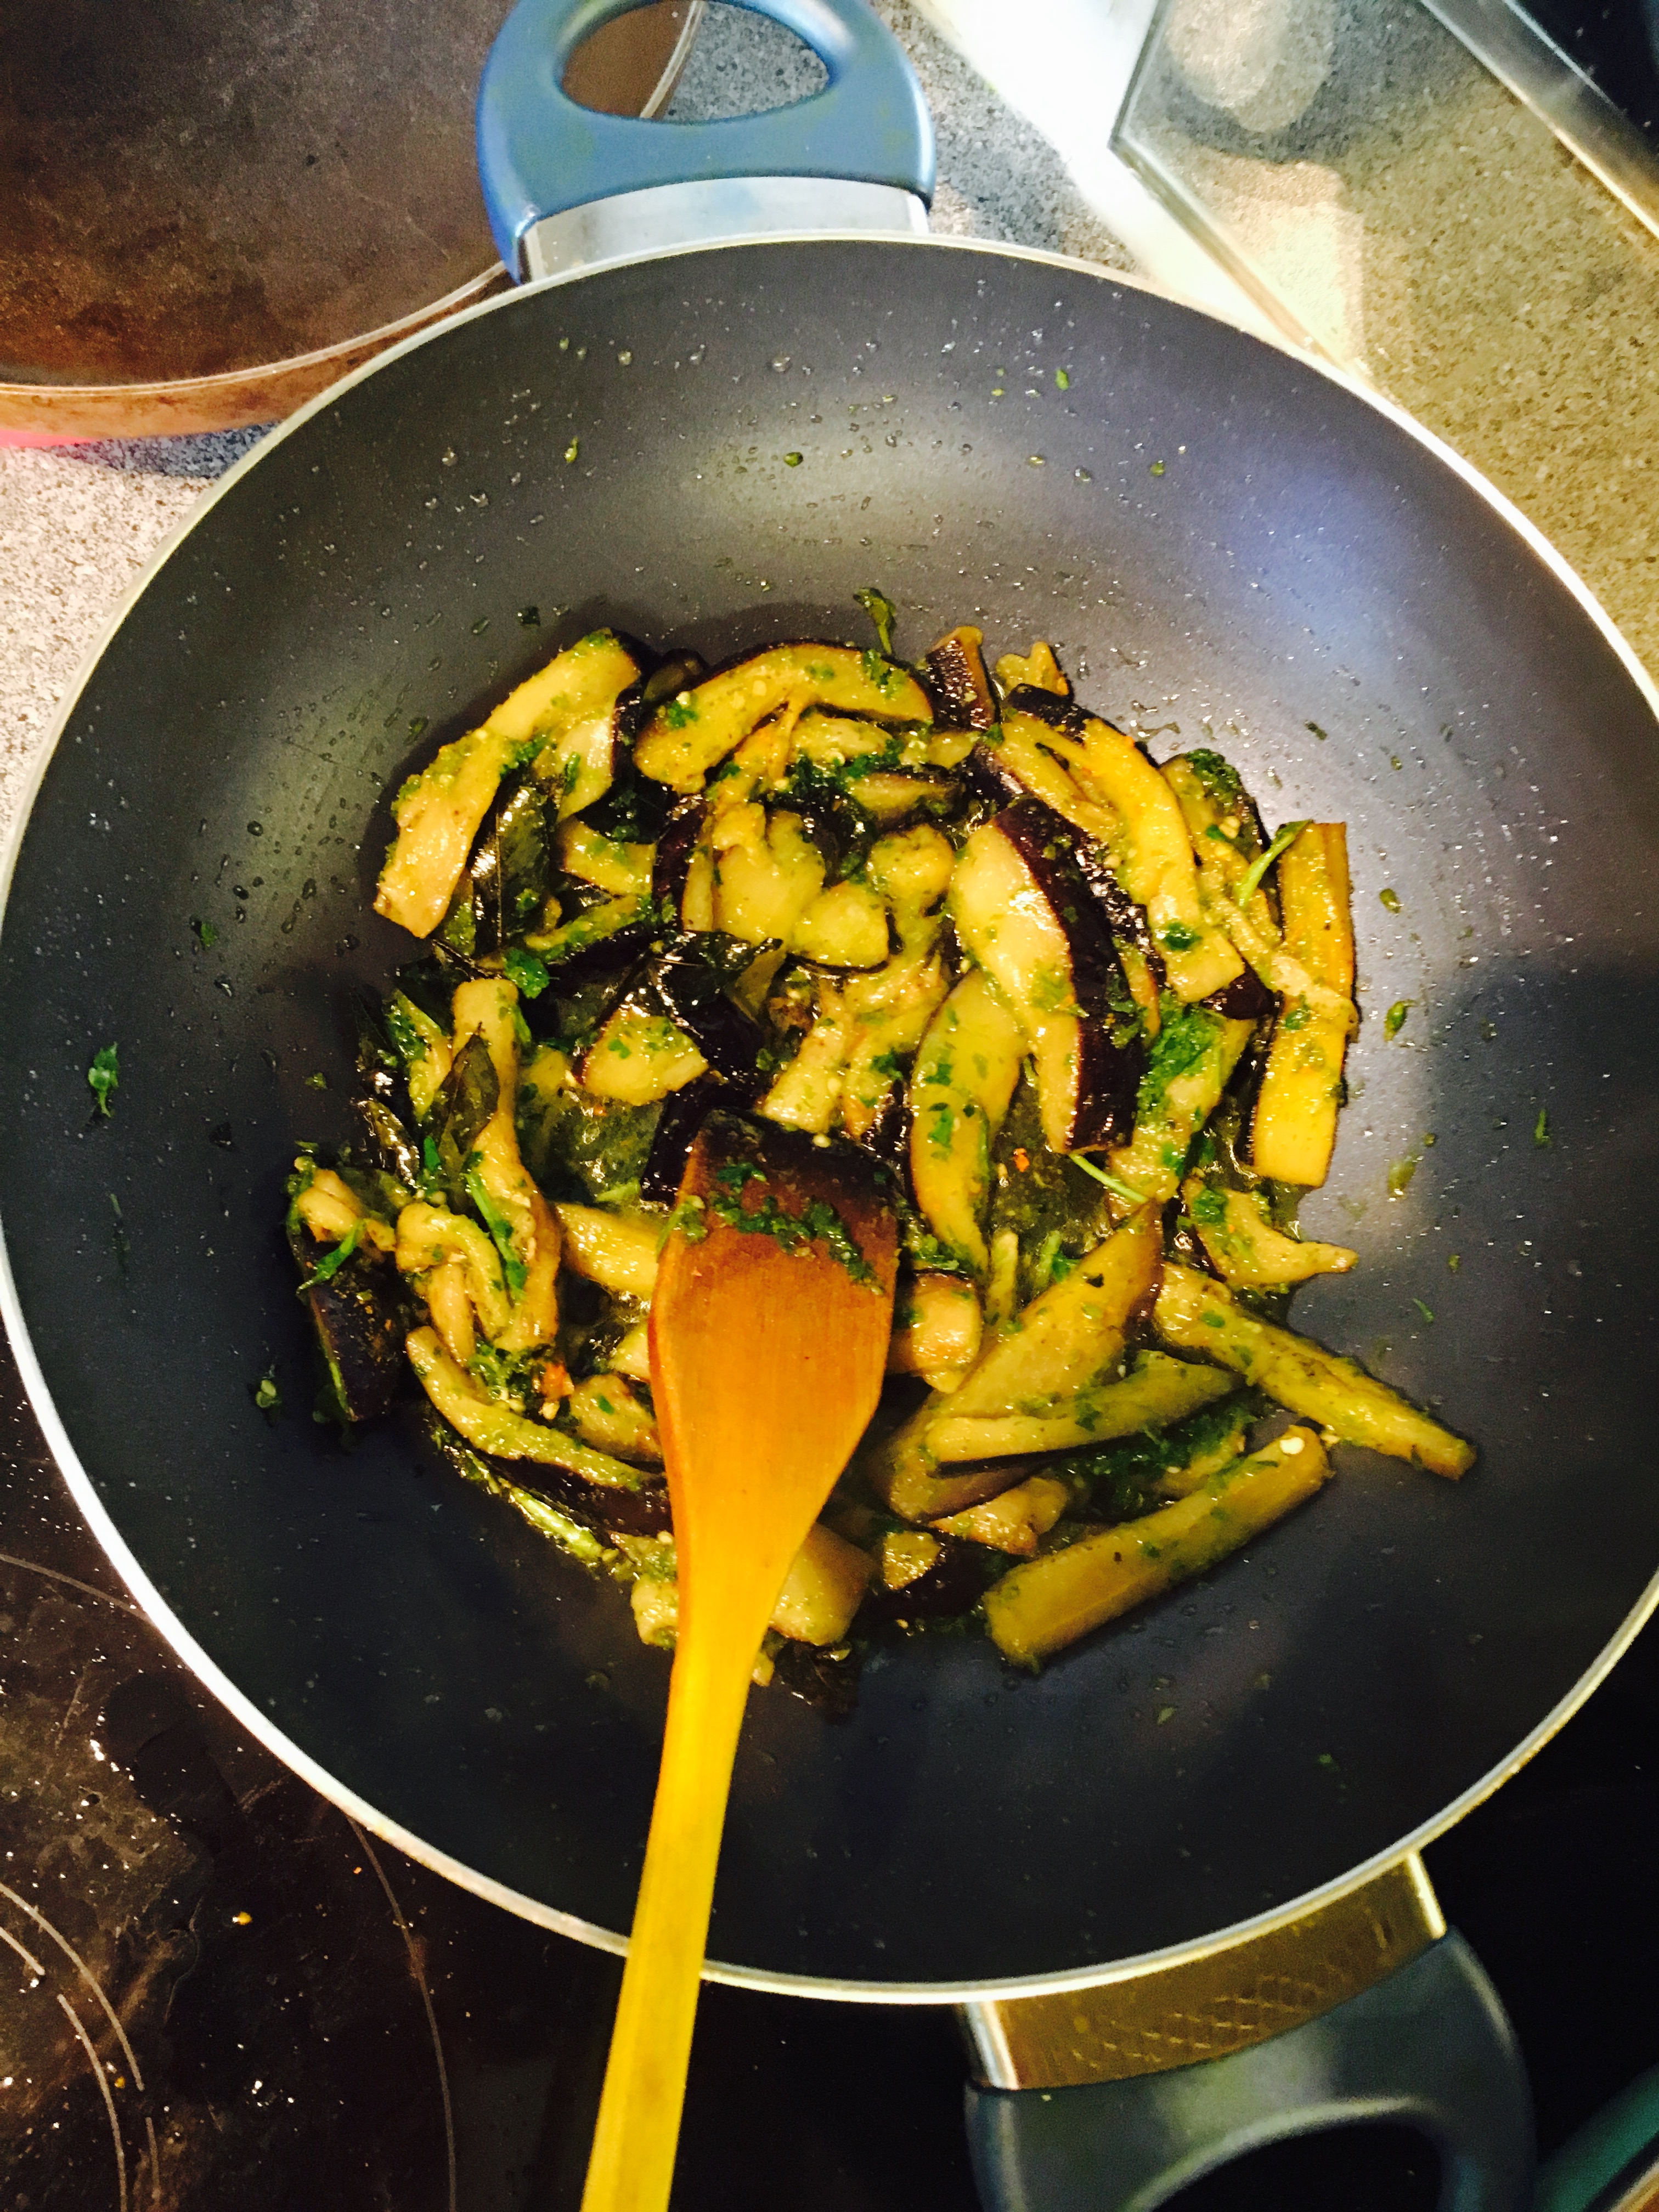
  3. Add the coriander chili paste and mix well. Fry the eggplants well in the paste till you lose the raw flavour of the coriander.IMG_3955
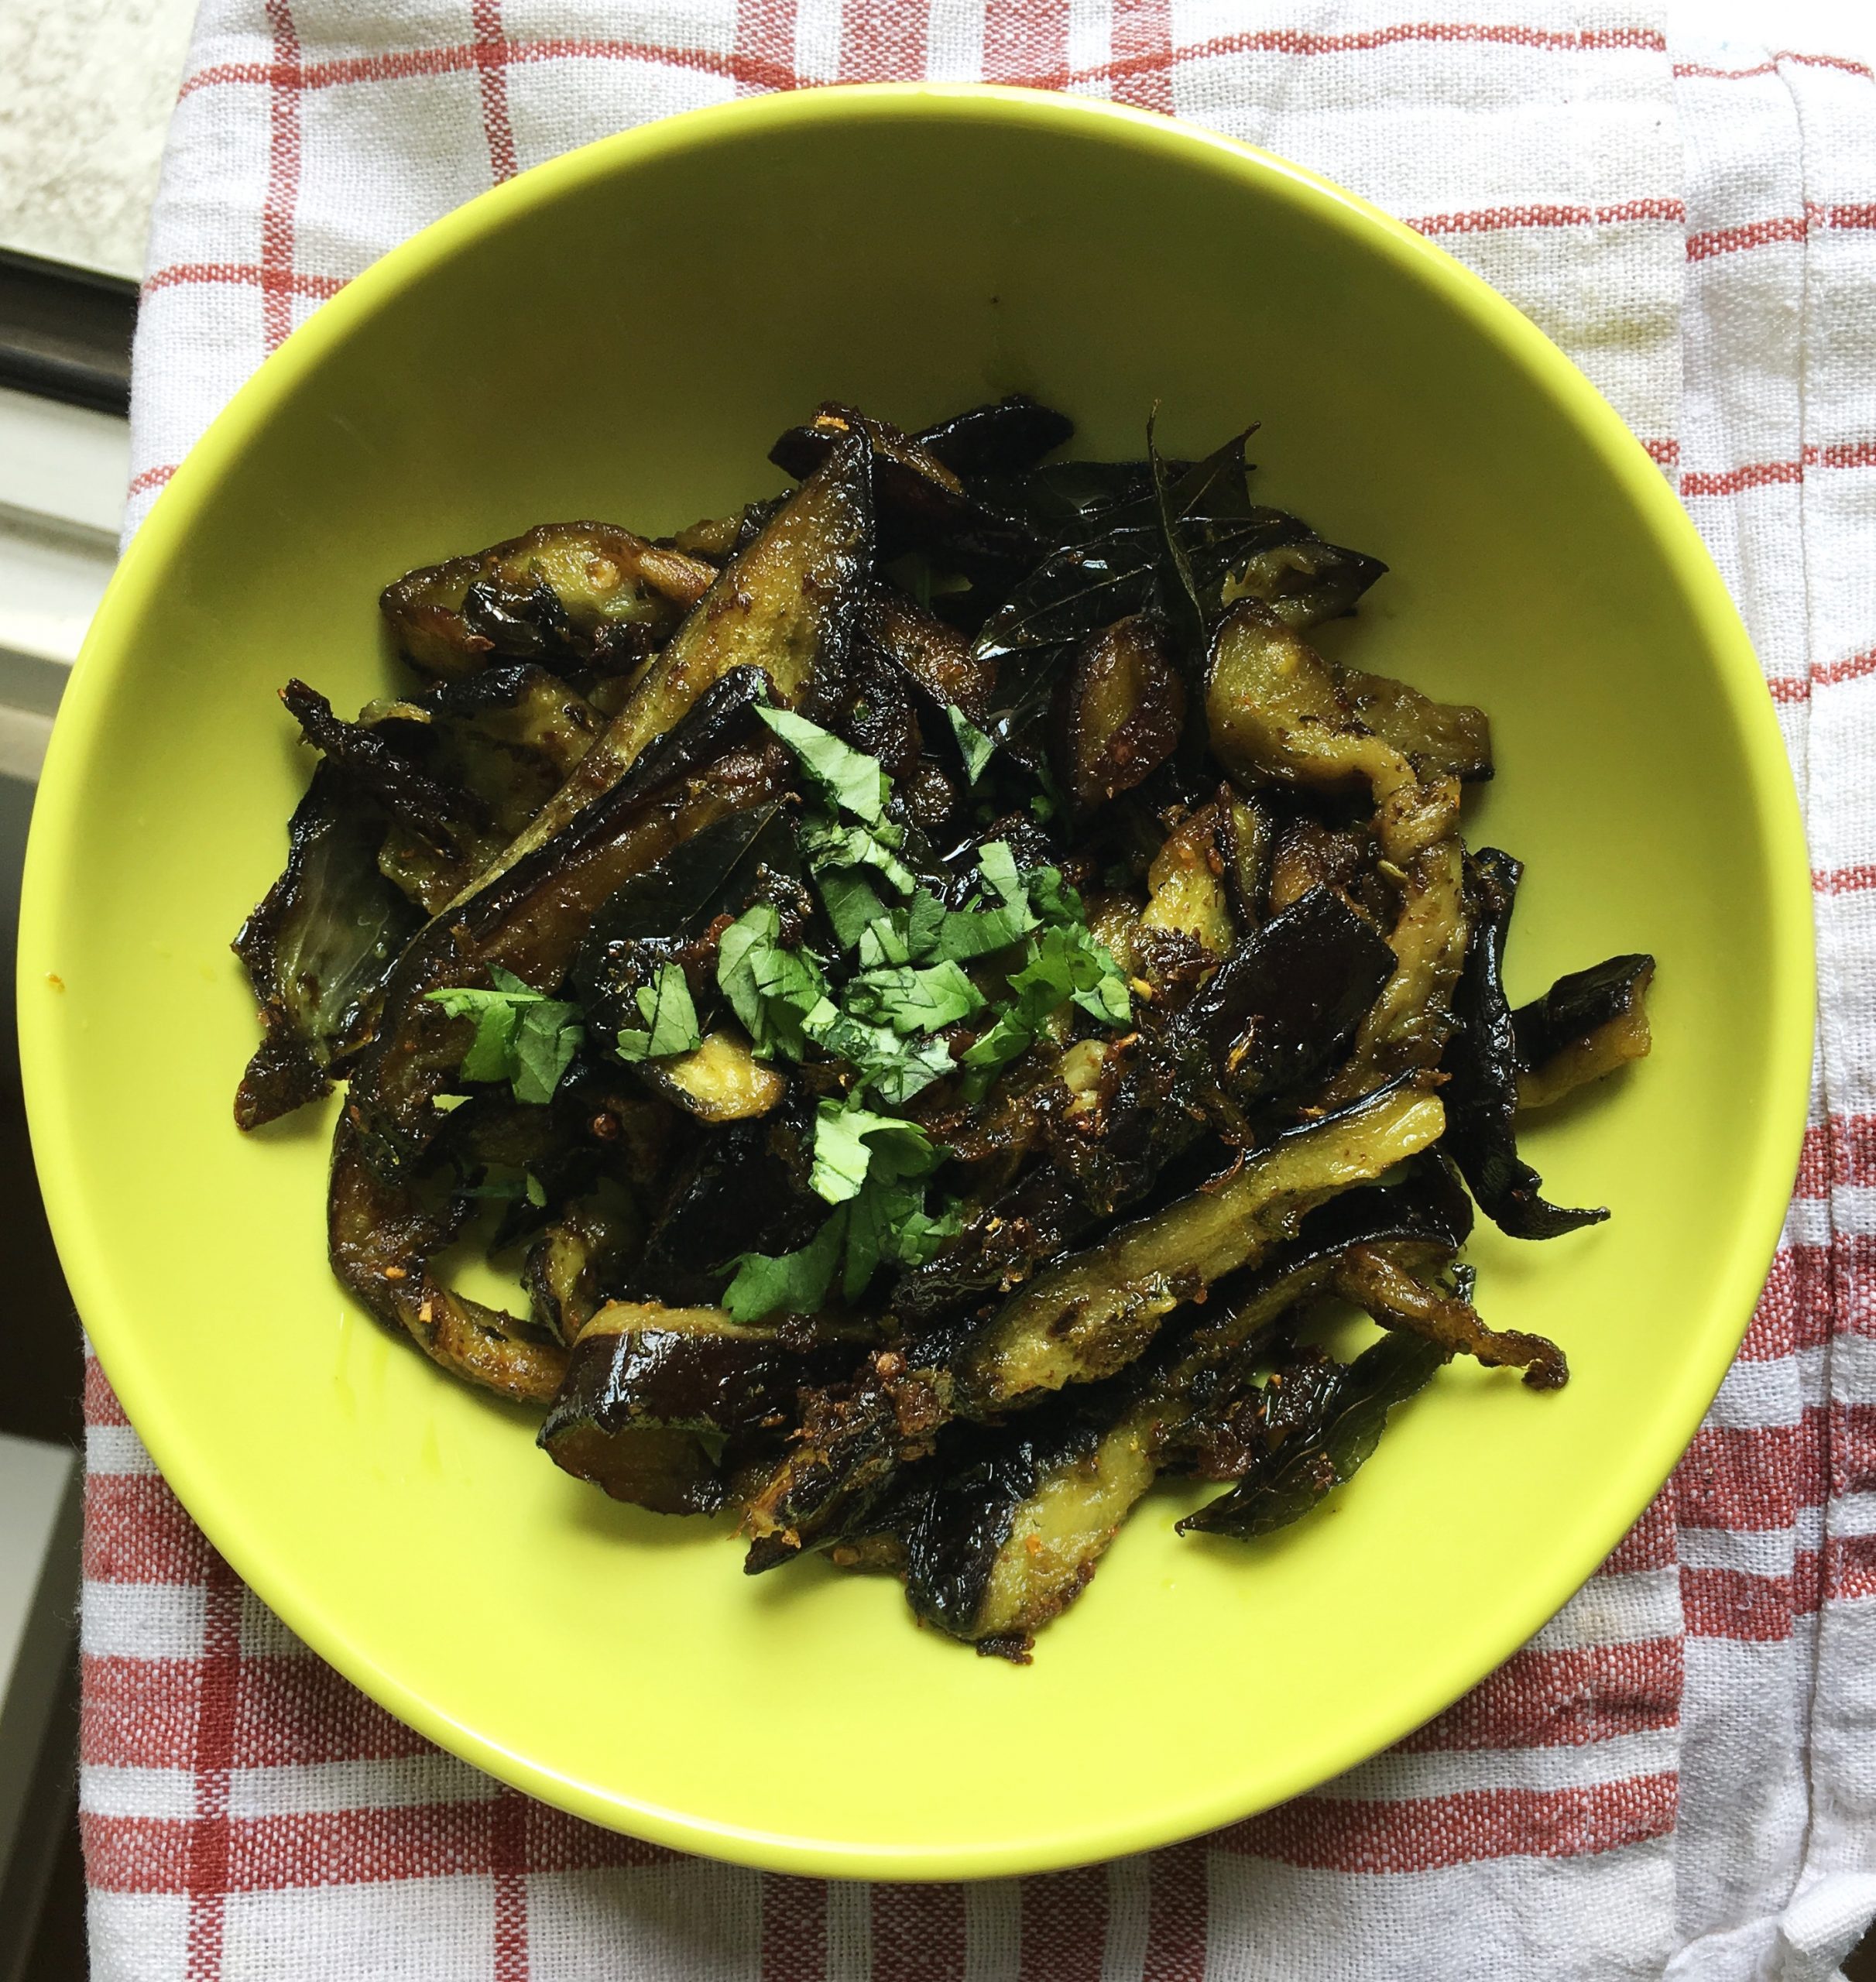
  4. All you need to do for this recipe is to make sure that the eggplants are fried well. They taste the best when they are fried till they are a step away from burnt.IMG_3960

Your eggplants fried in coriander chili paste is ready and tastes great with some hot rice and dal (lentil curry). Give it a try and let me know 🙂


Easy Chicken Biryani for Mr & Mrs Lazybones

Easy Chicken Biryani for Mr & Mrs Lazybones

Anjali Venugopal April 24, 2017 NO COMMENTS

IMG_3374It looks like I am still pursuing my goal of putting up one post a week. Last week was particularly busy (to be read as insane amounts of fun) with the sister around. We have been spending our days gawking at the sheer beauty this city encompasses, going on long walks on cobbled streets with tulips blooming all along the wayside, pausing at every little nook that catches our fancies, treating ourselves to an occasional ice cream cone or two. We spend all our time talking about everything the sun has ever shone on; about the challenges at our respective workplaces, the days that we spent in our childhood engaging in all sorts of mischief but sticking up for one another no matter what, about the time and effort wasted on people who least deserved it, love lost and found; in short, life in the greatest of detail.
We sat on a lone park bench in the woods for hours yesterday under the azure skies adorned with those white, fluffy clouds floating around like bits of cotton candy from the carnival, listening to the little birdies chirping away in the bushes and the trees all around, our feet softly brushing against the grass so green that it almost looked like Nature herself had decided to give the Instagram filters a shot, trying to count in vain the white and yellow daisies that seemed to have scattered themselves all over the grass carpet, chasing dandelions. It was just one of those beautiful days right out of a story book, when all you wanted to do was to spend some quality time with your loved ones talking, laughing, reminiscing, and we did just that.

With the sister around, it has been an easy week for the Husband and for me because it means that there is an extra pair of hands in the house, and that too, a pair that is ever so willing to help out with the household chores. Although we have been getting her to try out all our favourite joints in the city, we have still been cooking at least one meal per day at home. In other words, she is being bombarded with food and drink from all sides, every single day.

That brings me to the point.

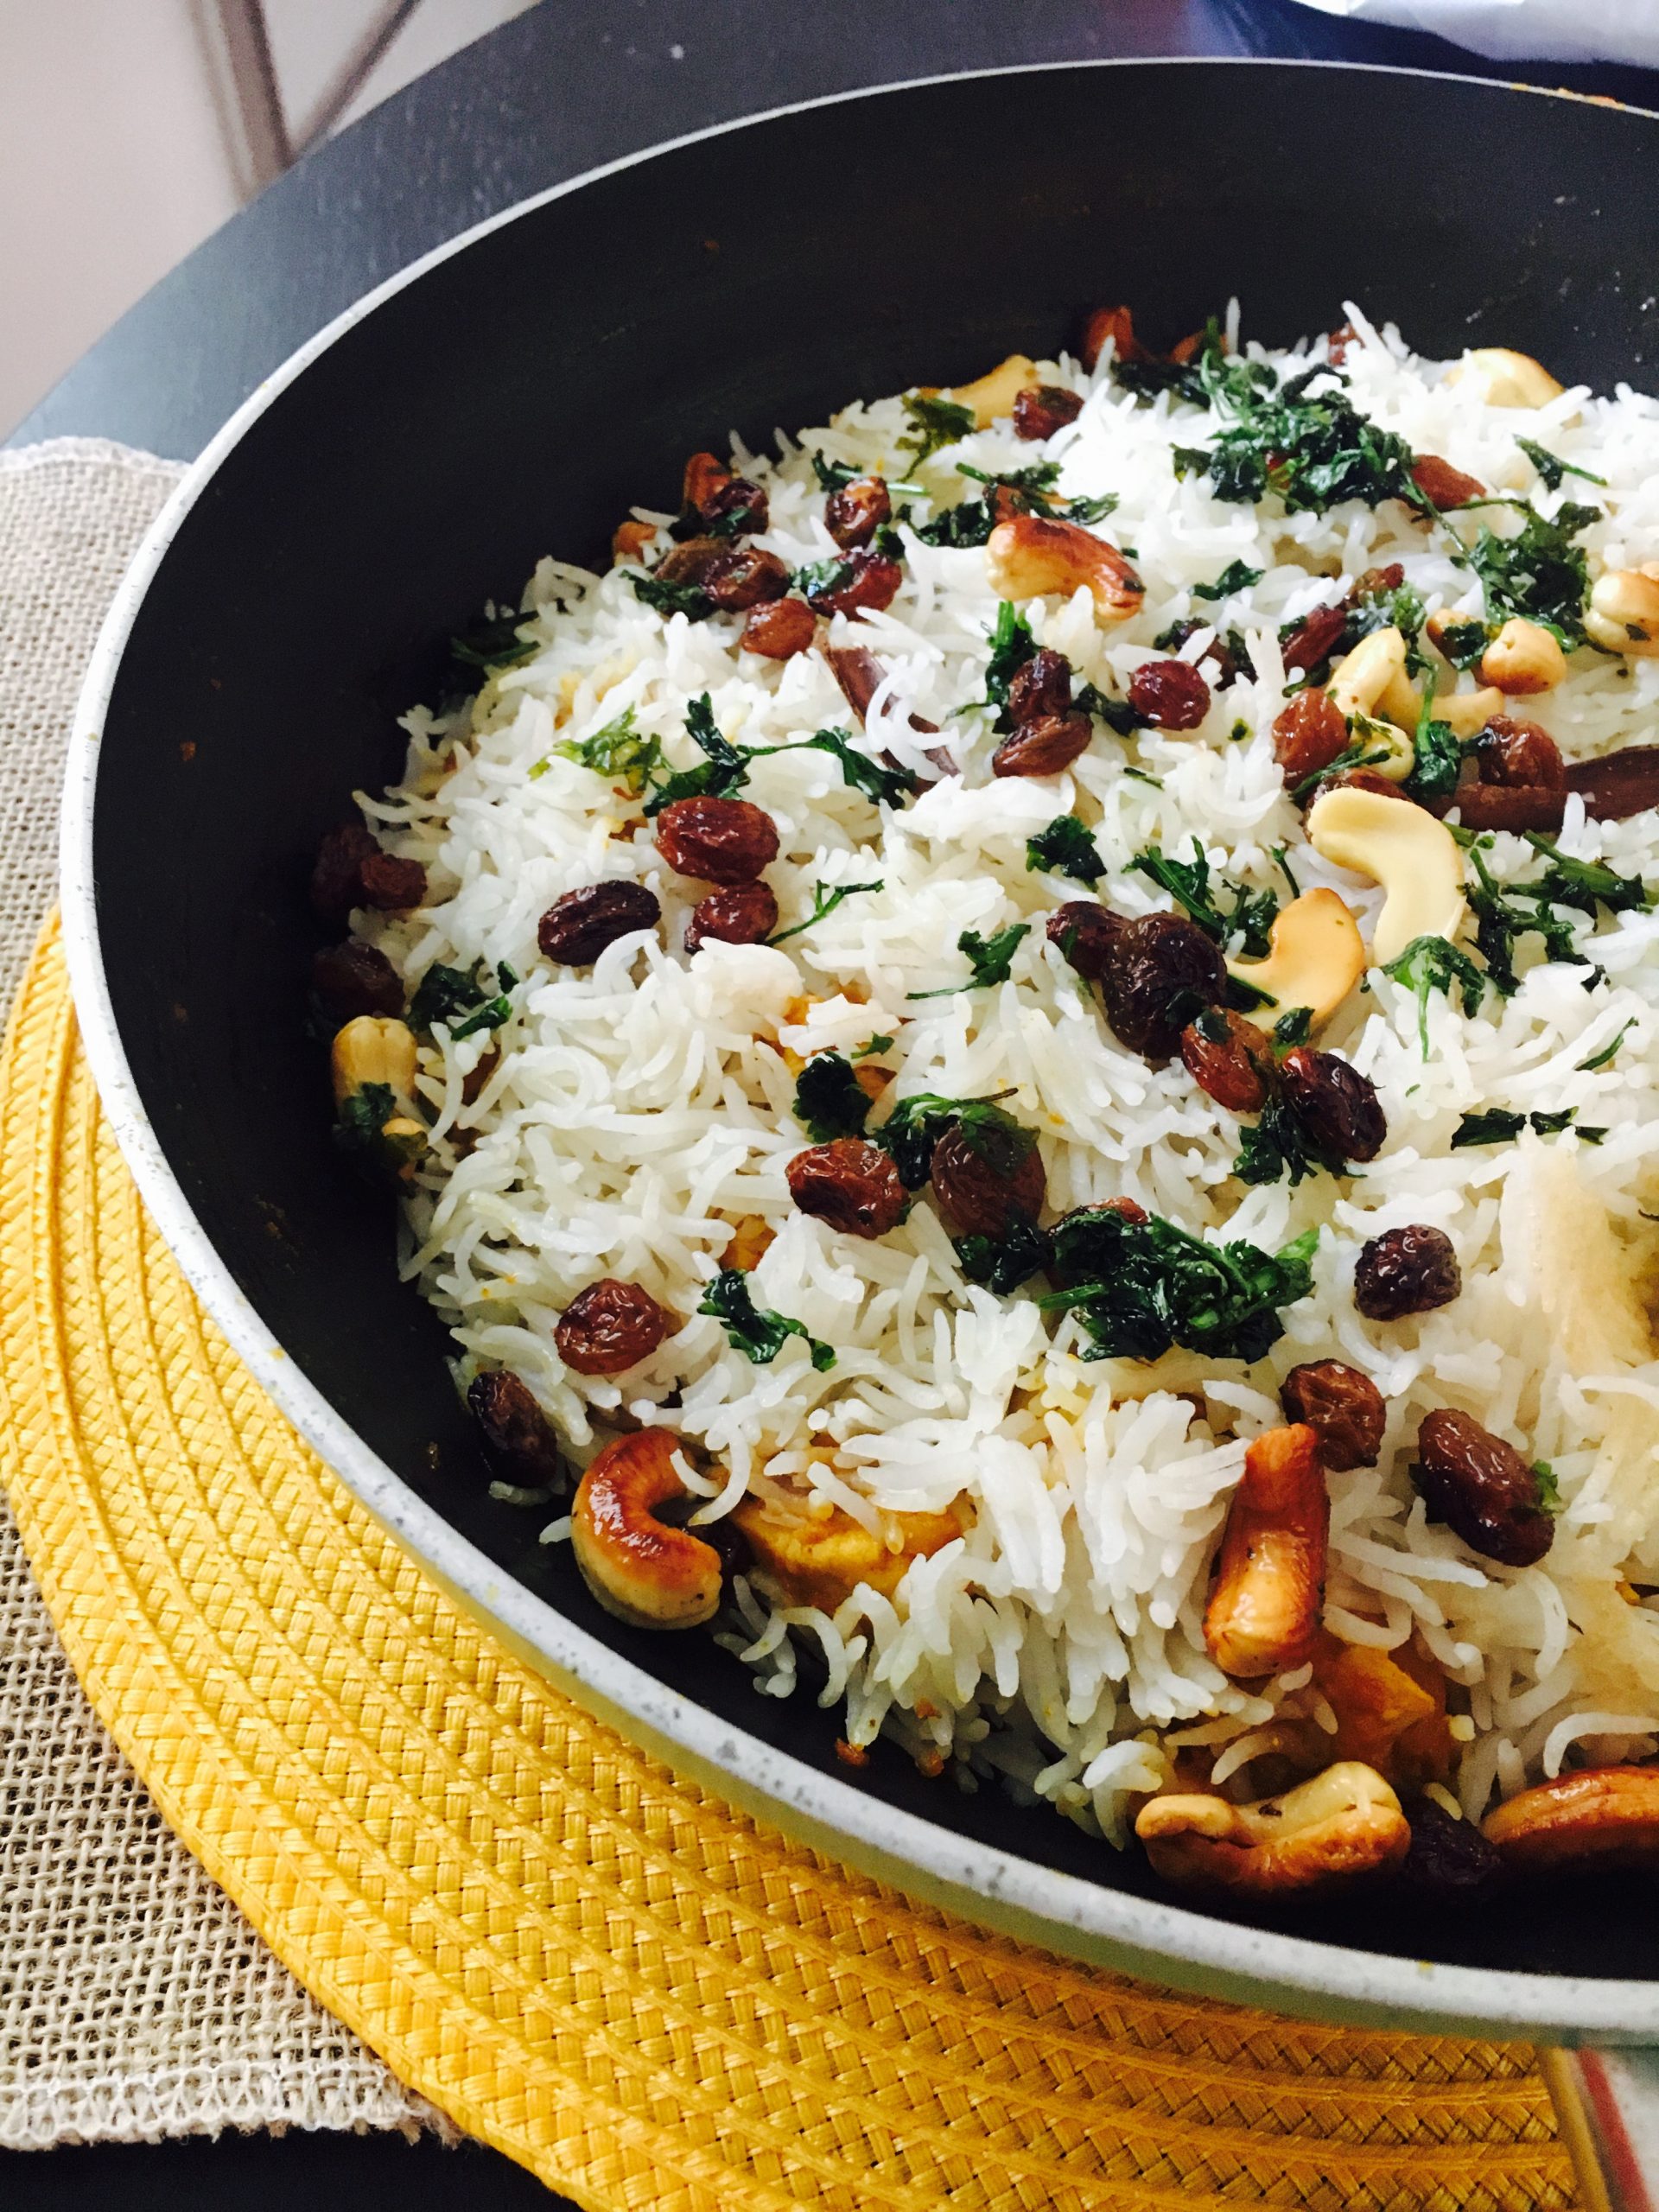
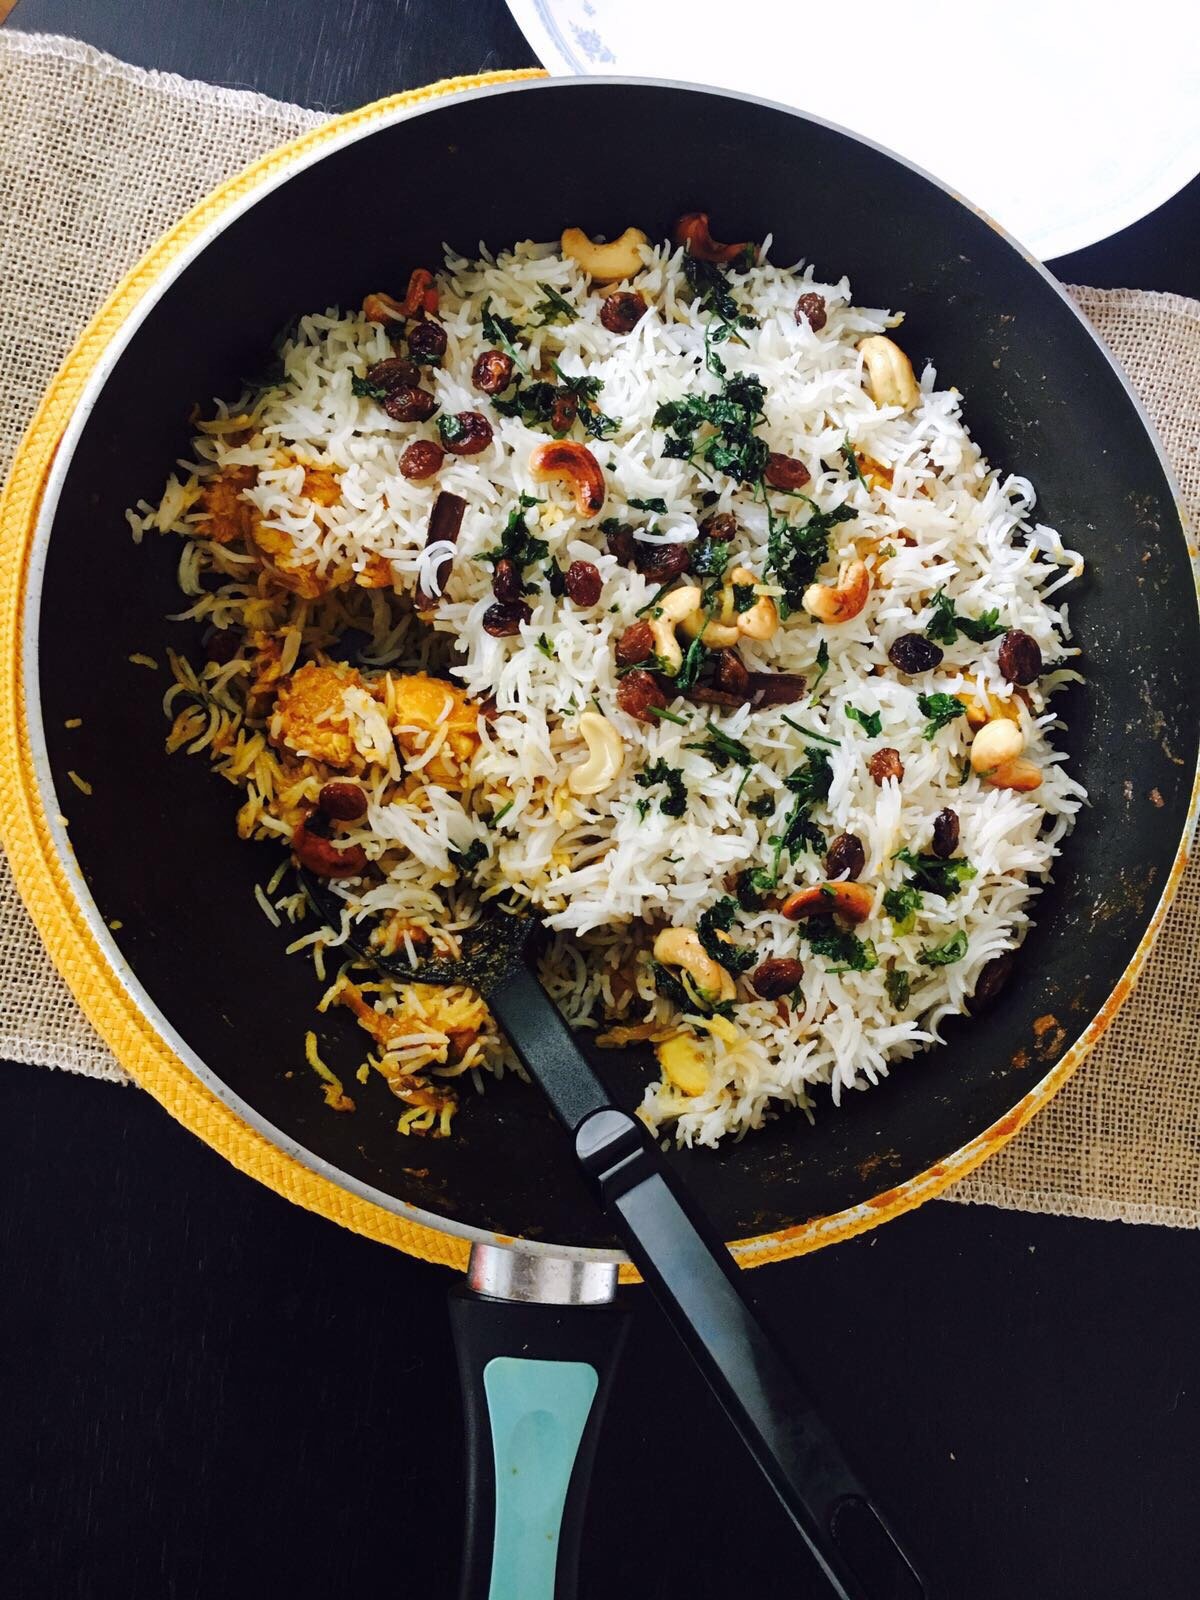
I have been receiving quite a few requests for an easy biryani recipe, for some time now. And with two people in the house who are possibly the biggest fans of the enterprise called Biryani, I could not have been bestowed with a better opportunity to try out a recipe that I have been developing in my head for months. I do not normally deviate from my fail safe recipe for Biryani, but I did realise that the recipe does not exactly cater to the crowd that I want to help out; the beginner/lazy cooks, who enjoy great home cooked food nevertheless. A bad biryani is unpardonable in my books and this, in all likelihood, is the easiest recipe for a yummy Biryani and trust me, not a soul will guess the negligible amount of effort that goes in to whipping up this royalty. This took me exactly 45 minutes and that I believe is quite something. Added bonus, you end up looking like nothing less than an Indian chef extraordinaire. So, here goes.

Things you will need:

(Serves 4)

  1. Chicken- 500 grams (boneless, cut into small pieces)
  2. Basmati Rice- 2 cups
  3. Onions- 2 medium sized sliced finely
  4. Tomatoes- 2 medium sized chopped
  5. Cloves- 6
  6. Cinnamon- 1 inch stick
  7. Green Cardamoms- 3
  8. Bay Leaf- ½
  9. Garam Masala powder- 1 tsp
  10. Red Chili powder- 2 tsp
  11. Coriander Powder- 1 ½ tbsp
  12. Turmeric Powder- ½ tsp
  13. Ghee
  14. Cooking oil
  15. Cashews- 15-20 (broken into halves)
  16. Raisins- 15-20
  17. Fresh coriander leaves chopped- ¼ cup

For the marination

  1. Yoghurt- 2 tbsp
  2. Red chili powder- ½ tsp
  3. Turmeric- ½ tsp
  4. Salt
  5. Vinegar- 1 Tbsp

How to go about it

  1. First, marinate the chicken with all the ingredients mentioned under the head “for the marination”. Let the chicken marinate for about an hour, lesser if you are too hungry to care.
  2. Next you need to cook the rice. While cooking the rice (you may choose to use a rice cooker or pressure cooker or even an open vessel to cook rice) add ½ a teaspoon of salt, the cloves, cinnamon, bay leaf, cardamom and a little more than 1 tablespoon of ghee to the water. Once the rice is cooked well, keep it aside to cool. Important to ensure that you don’t overcook the rice since the consistency of the rice is what determines the texture of the biryani.
  3. Next, in a deep wok, heat some cooking oil and sauté the sliced onions till they turn a nice golden brown. Yet again, for the umpteenth time, the effort you put into sautéing the onions is what determines the final quality of the dish you serve.
  4. Add the tomatoes, mix well and keep the wok closed for about a minute so that the tomatoes are cooked well. After the tomatoes are cooked, keep sautéing for about three to four minutes or until the tomatoes lose their raw smell. Add the powders at this point and mix well and keep sautéing till the oil starts to leave from the sides of the mixture.
  5. Add the marinated chicken to the wok, mix well and keep stirring for about two minutes. Add a little less than half a cup of water to the chicken, mix well, check the salt and keep the wok closed till the chicken is cooked completely. Once the chicken is done, open the lid and let the water content evaporate till you reach a semi dry consistency. Make sure you don’t dry the dish up completely.
  6. Next, in a pan, heat some ghee and sauté the cashews and raisins till they turn a nice golden brown. Add the chopped coriander leaves to the pan, sauté well for about another 40 seconds. Keep aside to cool.
  7. Remove the chicken from the wok temporarily. Layer half the cooked and cooled rice in the bottom of the wok. Layer the chicken on top of the first layer of rice. Layer the remaining rice on top of the chicken. Garnish with the coriander, cashews and raisins sautéed in ghee. Close the wok, leave it on the stove on minimal heat for about three to four minutes and your biryani is ready to be pounced on! 🙂


Tastes like home, Part 2: Kerala style Parippu Curry, traditional lentil curry from Kerala

Tastes like home, Part 2: Kerala style Parippu Curry, traditional lentil curry from Kerala

Anjali Venugopal March 27, 2017 NO COMMENTS

IMG_2645

All our 16 year old selves have been found guilty of wanting to grow up, be independent and leave home eventually. The rules, the curfews, and the choices our parents made were never good enough for us. Life was “boring” as we called it. Especially for an upper middle class teen like me, the city wasn’t as “happening” as I would have liked and incessantly dreamt of a “cool” life in a bigger city.

My dream was to find my way, by hook or crook, out of that lovely, green corner I was born and raised in, which is home to the most beautiful rain I have witnessed; where it is commonplace to wake up listening to the birds outside your window at dawn; where it is the norm to know the entire neighbourhood by their first names; where twilight is welcomed by the soft scents of agarbati, where my happy family sat on the verandah, watching the sun go down, sharing a joke and laughing to our hearts content, where Amma would make a stern reminder about our homework at 7 PM on the dot as though she had some sort of alarm clock embedded in her system. A couple of hours of fiddling with my homework would mean dinner time and food would miraculously appear on the dining table and all I ever had to do was show up, washed and clean. Amma would serve the usual staple of some boiled rice, sautéed seasonal veggies tempered with a hint of coconut and some spicy fish curry or even some fried fish on the good days. My sole duty was to quietly wipe my plate clean but no! I would choose to make a fuss, making a face at the veggies and maybe even throw a verbal tantrum as I grew older. All this would last till Amma’s patience snapped or when she would just beckon to my dad to come take care of the situation, when all of a sudden, silence would fall like those thick velvety curtains back in my school auditorium. To think this was the life I wanted to run away from…

Somehow, in our eternal pursuit behind what will be instead of what is, maybe we lost out on the sweetest fruits of life. Today as we sit, laboring away at a corporate job, staring into the computer screens for hours at a stretch, nibbling at a sandwich made of some dry bread for lunch, struggling to pay our bills, craving for a warm plate of mom-cooked food, how many of us can say honestly that we are indeed happy? And how many of us would trade the lives we lead now to go right back to your wooden study desks at home racking your brain to somehow make sense of the quadratic equation staring back at you from those single lined note books, while you fiddled with the new gel pen that you proudly got for yourself after saving up 10 rupees from your pocket money?

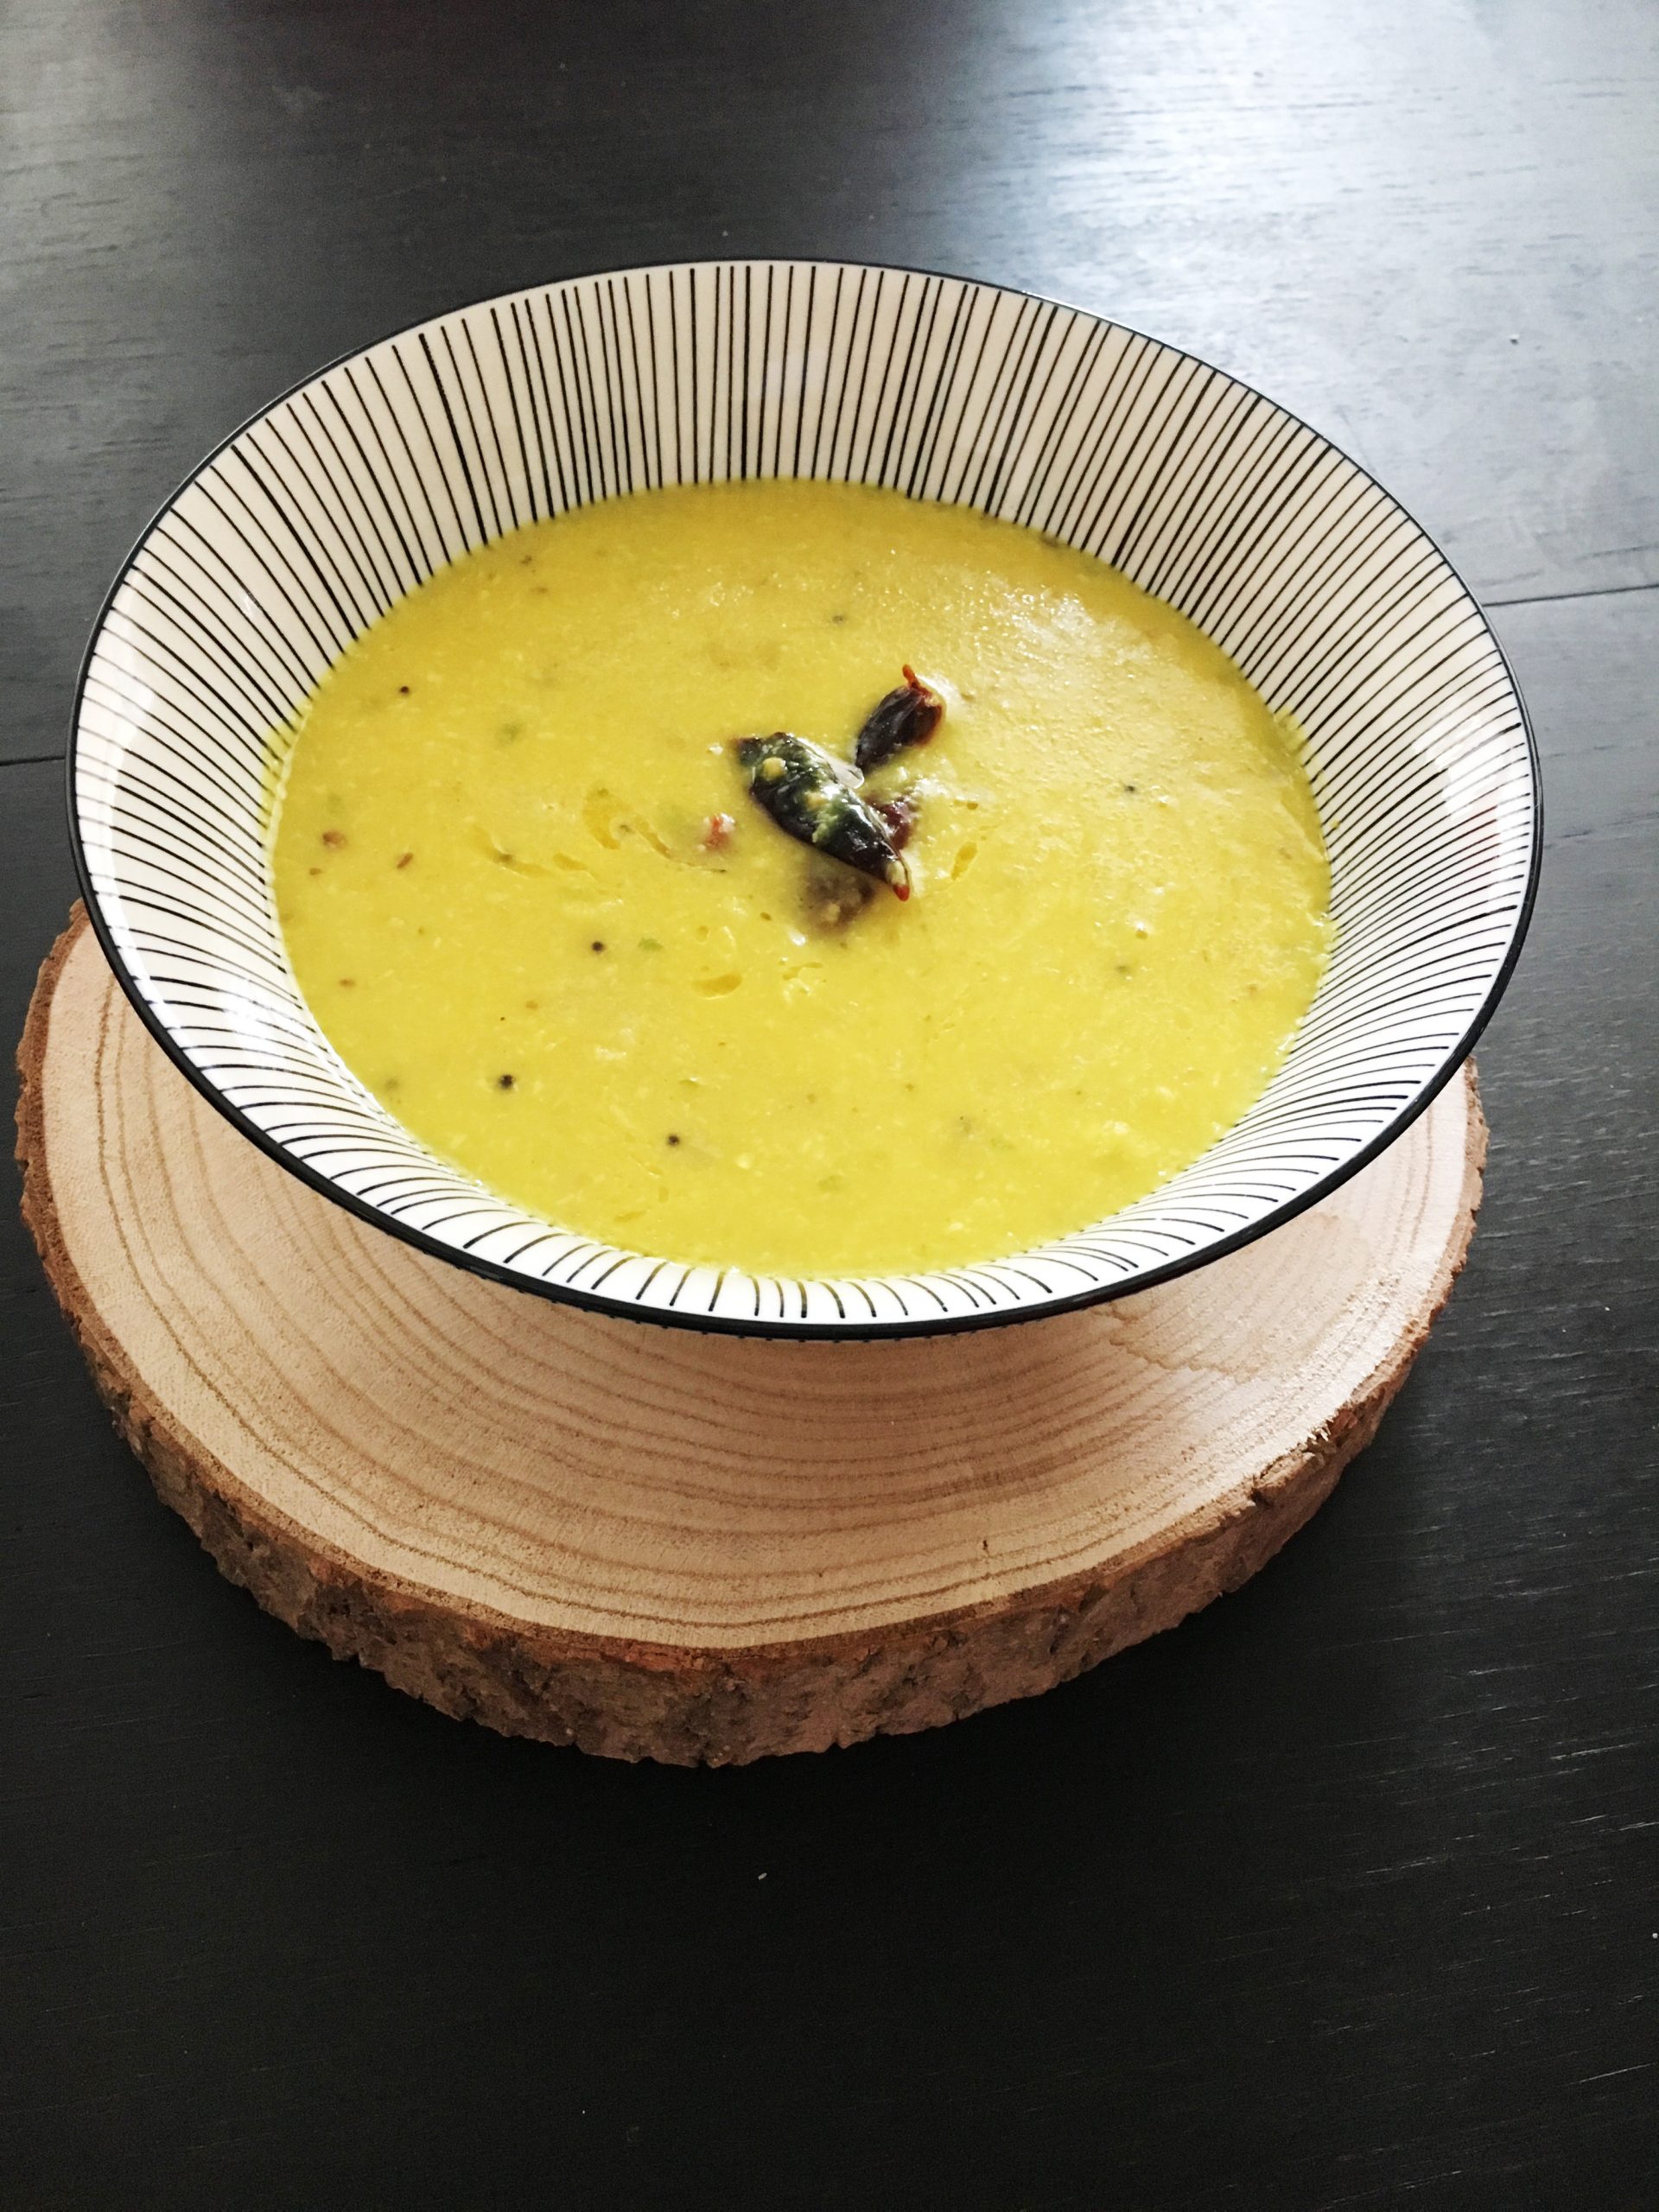
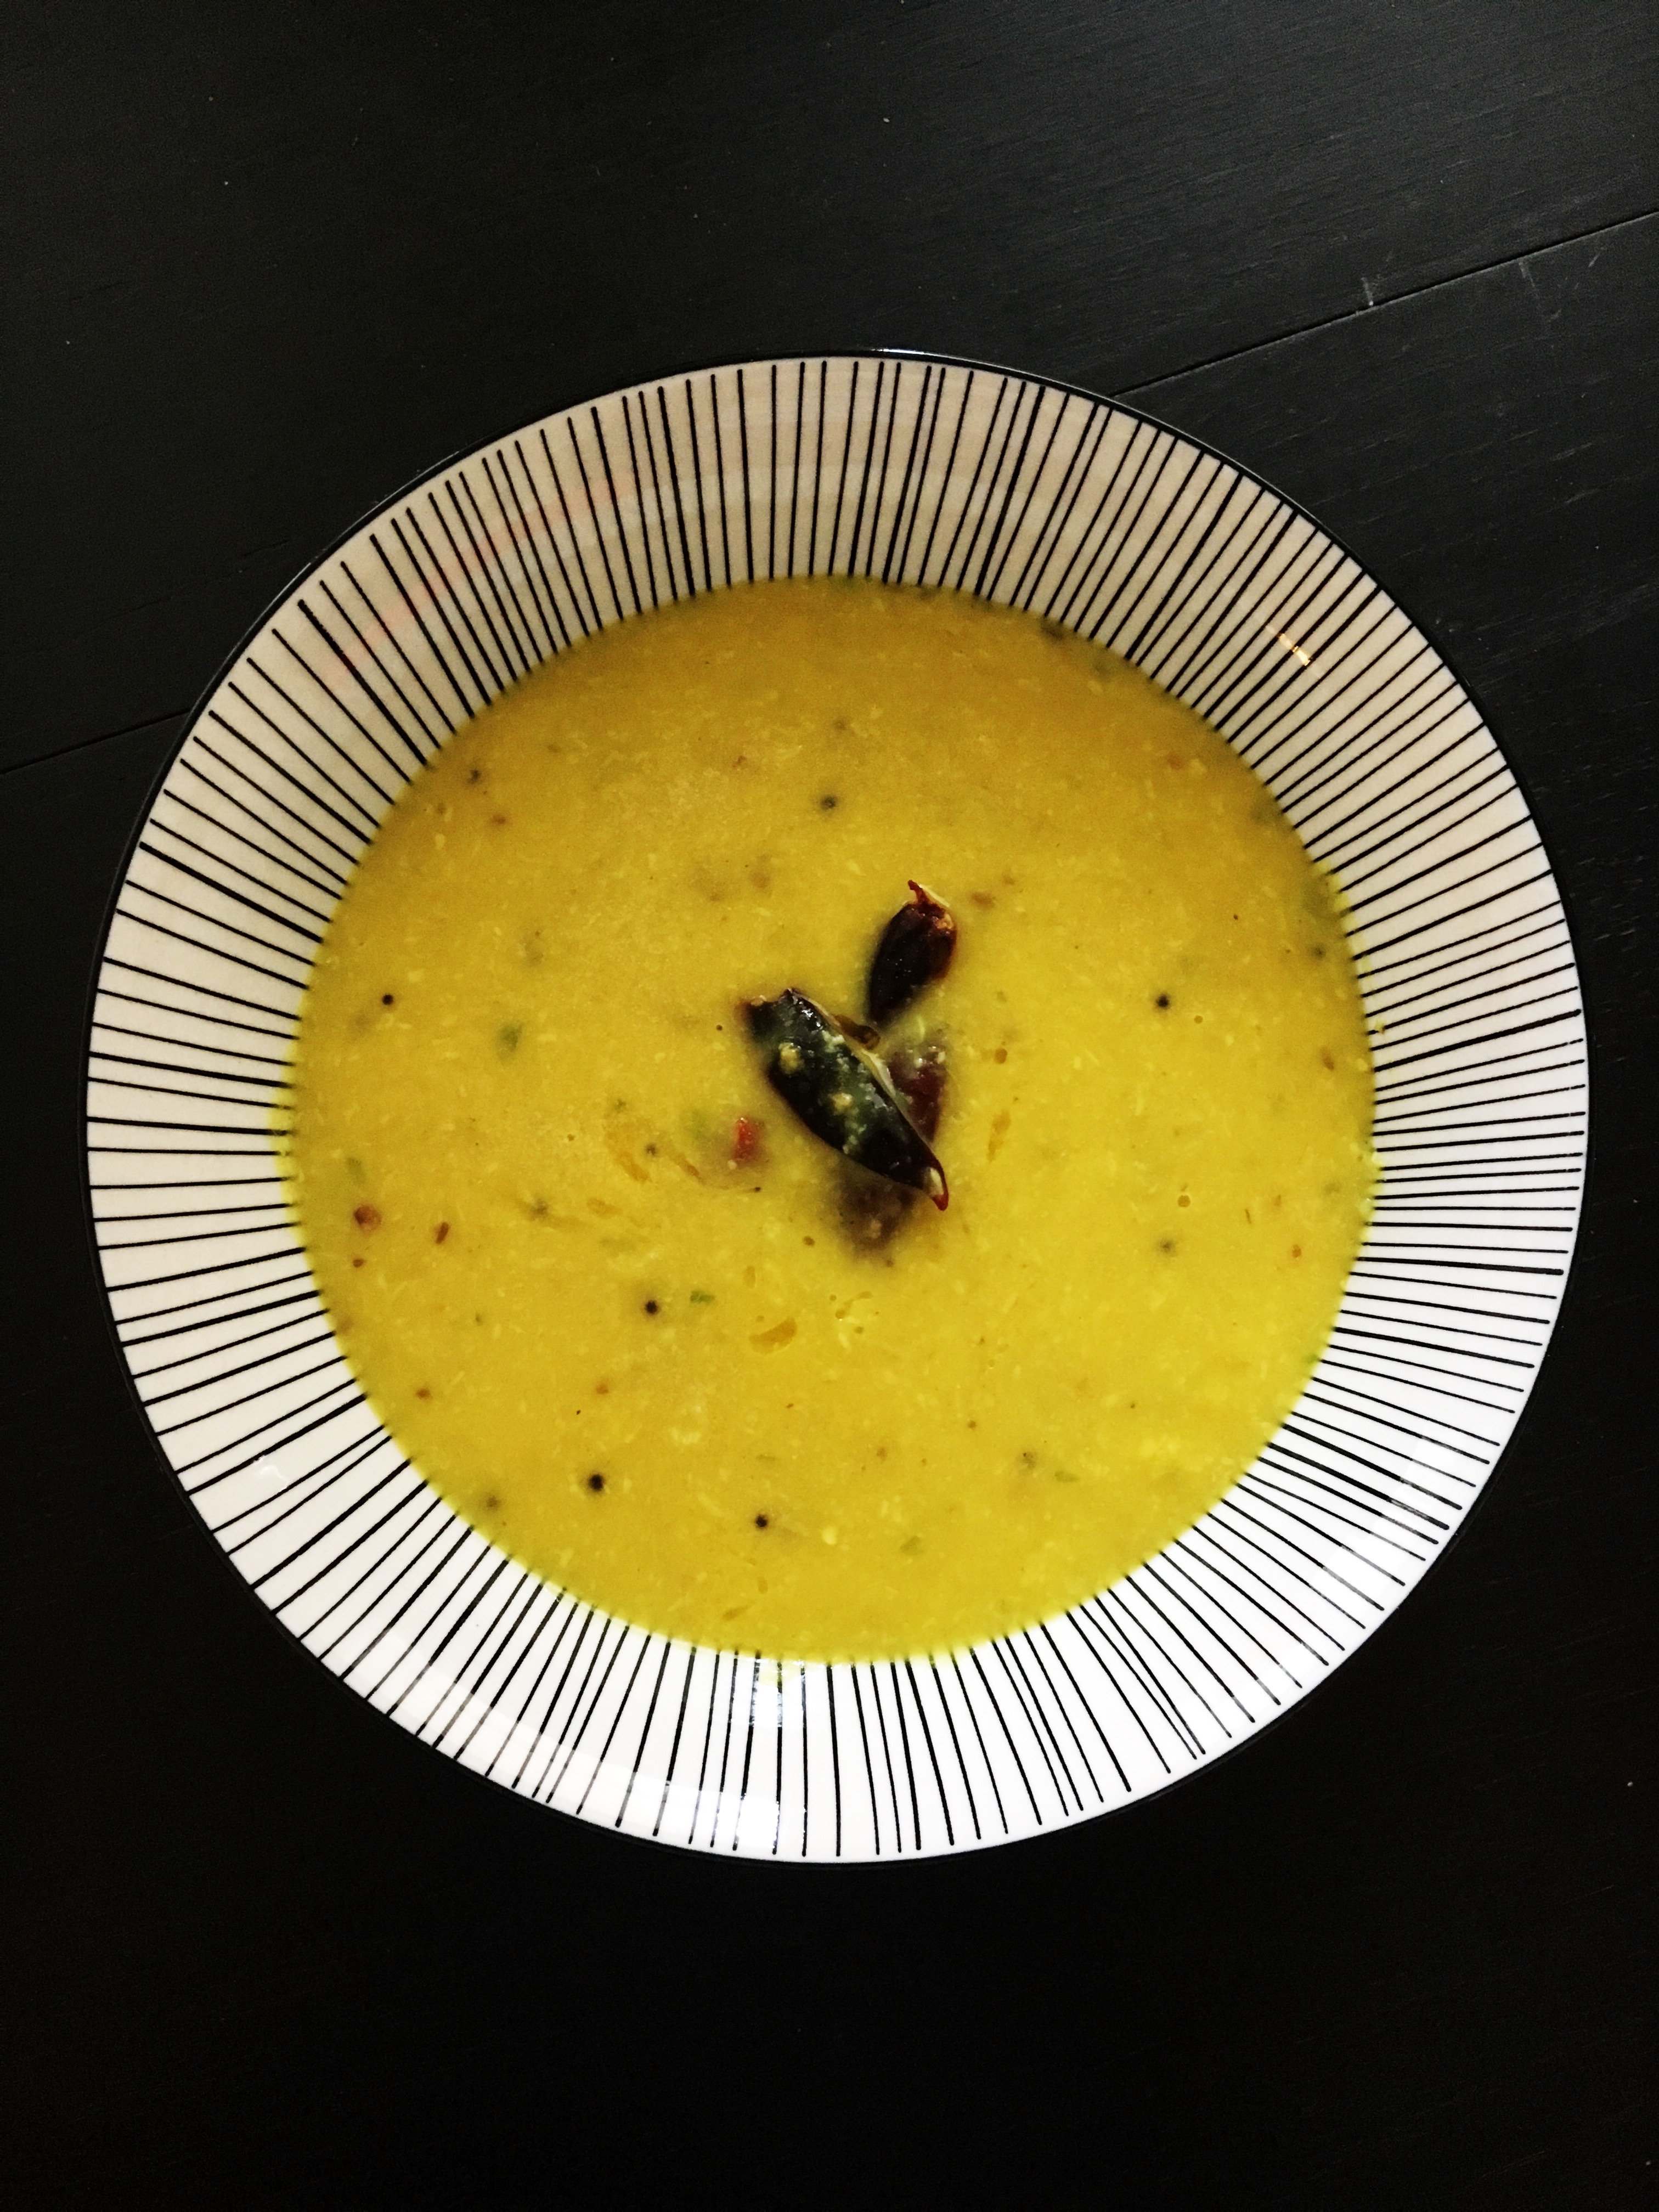
Well, one can wish. As somebody once said, we are the oldest we have ever been and the youngest we will ever be, and keeping that in mind let us resolve not live in the past or whine about the present. I have realized that there are few things a warm, tasty meal cannot solve. Let me arm you with a simple recipe to combat that yearning to go right back in time to your mom’s kitchen waiting for her to serve you dinner. This is a Kerala style lentils dish that is extremely popular in my part of the world. This goes best with some hot, white rice with a generous spoonful of ghee drizzled on it.

Things you will need:

1. Moong dal (aka Mung bean, green gram)- half cup (peeled and spilt)
2. Coconut- 2 table spoons (grated or desiccated)
3. Cumin seeds- ½ teaspoon
4. Turmeric powder- ½ teaspoon
5. Green chilli- 1
6. Ghee- as your heart desires
7. Mustard seeds and dried red chillies (curry leaves if available) for tempering

How to go about it

1. In a pressure cooker, dry roast the moon dal for about 4 minutes or till you start to get the lovely, roasted aroma of the dal.
2. Add three times the amount of water and a tablespoon of ghee to the dal and pressure cook it for around 4 whistles on a medium heat. (dal: water = 1:3)
3. In the meanwhile, grind the coconut, green chilli, cumin seeds and the turmeric powder to form a nice smooth paste. Keep that aside.
4. After 4 whistles, keep the pressure cooker aside to let the pressure release naturally.
5. After the pressure is released, using a whisk, mash the dal very well to make the consistency even. You may also use the back of a large spoon for the same.
6. Add some more water if you feel the dal has become too thick for your liking. Put the cooker back on the heat, sans the lid, add the paste, stir well and bring to a boil.
7. While that is being done, heat a bit of ghee in a pan and temper the mustard seeds and dried chillies (and curry leaves if available). Add this to the dal, mix well and enjoy your happy meal.