BACK TO BLOG PAGE

Non-Vegetarian Recipes

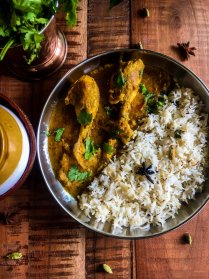
Dhaba Style Chicken Curry

Anjali Venugopal April 23, 2020 1 COMMENTS

Since the residents of this home have been exposed to delicious North Indian grub in our lives, there are days when we feel a craving for something that is quintessentially Northern Indian. This is one of those recipes that comes to our rescue in such times. This curry is loosely based on a recipe I learnt from my roommate’s mum during my law school days in Pune. This curry is not sophisticated. Instead it’s a glorious mix of brazen flavours that will whisk you away to one of those highway Dhabas that serve food straight from the heart. Serve it with some hot Jeera Rice and vegetable raita and you’ll know what I mean.
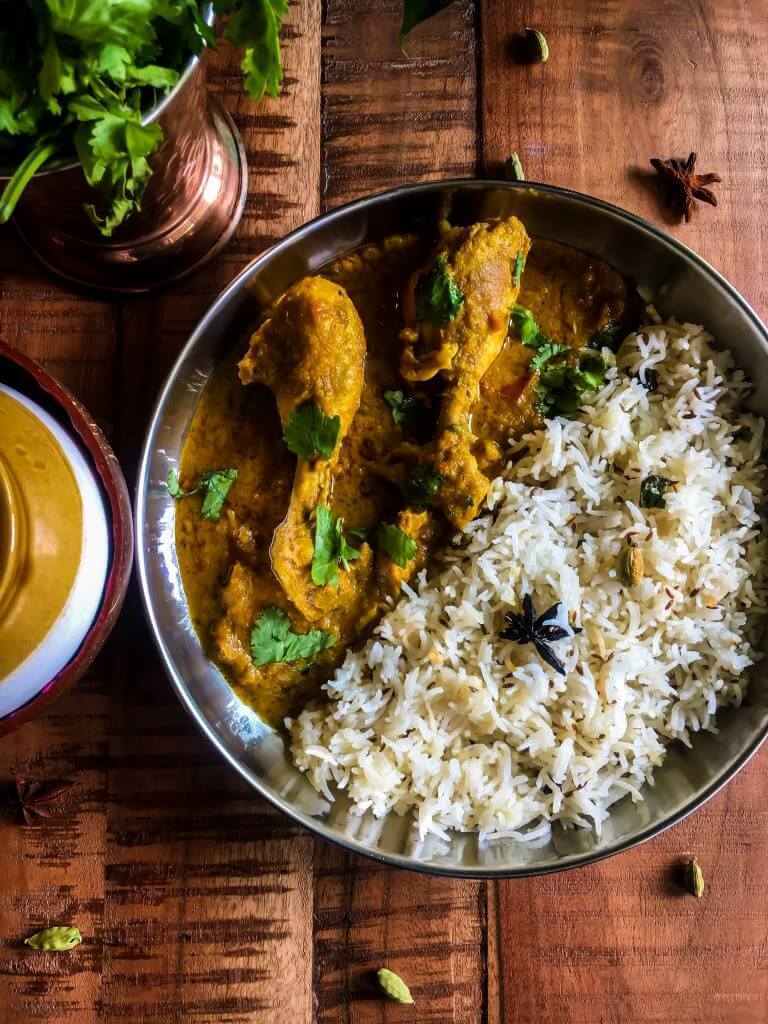
Things you will need:

  • 1 kg chicken on the bone (Skinless, cleaned and cut into medium sized pieces)
  • 3 Onions (medium sized , sliced finely)
  • Ginger Garlic paste made of a 1.5 inch stick of ginger and about 10-12 pods of garlic. You can be lavish with the garlic. Use about 5 pods if your pods are large like the ones we get in Europe.
  • Greek yoghurt or regular yoghurt- 2 full tablespoons
  • 5-6 Green Chilies, slit (Adjust the spice as required)
  • 1 teaspoon Cumin Seeds
  • 2 bay leaves
  • 1 inch cinnamon stick
  • 4 – 5 Cardamoms
  • 8 – 10 Peppercorns
  • 4 – 5 Cloves
  • 3 Tomatoes (medium sized, chopped)
  • 1⁄2 teaspoon turmeric powder
  • 2 heaped tablespoons coriander powder
  • Salt to taste

For tempering: (optional)

  • 1 tablespoon ghee
  • 2 green chilies slit
  • Fresh coriander (to garnish)

How to go about it:

  1. First, marinate the chicken with the yoghurt, half a teaspoon of salt and half of the ginger garlic paste. Keep that aside for 20 minutes.
  2. Heat oil in a large heavy bottomed pan. Add cumin seeds. Add all the whole spices (bay leaves, cinnamon, cardamom, peppercorns and cloves) to the oil. Once they start to splutter and the flavours release into the oil, add the onions. Saute the onion on a low to medium flame, until it is nice and brown. Sauteing your onion well is always the base of a good curry. Next, add the remaining ginger garlic paste and the slit green chilies and saute for 30 seconds.
  3. Add the tomatoes, salt to taste, turmeric powder and coriander powder. Saute for a minute and then keep the wok closed to allow the tomatoes to soften up. Cook till the tomatoes start melting, and almost form a paste and the spices and fully cooked and the oil starts to release from the sides. This is the base for the curry and should be more or less homogeneous.
  4. Add the marinated chicken and toss the pieces around till the chicken is sealed with the spices. This takes about 2-3 minutes. Next, add 1 cup of water, mix it all well, bring to a boil. Then reduce the heat and let the curry simmer on low to medium heat for 20-25 minutes (stirring occasionally to make sure nothing sticks to the bottom the pan) or until the meat begins to fall off the bone and the gravy begins to thicken. (If you are using a pressure cooker instead, add only a little more than half a cup of water and pressure cook the curry for 2 whistles on medium heat and wait until the pressure is completely released. When you open the cooker, if you feel the gravy is watery, you can give it a quick boil again without the lid and wait till the gravy thickens up.)
  5. Once the chicken is well cooked and the gravy thickens (this step is optional), in a separate pan, heat two tablespoons of ghee, add the green chilies and saute until the chilies are lightly charred. Empty the contents into the chicken curry, give a quick mix and remove from heat. Additionally, you can garnish the curry with fresh coriander leaves.
Green Chili and Coconut Chicken Curry

Anjali Venugopal February 20, 2019 3 COMMENTS

First off, here is a confession. I have for some strange reason always used the formula of putting up a post when I have a recipe AND a story to back it up because that is the formula that seems to have worked for me the most. More often than not, I find myself with ready recipes (because I cook for a living now) but without a story I find worth telling. So, I always end up putting the post off for later. The end result being, the recipes remain forever pending because stories are not things that can be conjured in the blink of an eye; at least not for me. So, here’s me, deciding to take a step in another direction. I have no story to tell today, but what I do have is this recipe which I came up with last week and instantly fell in love with; a recipe that is going to be a staple in my kitchen; a recipe that had me licking my plate clean both the times I tested it.

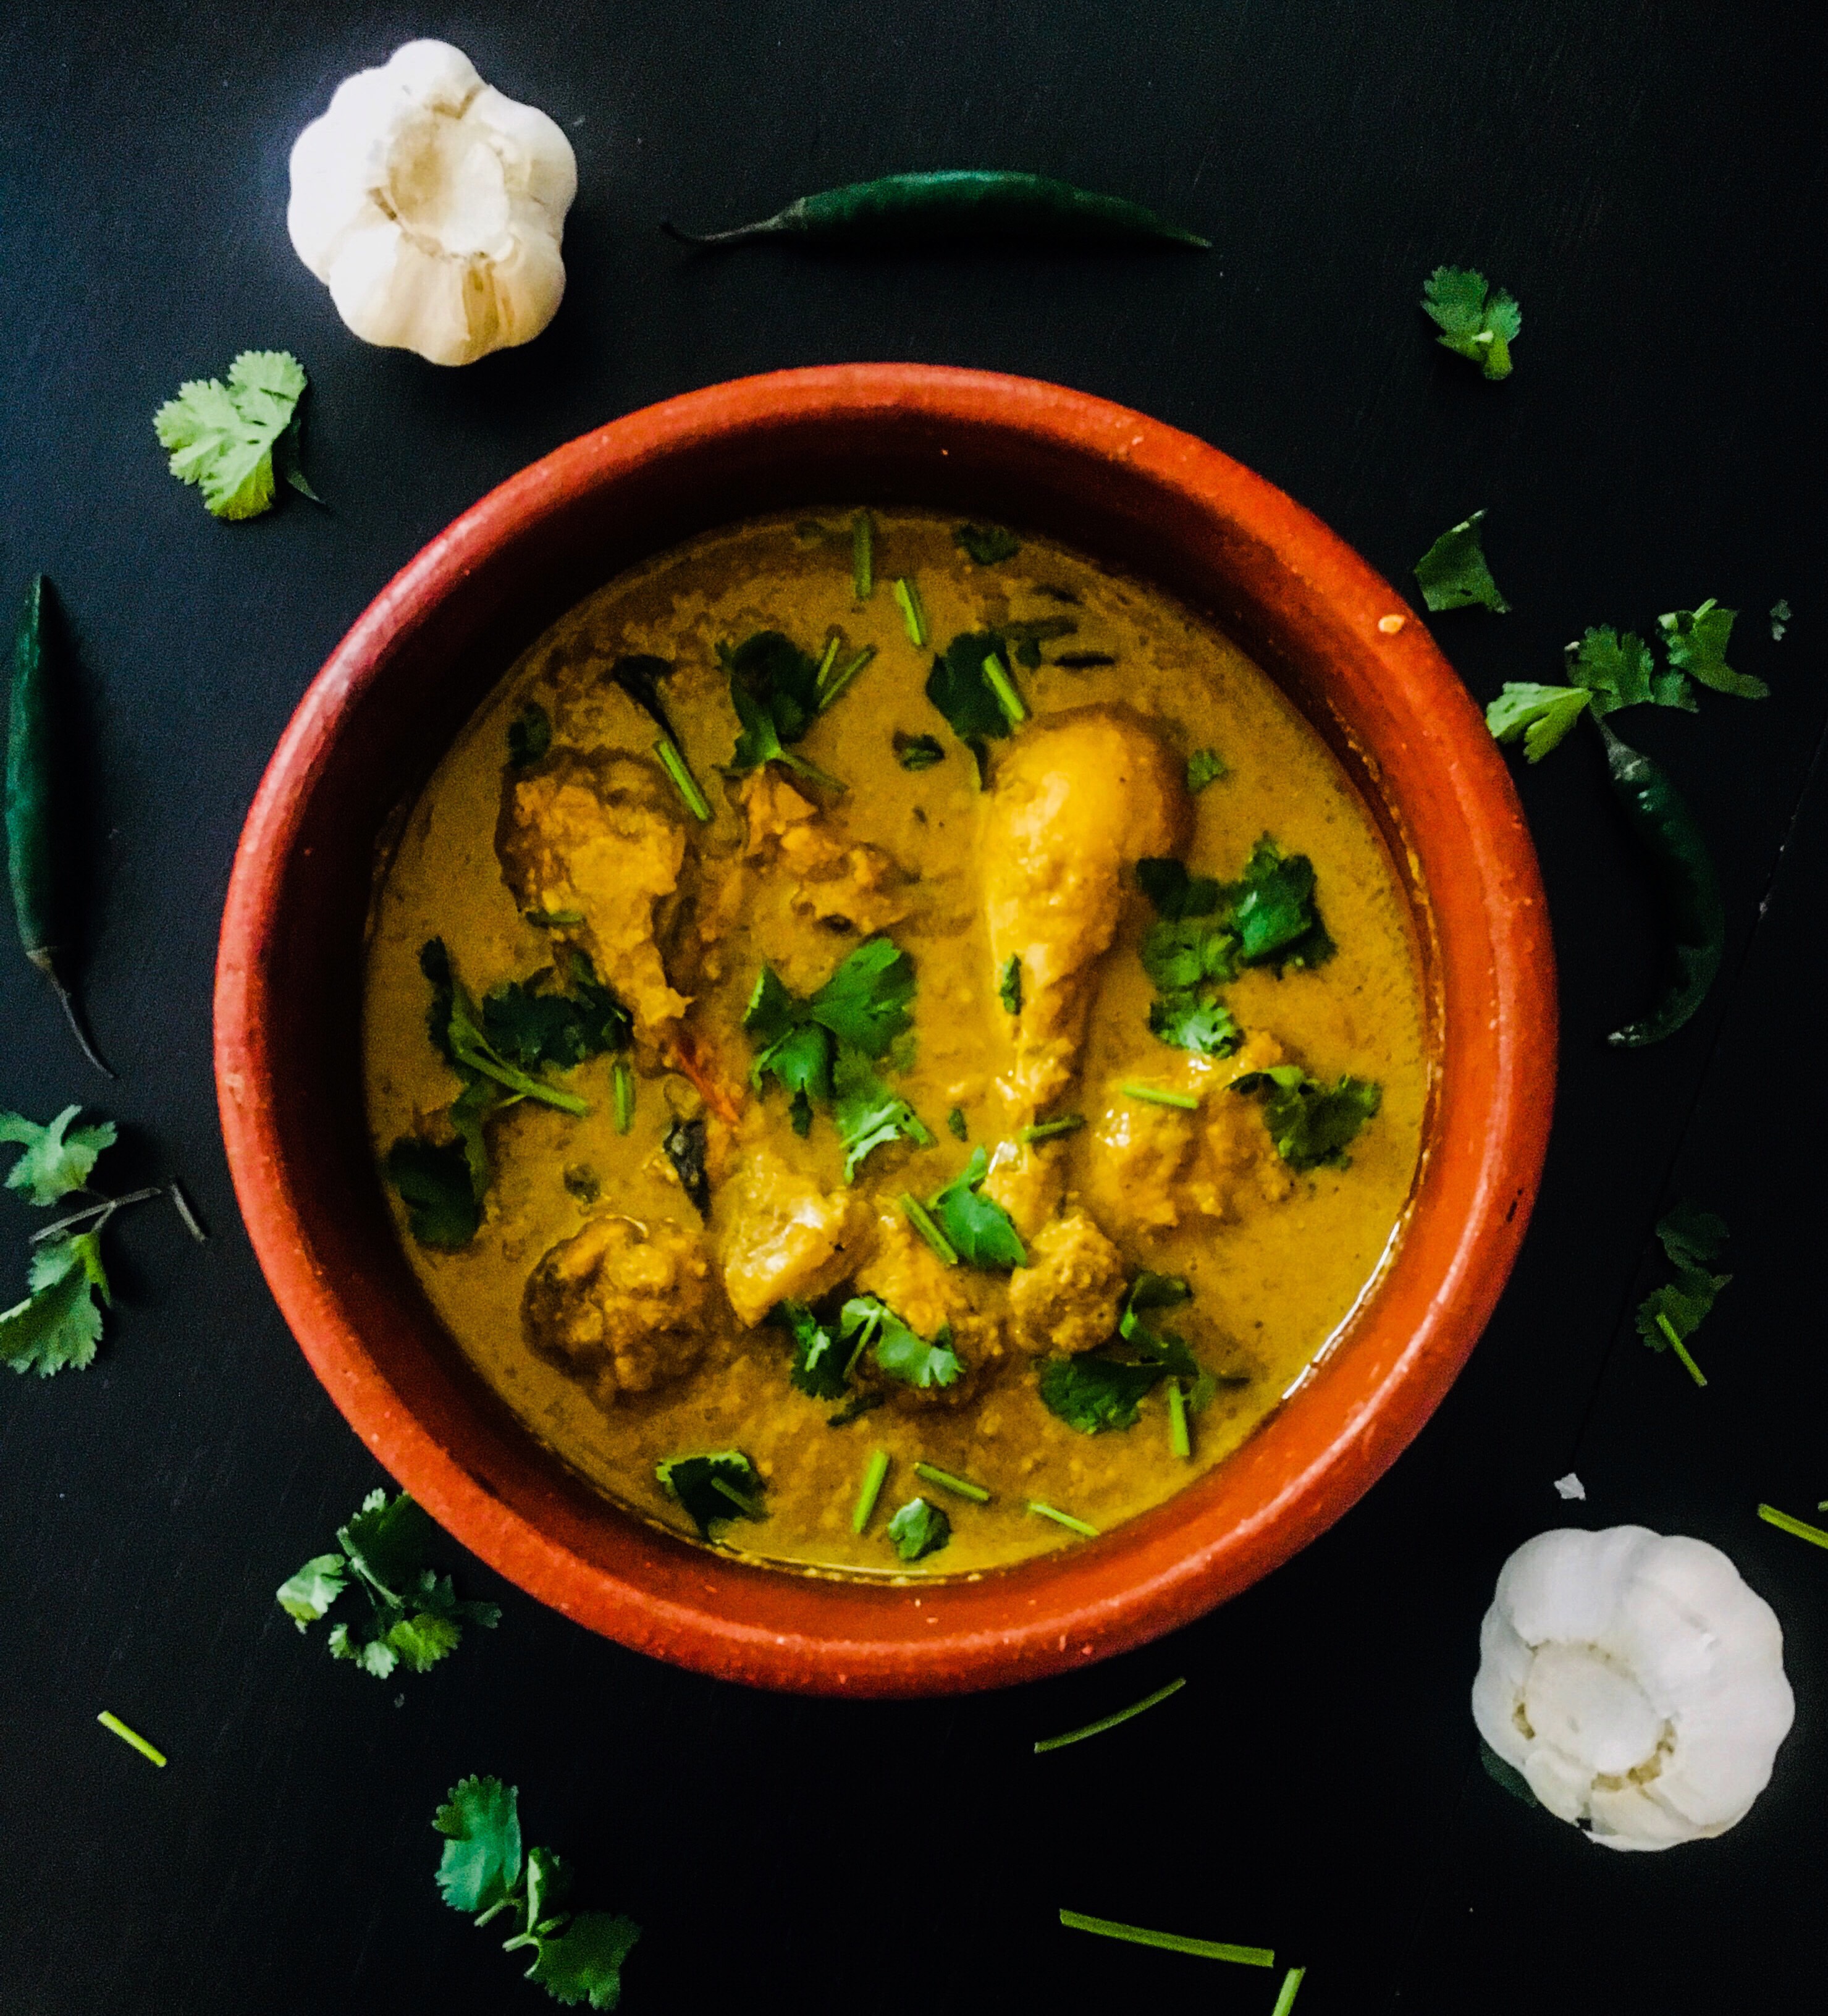
This is a hearty chicken curry with some strong North Kerala undertones. The main players in this recipe are coconut, ginger, garlic and green chilies and it may nudge your fancy to know that there is absolutely no red chili powder used in this dish. So, here you go.

bd717503-ba96-4f68-ac0a-efdb3ed2bd73

Things you will need:

  • Chicken- 500 grams (preferably on the bone. But if you must get the boneless variety, get chicken thighs)
  • Grated coconut/ full fat desiccated coconut- 3 tablespoons/ quarter cup
  • Onions- 2 medium sized, chopped finely
  • Tomatoes- 2 small, chopped
  • Green cardamom- 3 pods
  • Turmeric powder- 1/2 teaspoon
  • Coriander powder- 3 heaped tablespoons
  • Ginger- 1 inch stick
  • Garlic- 8-10 large pods
  • Green chilies- 6-7
  • Coconut milk (thick)- 200 ml
  • Cooking oil (I prefer coconut oil)
  • Salt
  • Curry leaves- 2 sprigs
  • Water- half cup


How to go about it:

  1. First, grind the ginger, garlic and green chilies to make a coarse paste. Keep it aside. Next, grind the grated coconut with two tablespoons of water (more if using the desiccated variety) and grind very well into a smooth paste. Keep that aside.
  2. Next, heat (medium heat) two tablespoons of cooking oil in a heavy bottomed wok. Add the cardamom pods and fry for for a minute. Add the chopped onions and saute till they turn nice and brown. Make sure you stay patient and get the onions brown as this is crucial for this recipe. Adding salt to the onions while you saute them helps in getting them to brown faster.
  3. Once the onions are brown, add the ginger, garlic and green chili paste. Saute for a minute. Next, add the chopped tomatoes, mix well and keep the wok closed for a minute or until the tomatoes soften. Once soft, saute the mixture well for another two to three minutes. Next, add the turmeric and coriander powders and mix well and keep stirring until the oil starts to leave the sides of the mixture.
  4. At this point, add the coconut paste and keep mixing for another minute. Add the chicken pieces and curry leaves. Mix well and keep frying the chicken till it loses the pink and starts to seal in the masala.
  5. Add half a cup of water, mix well and keep wok closed for another four to five minutes. Next, add the thick coconut milk, mix well, and let the curry simmer on low heat (with the wok closed) till the chicken is cooked and the meat begins to fall off the bone. Stir once in a while to make sure the curry doesn’t stick to the bottom of the wok.
  6. Once the curry achieves a nice, thick consistency, adjust the salt, turn off the heat, garnish with fresh coriander leaves and serve hot. Goes amazingly well with rice, appams, idiyappams and chapatis.
  7. Dig in!

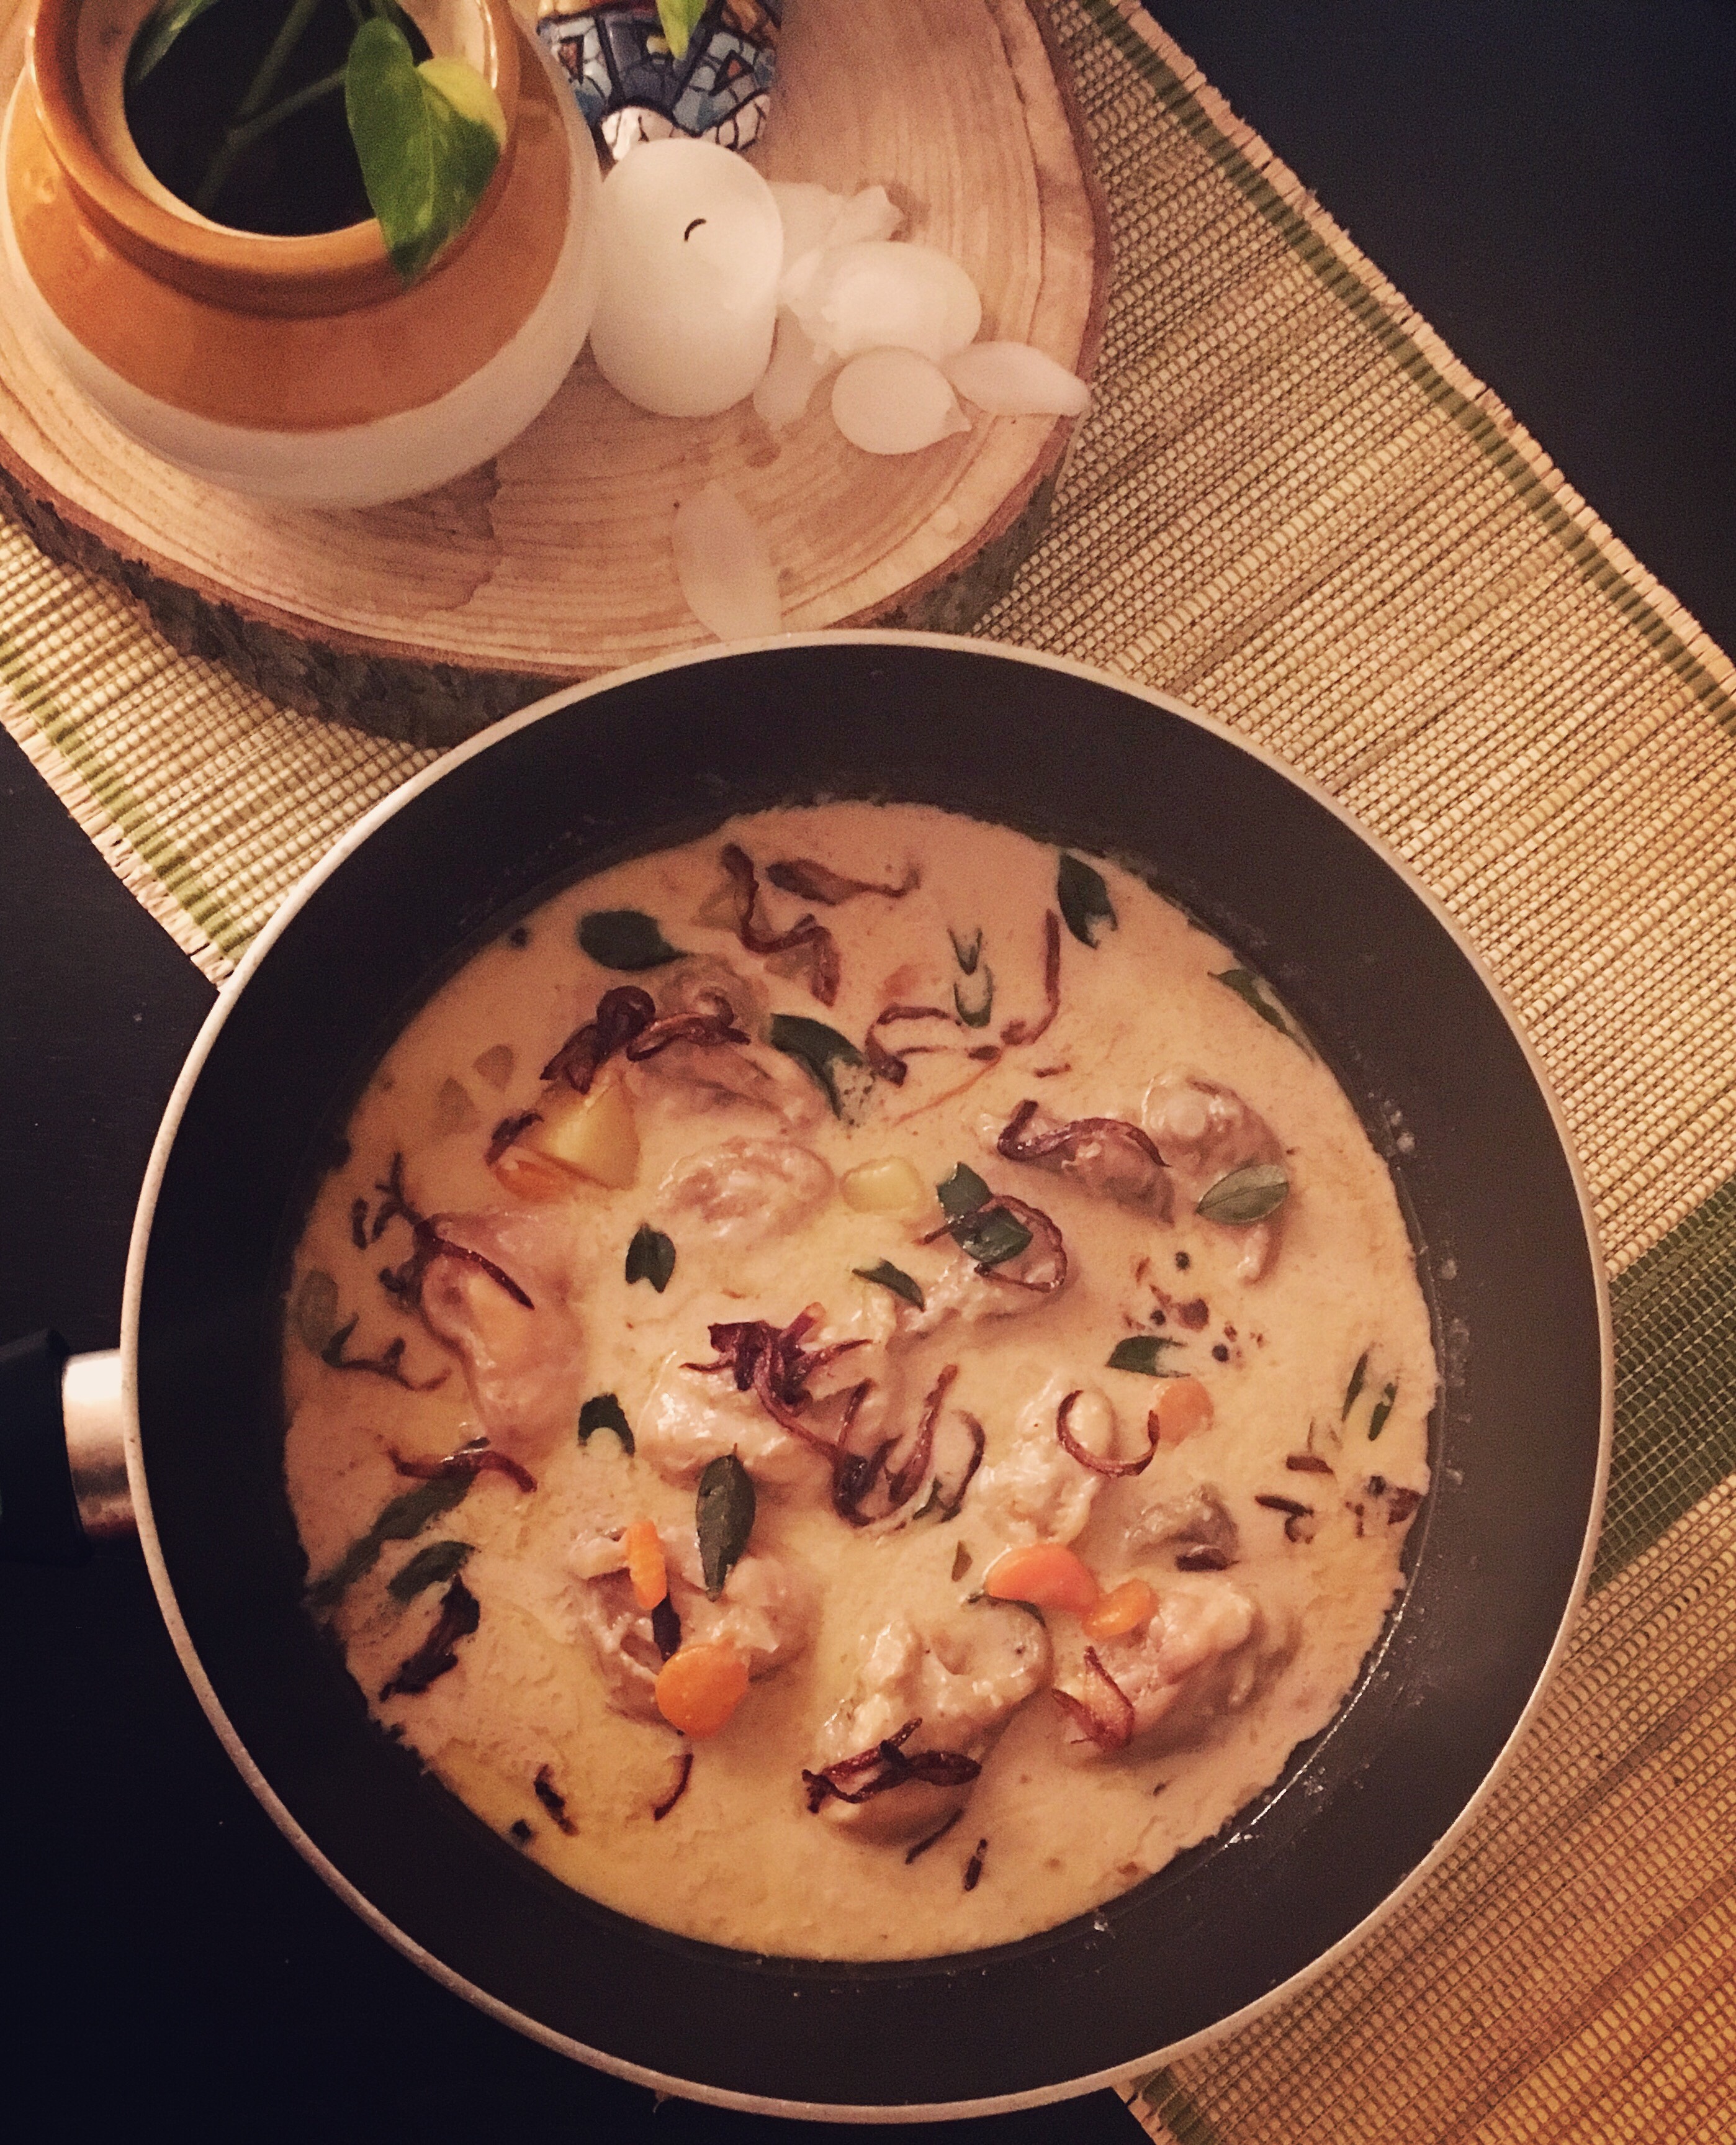
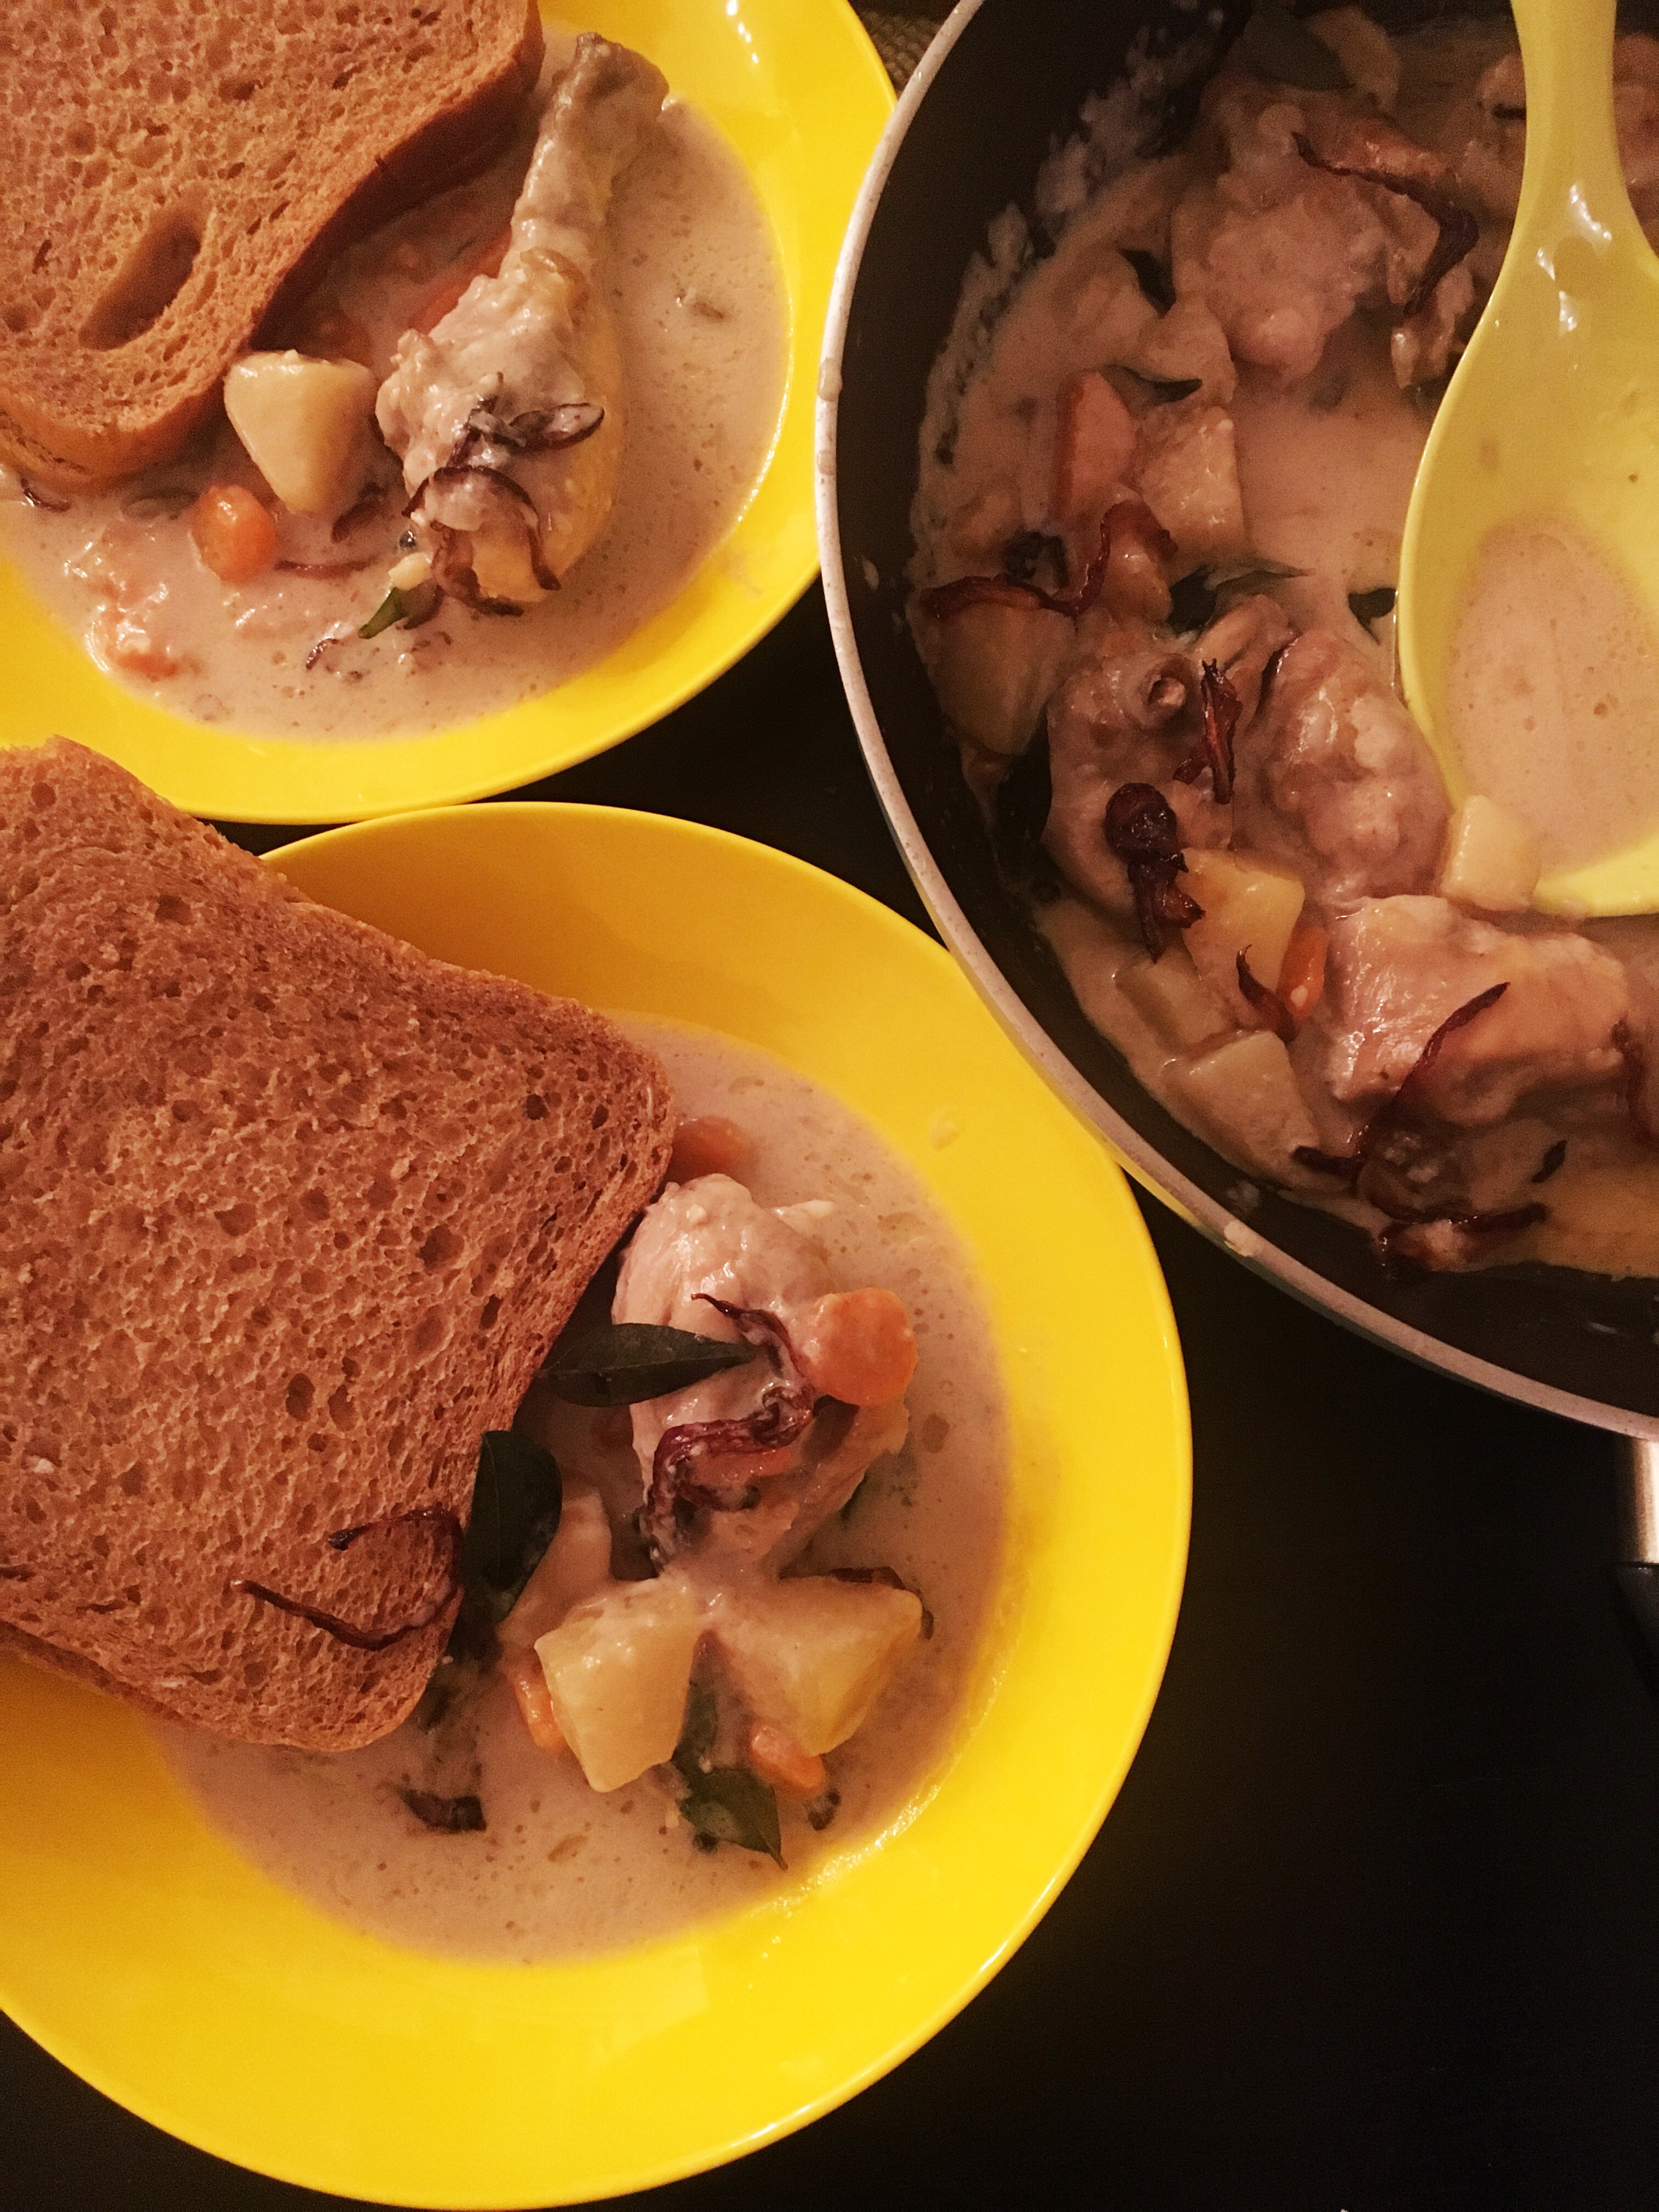
Kerala Chicken Stew

Anjali Venugopal January 11, 2018 2 COMMENTS

img_3352

A bleak Thursday in January. Since my duties as an attorney demand my presence in office only for the first three days of the week, here I am sitting within the confines of my cozy apartment in Vienna, nursing what probably is a holiday hangover from the fleeting three weeks I spent in my hometown, Trivandrum. As exciting as sitting at home on a weekday sounds, the grey undertones that seem to have overpowered this magical city during the day, make me somewhat uneasy and inexplicably nostalgic. Maybe it is the silence? With just the little ticking clock that I bought cheaply off the internet to keep me company at home, I feel strangely forlorn. Maybe I just miss the sun?

Our customary yearly visit to the hometown this time sure saw a great deal of sun, sand and sea. However, the older I get, the more I realize that the visits you make to your home are not to unwind or to relax or to put your feet up. They are for you to wear the many other hats you are obliged to wear in life. The many hats that have been sitting in the back corner of your closet, gathering dust for the rest of the year. The hats bearing labels such as daughter, sister, grand daughter, daughter in law, grand daughter in law, best friend, the list does not seem to end.

The yearly visit is the one time I get to be there, physically, for the family; to do seemingly silly bank work for my grandma, to run to the optician to get my granddad’s glasses fixed; to take my sister shopping, to get driven up the wall and back with her treading (foolishly, I believe) on treacherous adolescent territory and to give her boundless advice on everything under the sun; to spend hours on the couch with Amma listening to tales from her school, her daily battles, the local gossip. I refuse to take for granted the way my Amma’s eyes light up when she drives back home from work to see me at the door waiting to scan her purse for goodies. I refuse to take for granted how the menu for the day gets fixed depending on what I want to eat, how my mum and I talk into the wee hours of the dawn reminiscing of the good old days when dad was around and duly taken for granted; when life just seemed too perfect to be true.

I admit life did turn out to be very different from what we had all predicted or planned for. But in all honesty, in spite of all the bouncers life continues to throw at us even today on a daily basis, somehow there always seems to be so much around us at all times that warrants a heartfelt thank you to the Universe. As we stand at  (pretty much) the dawn of 2018, all I want to be this year is grateful. I don’t believe we focus on the good half as much as we focus on the bad and how we just refuse to see the beauty of our blessings, until the moment they are taken away. A few years ago, who would have thought I would be living in such a beautiful city in Europe, married to the love of my life, doing what I truly love. Not me for sure. I would have expected my life to be confined with fortresses built of fat, black folders piled up on my desk while I burned the midnight oil in some law firm in Mumbai. I just realize I would be an insolent fool to turn a blind eye to everything I have; how important I am in many lives; how fortunate I am to be missed when I am away; how absolutely special I must be because I mean the world to a few but twinkling specks on the globe.

On that note, since my heart is till partly living in Kerala, under the coconut trees by the water, swaying in the cool breeze, here is a recipe that is probably a strong contender for the flag bearer status of Kerala cuisine. The Chicken Stew or the Kozhi Ishtu as we affectionately call it. This dish is exactly what I believe comfort to look like in a bowl.

Things you will need:

  • Chicken- 500gms (on the bone, cut into medium sized pieces)
  • Potatoes- 2 medium, cubed
  • Carrots- 2 medium, diced
  • Onions- 1 large thinly sliced
  • Ginger- 1 inch stick chopped finely
  • Green chilies- 2 slit
  • Thick Coconut milk- 2 cups
  • Cashew- 5-6 soaked in two tbsp. water and ground to a smooth paste.
  • Cardamom- 6 pods
  • Cloves- 5
  • Whole Pepper- – ½ tbsp.
  • Cinnamon- 1 small stick
  • Curry leaves
  • Water
  • Cooking oil (I used coconut oil)

How to go about it:

  1. Heat two tablespoons of oil in a wok. Add the whole spices (cardamom, cinnamon, whole pepper, cloves) to the oil and sauté for a minute or until fragrant. Add three quarters of the sliced onions and sauté until soft and translucent. You do not need to get the onions to brown for this recipe (Hallelujah, right?!)
  2. Add the ginger and green chilies and sauté for another minute or two. Add one cup of the coconut milk and half cup of water to the wok. Add the chicken pieces and sufficient salt. Stir well once and keep the wok closed (on low heat) until the chicken is half done.
  3. Once the chicken is half done, add the potatoes and the carrots. Stir well and let the chicken and veggies cook well.
  4. Once this is done, add the remaining one cup of thick coconut milk and cashew paste to the gravy. Let the gravy boil on medium-high heat for about five minutes or until the gravy achieves a beautiful, thick consistency.
  5. Caramelize the rest of the onions in ghee or oil. Garnish the stew with curry leaves and the caramelized onions.
  6. Serve hot with appams, idiyappams or bread 🙂

img_3370

Kerala Style Beef Cutlets

Anjali Venugopal October 23, 2017 2 COMMENTS

img_0674

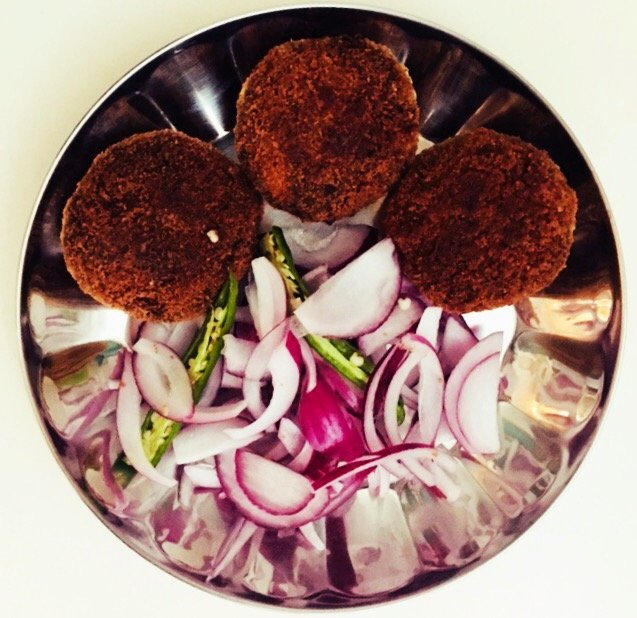
I doubt there’d be any true Malayali whose eyes would not twinkle at the mention of the word “cutlet” and I am no exception. Cutlets crept into our staple diet long before we knew it. Especially on a cold, rainy day, there is indeed nothing more comforting that a couple of piping hot meat cutlets and maybe a pot of hot tea if you please.

Last night, I spent some time catching up with an old friend and a fair share of the conversation was about the amazing beef cutlets that were served in our school canteen. The St. Thomas school canteen is (with very good reason) known for the incredible food it serves. Be it the hot, spicy beef curry that would give any thattu kada (the local food shacks in Kerala) in the city a run for its money, or the warm beef cutlets the Santhomites gorged on, wrapped in parottas (a trend that is supposed to have originated and promptly stayed within our school campus boundaries), or even the regular oonu (the regular, fuss free meal served in Kerala)  that was served ever so lovingly in our school canteen; food that we all took for granted for all the years we spent there and the food, the thoughts about which, brought serious pangs of nostalgia when we learnt what default hostel canteen food was supposed to taste like. Yikes!

Other memories I associate with the good old beef/chicken cutlet (veggie cutlets are sacrilegious just the way veg biryani is) is from the days I would stop by the neighbourhood bakery, right after school before heading to my math tuition. Amma would have given me about 20 bucks to spend on a snack, just so that I would fidget less while I tried to keep myself from banging my head against the wall, while the teacher went on relentlessly about the god forsaken differential equations or that integration. Let me not deviate. The sole motivation for my heading to that horrid math class was what the yummy beef cutlets in that tiny bakery lent.

Even to date, when I make a visit back home, Amma always makes it a point to either make a batch of yummy beef cutlets for me or at least take me for a visit to Supreme Bakers (arguably the best in Trivandrum) so that I can roam around like a wide eyed 5 year old who wants every single thing the shop has to sell. This should give you a decent idea about what cutlets mean to me. So I felt it was only justified if I had my own recipe for this wondrous creation. Well, this is my grandmum’s recipe which I have only as much as tweaked, a slight bit. So here goes.

Things you will need for about 20 medium sized cutlets:

  • Beef- 700 gms
  • Potato- 1 medium-large (boiled and mashed well)
  • Onion- 1 large chopped finely
  • Green chillies- 5-6 chopped finely
  • Ginger- 2 inch stick chopped finely
  • Crushed whole peppercorns
  • Garam masala- 1 tsp
  • Currly leaves
  • Egg- 1 beaten
  • Breadcrumbs- 1 cup
  • Oil for deep frying

How to go about it:

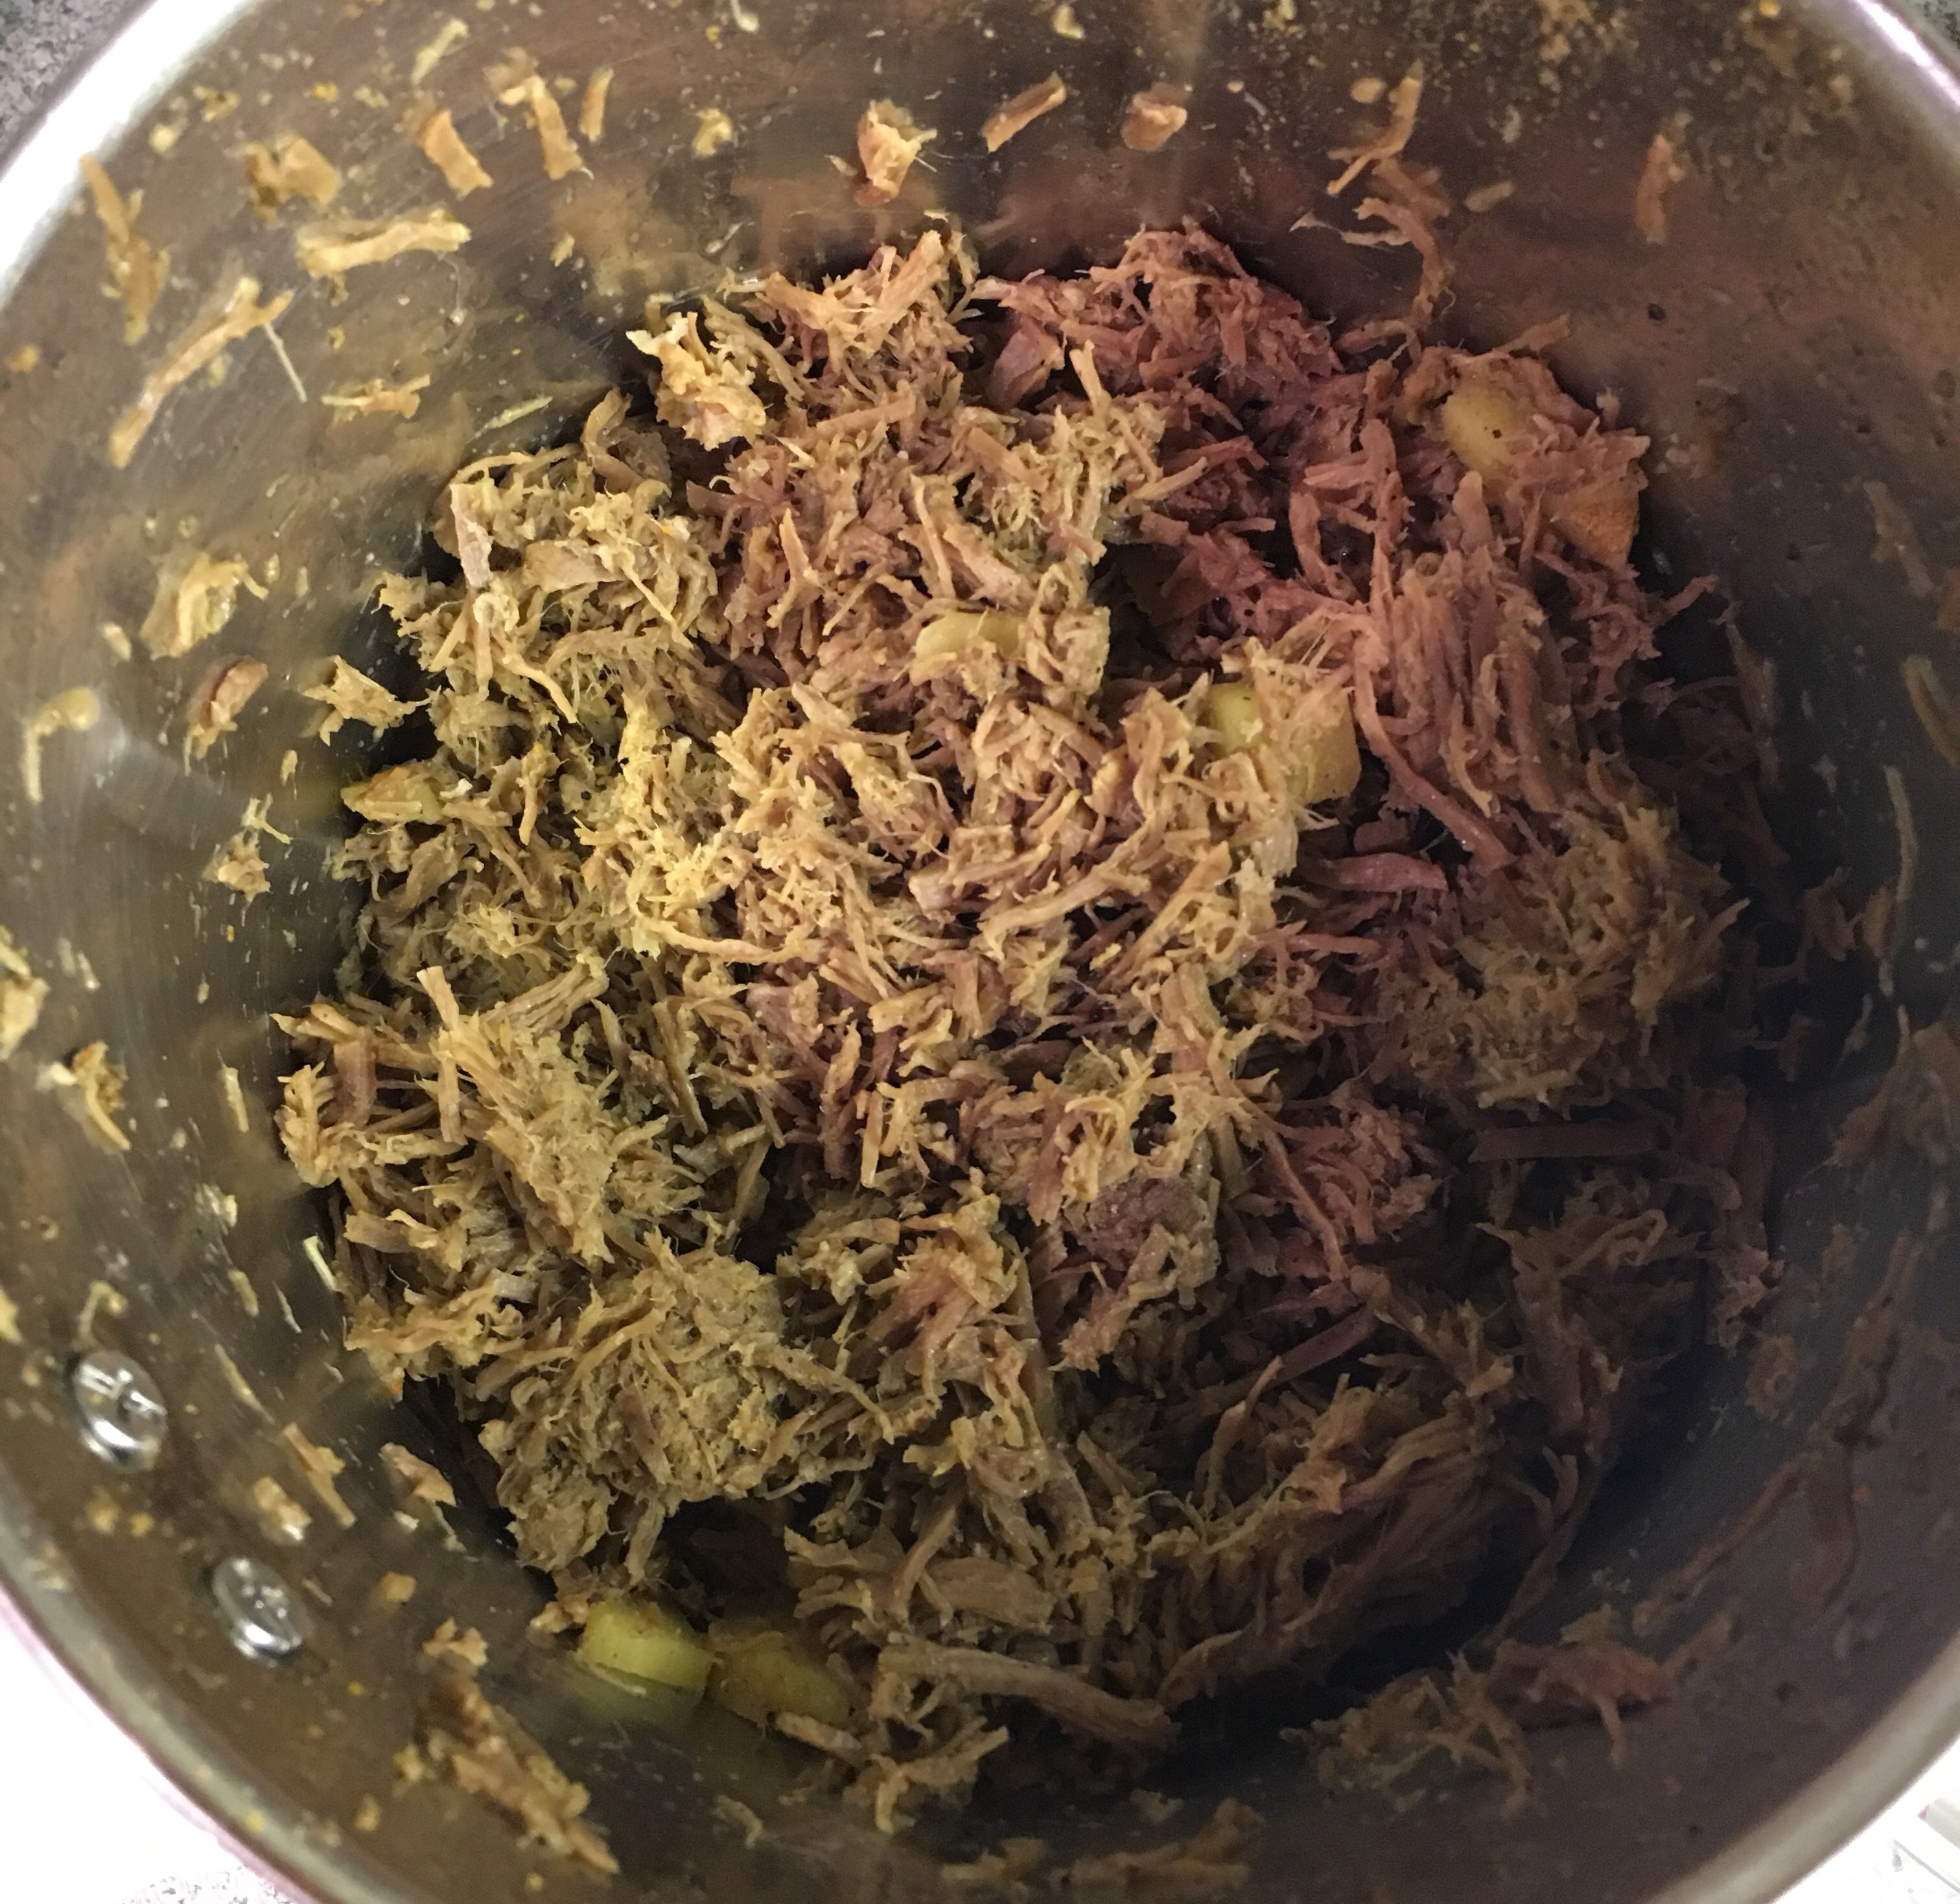
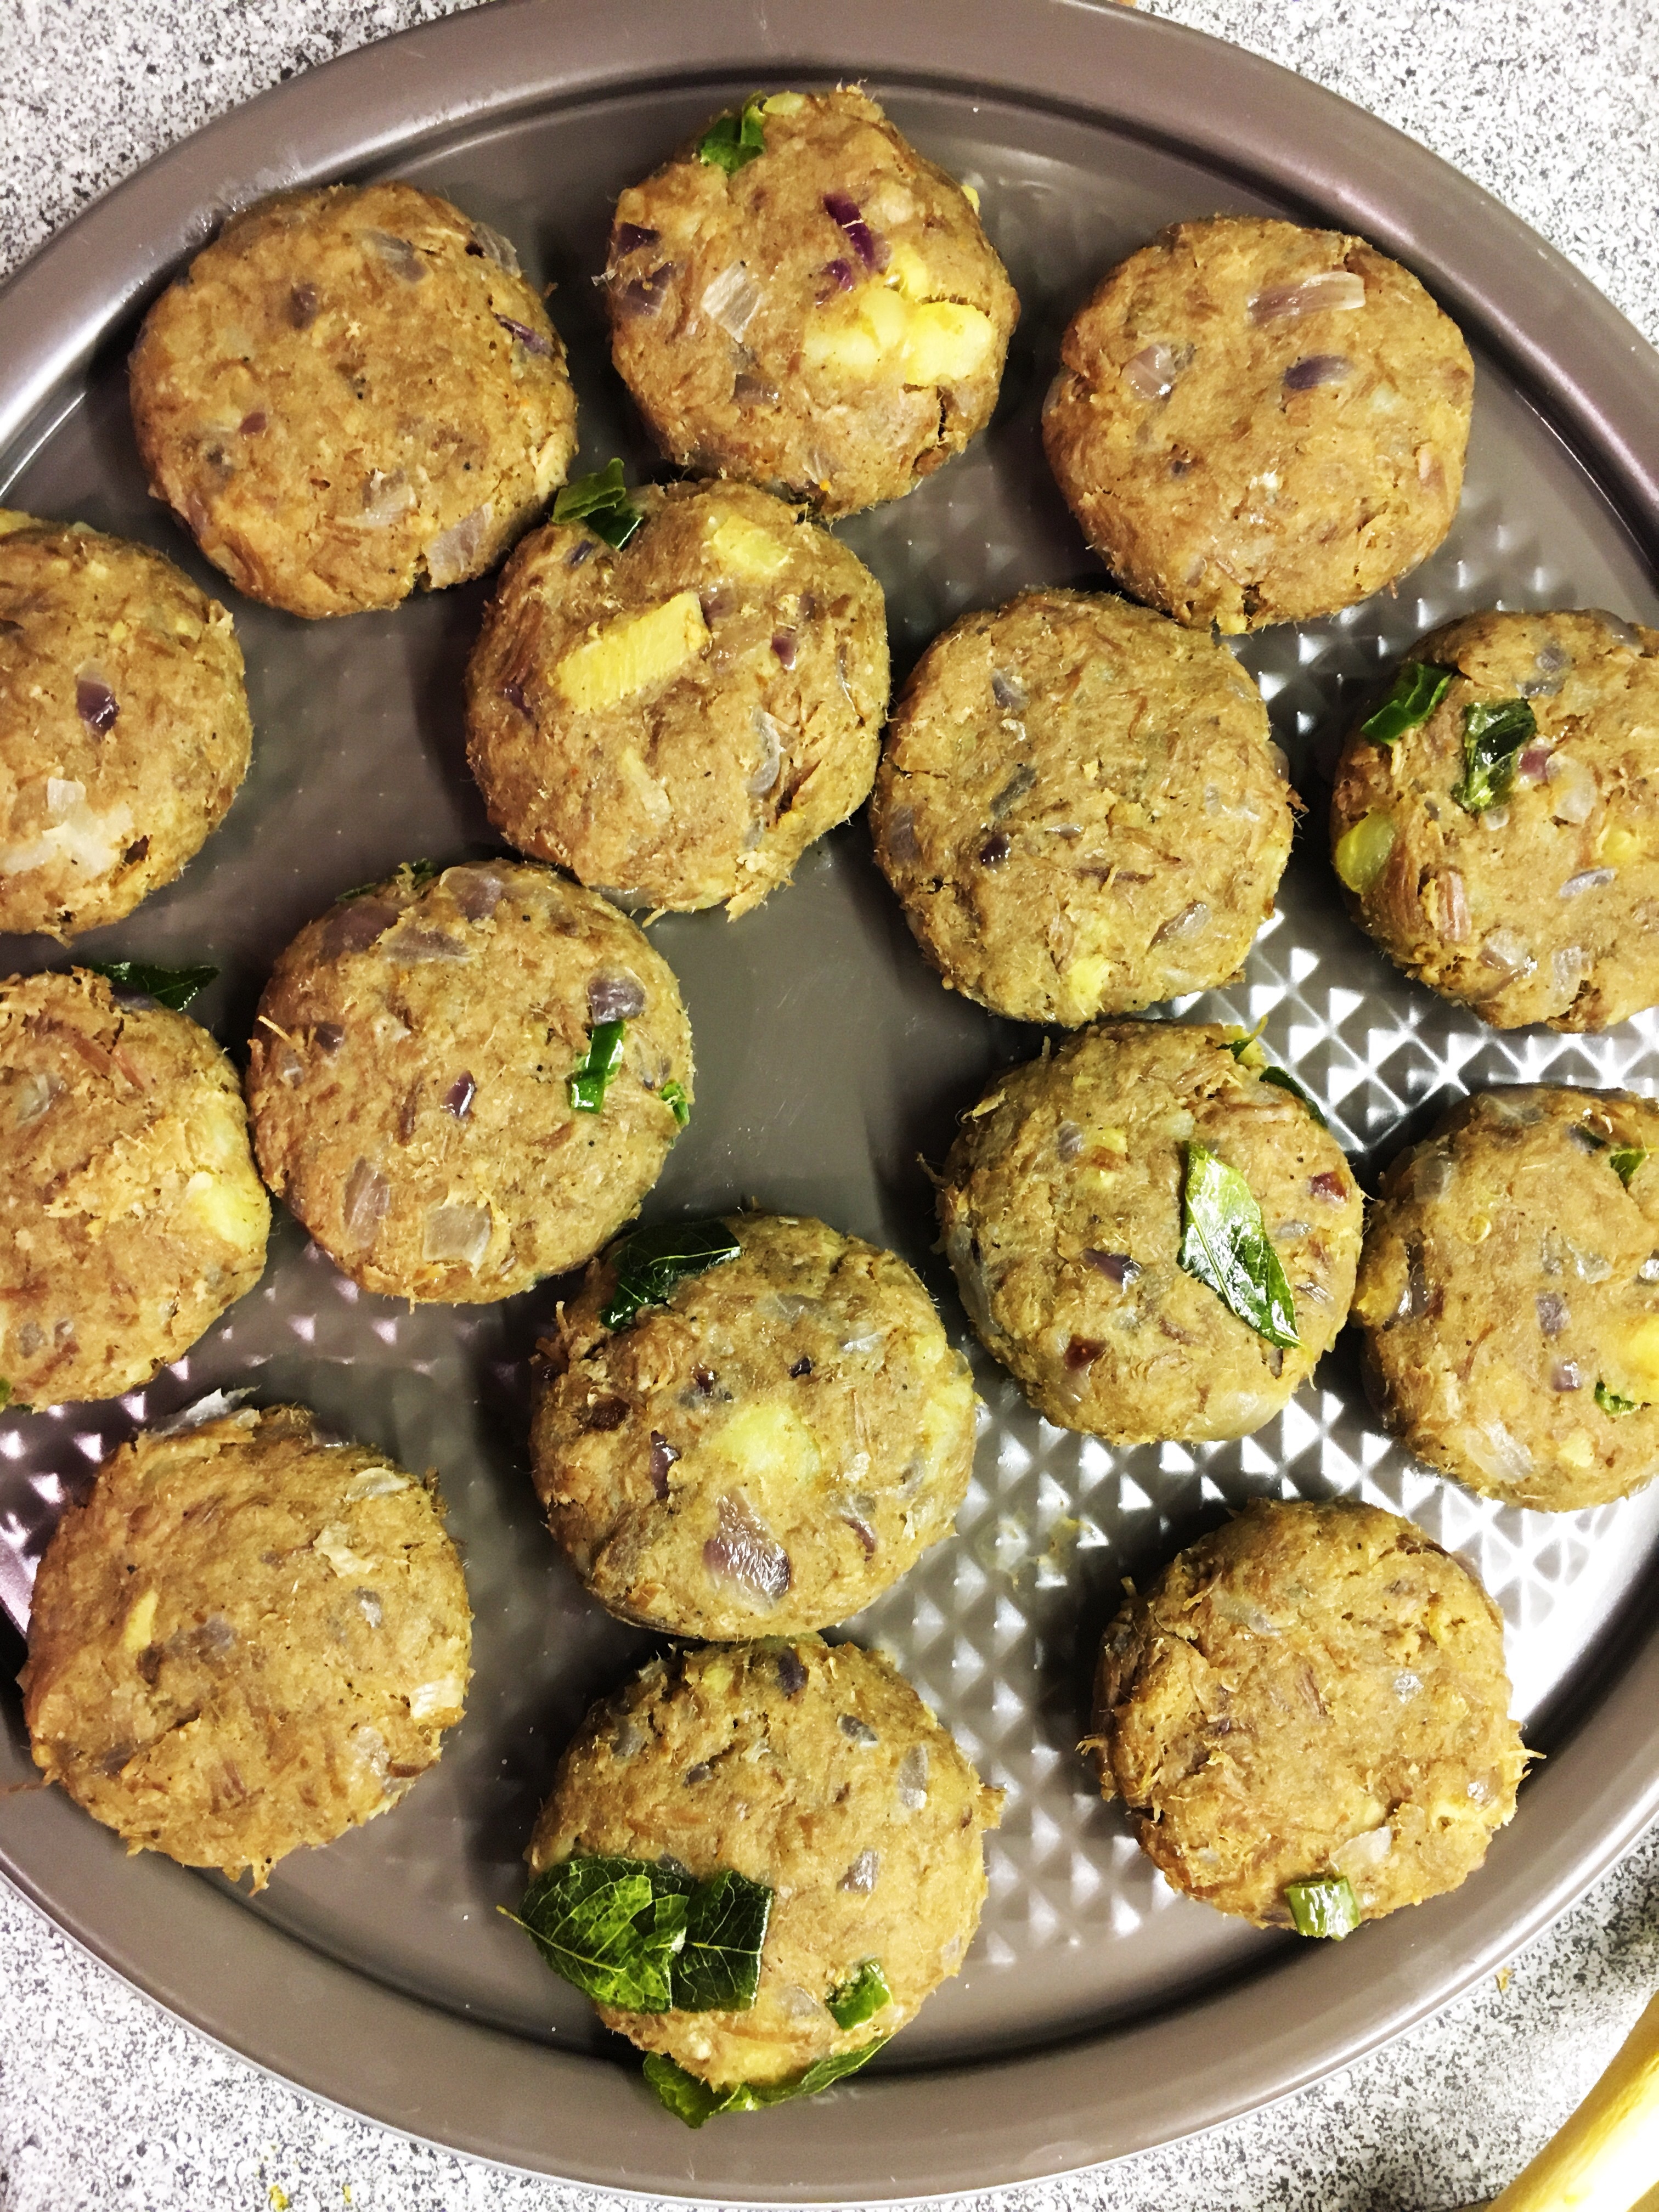
  1. In a pressure cooker, cook the beef thoroughly with about 2 teaspoons of the crushed pepper, a little less than half a glass of water, salt to taste and half of the ginger. Once cooked well, allow it to cool for a bit and run the meat through a food processor to mince it well. A regular mixer grinder will also do. Keep that aside.img_0676
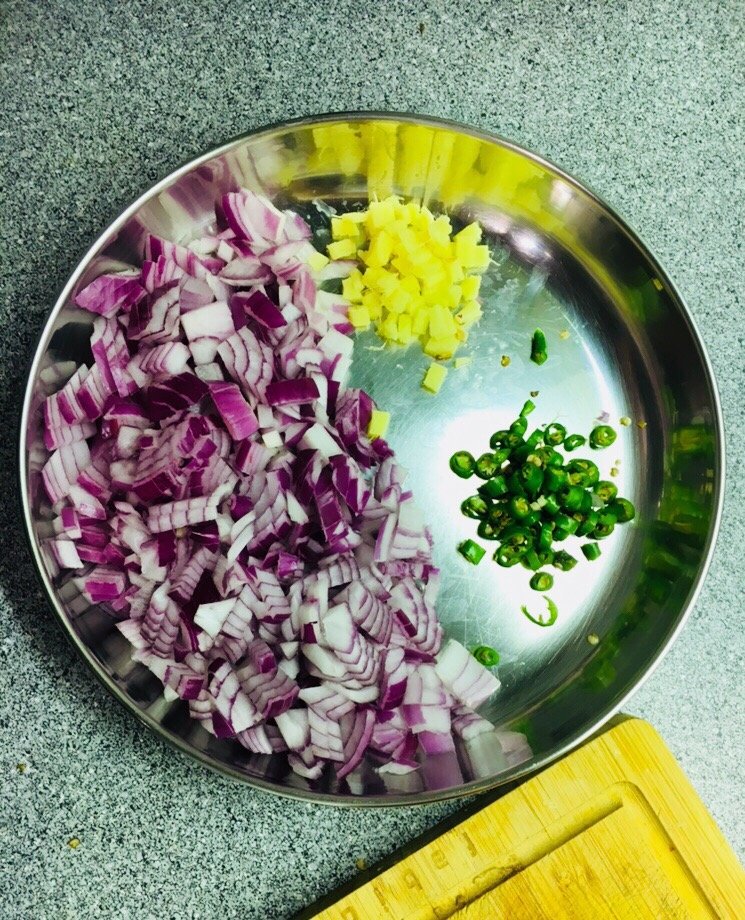
  2. Next, in a wok, heat some cooking oil, sauté the onions until they begin to turn brown. Add the garam masala, green chilies, the curry leaves and the remaining ginger and keep sautéing for another 2-3 minutes.img_0675
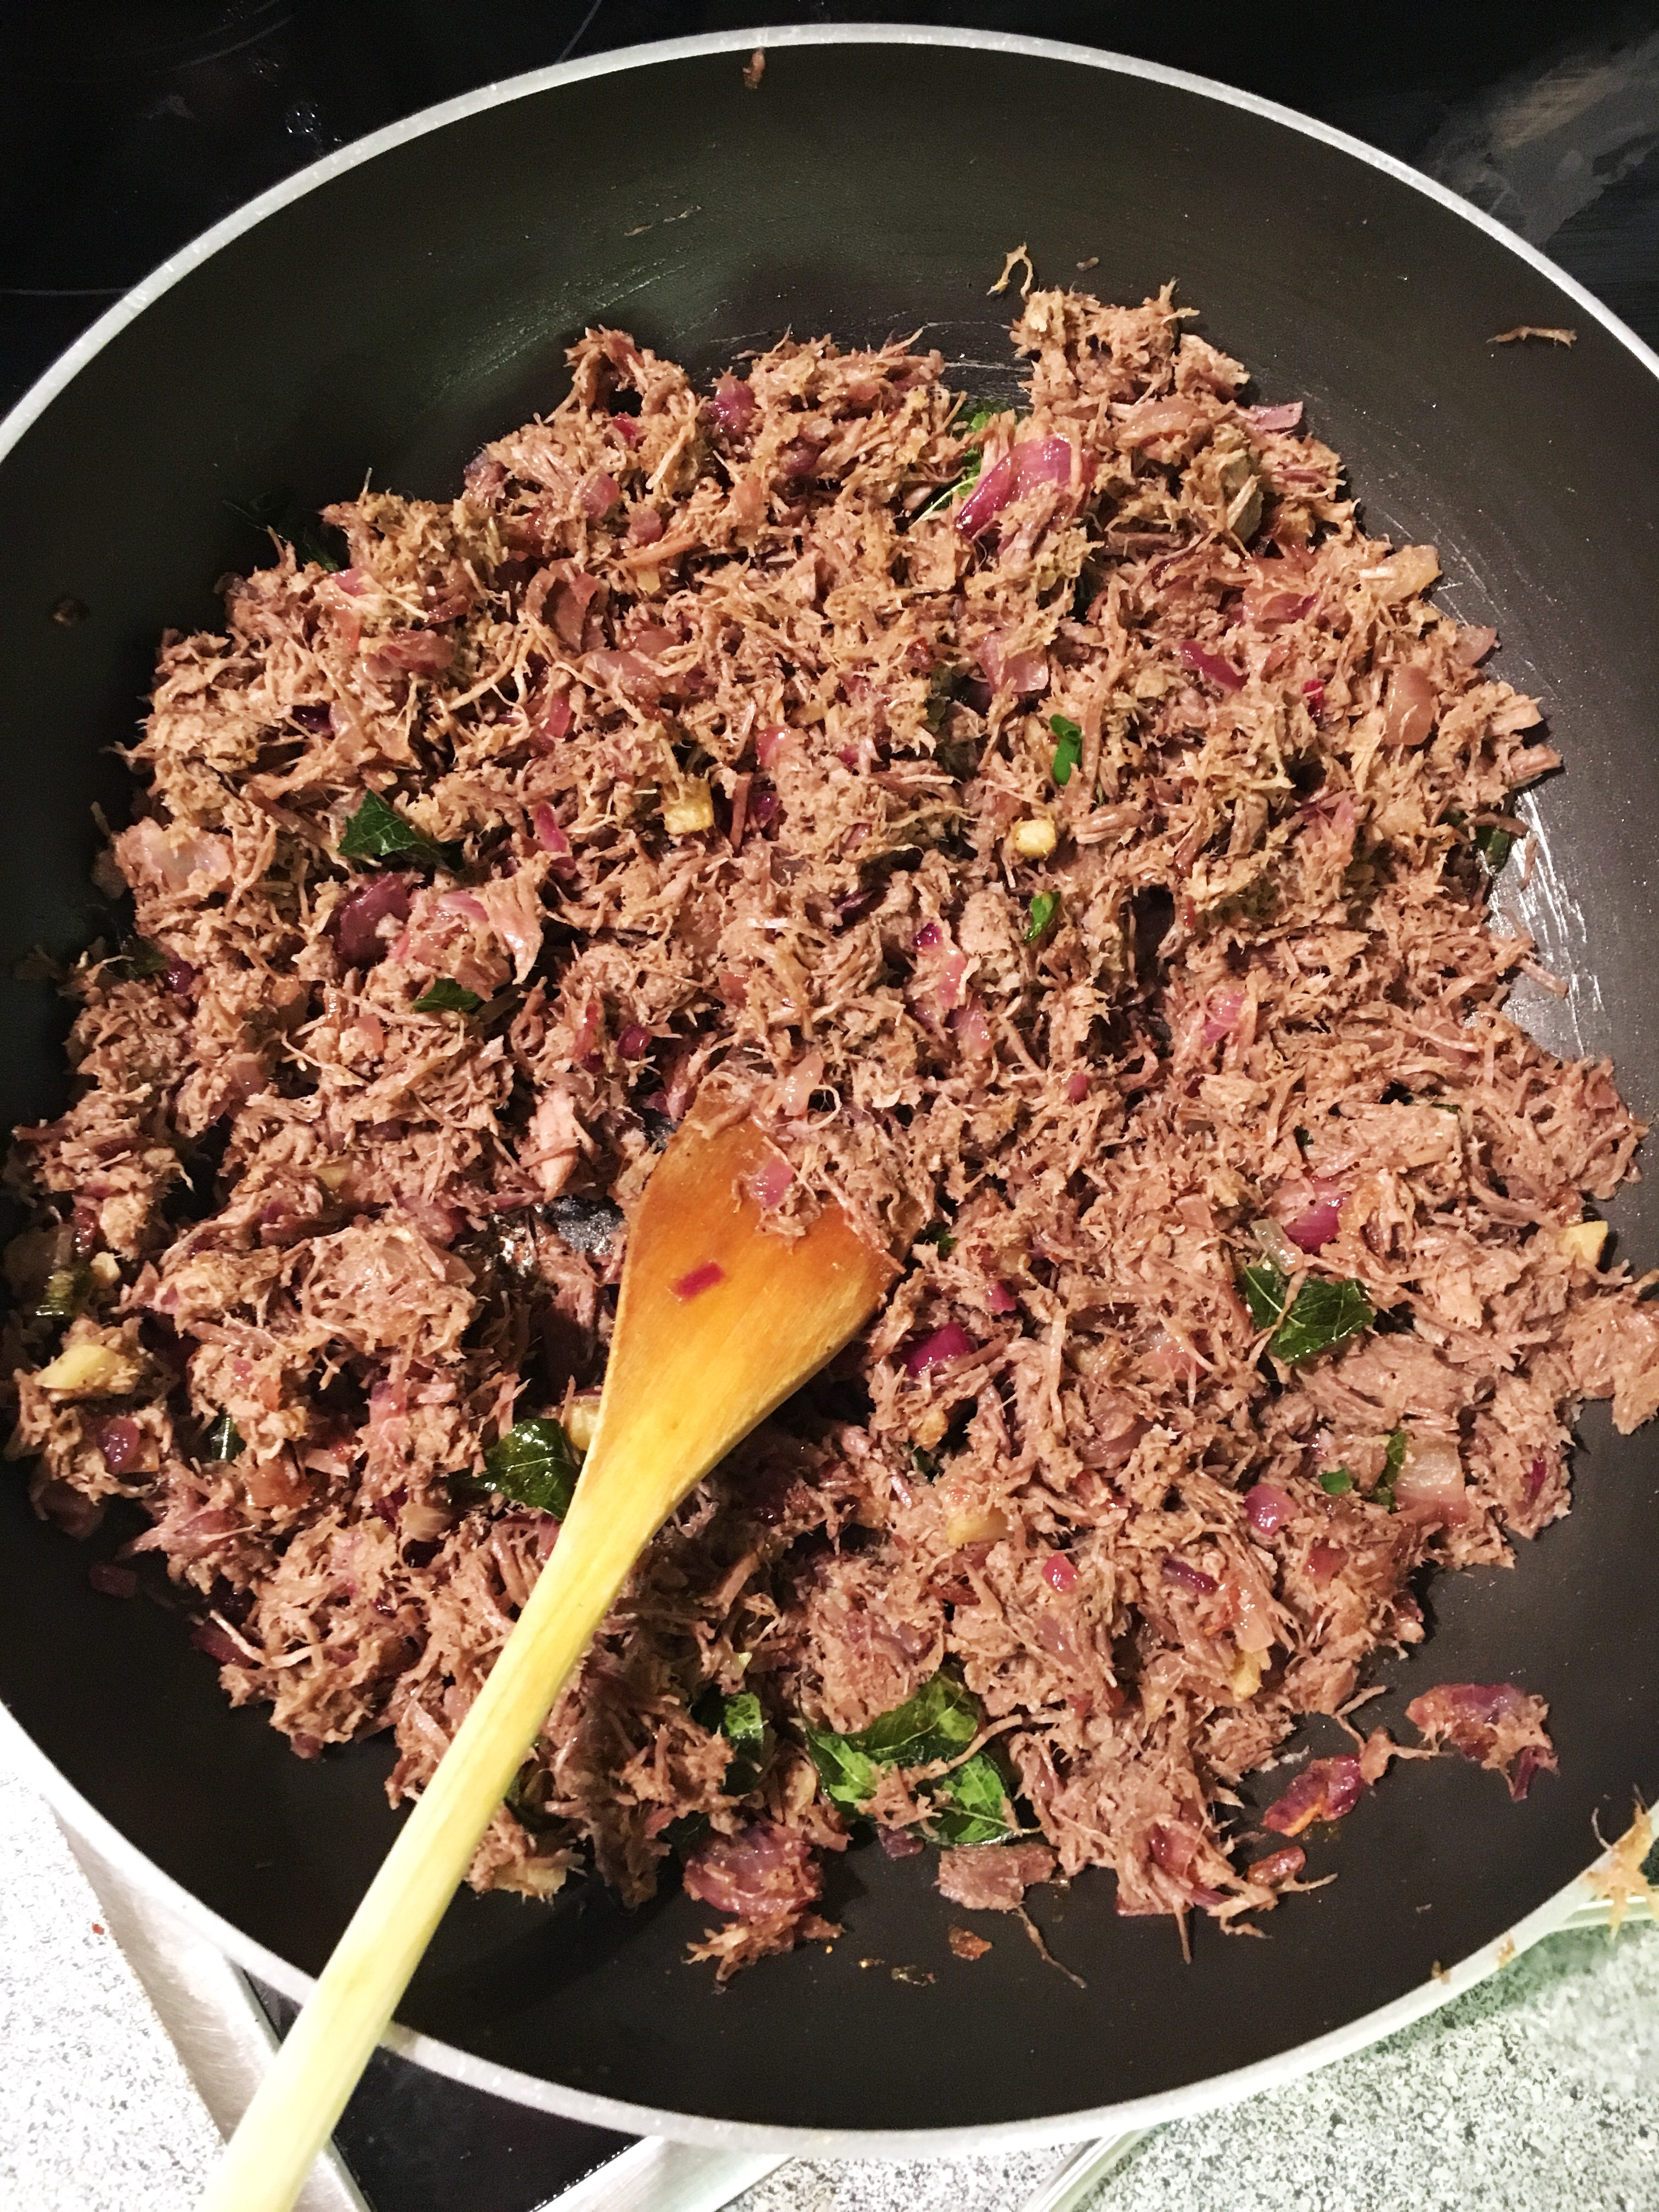
  3. Add the cooked beef to the wok and mix well and sauté until all the water content is lost. Add more salt if required.img_0677
  4. Let the mixture cool. Then, add the mashed potatoes to the mixture and mix thoroughly with your hands.
  5. Make small balls of the mixture, depending on how large you want the cutlets to be. You can either let me remain as balls, or you can flatten the balls slightly with the palm of your hand the way I did itimg_0678
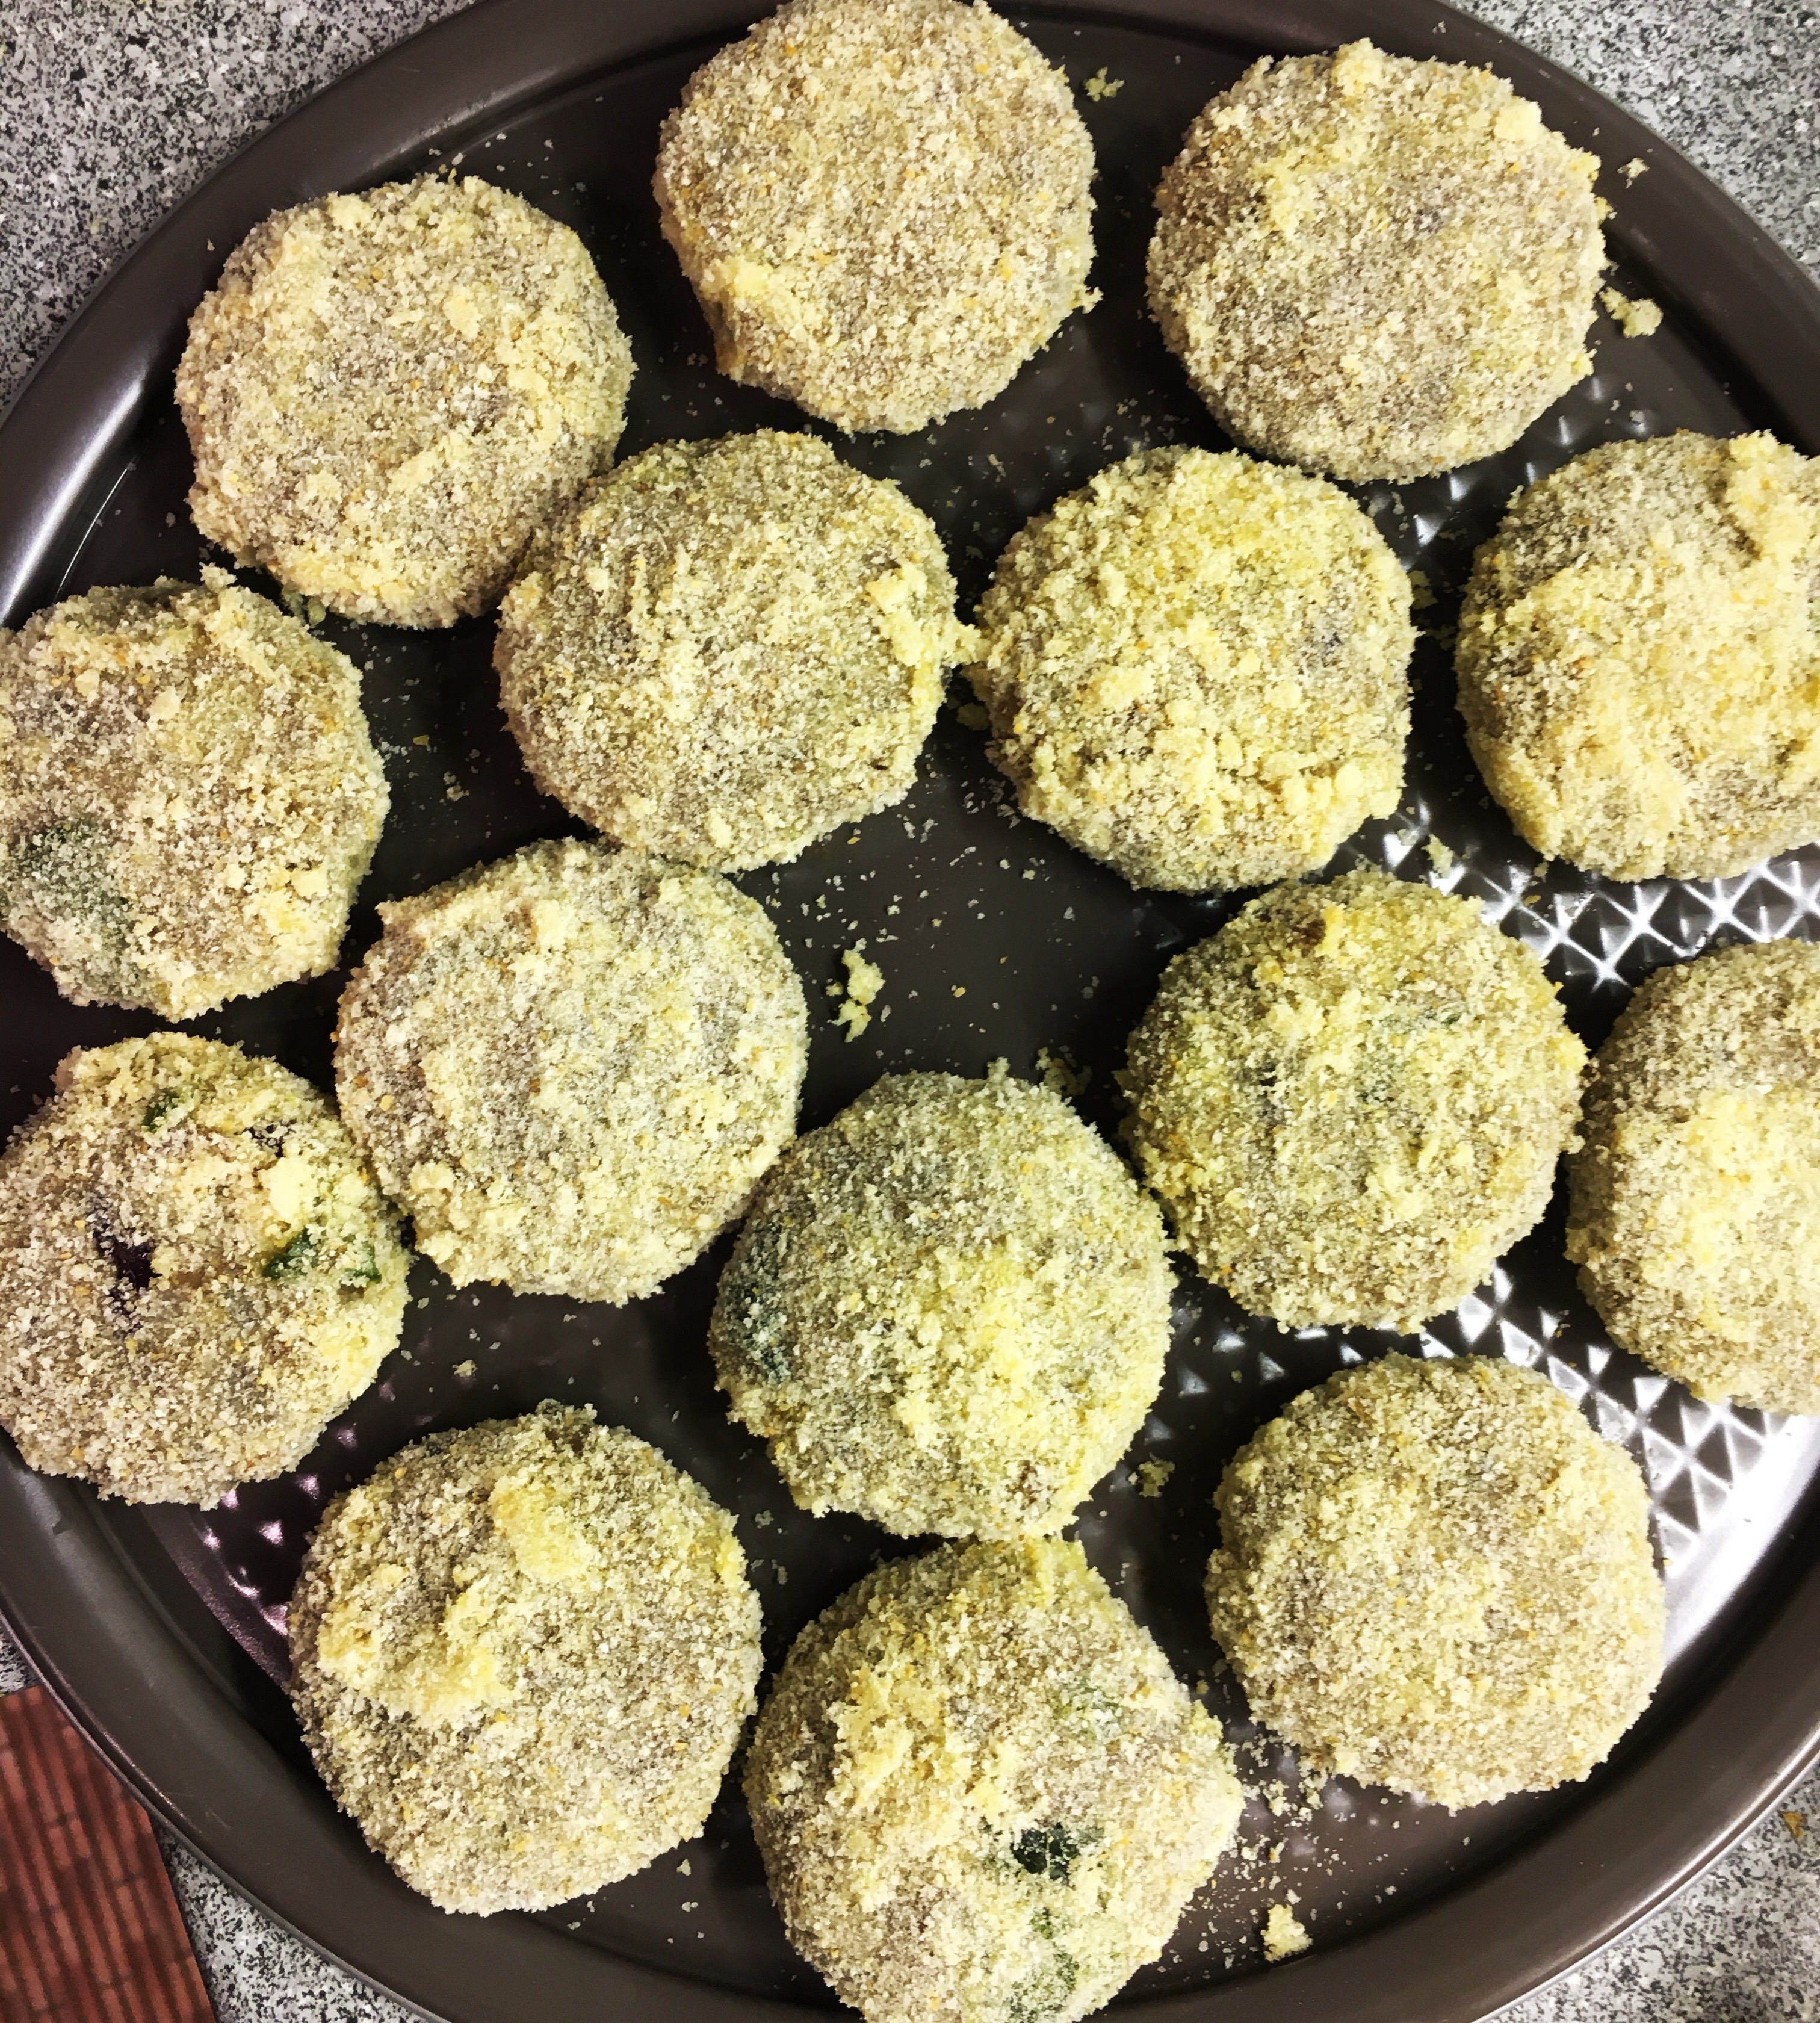
  6. Dip each of them into an egg wash and then promptly put in a bowl of breadcrumbs to make a coating all over.img_0679
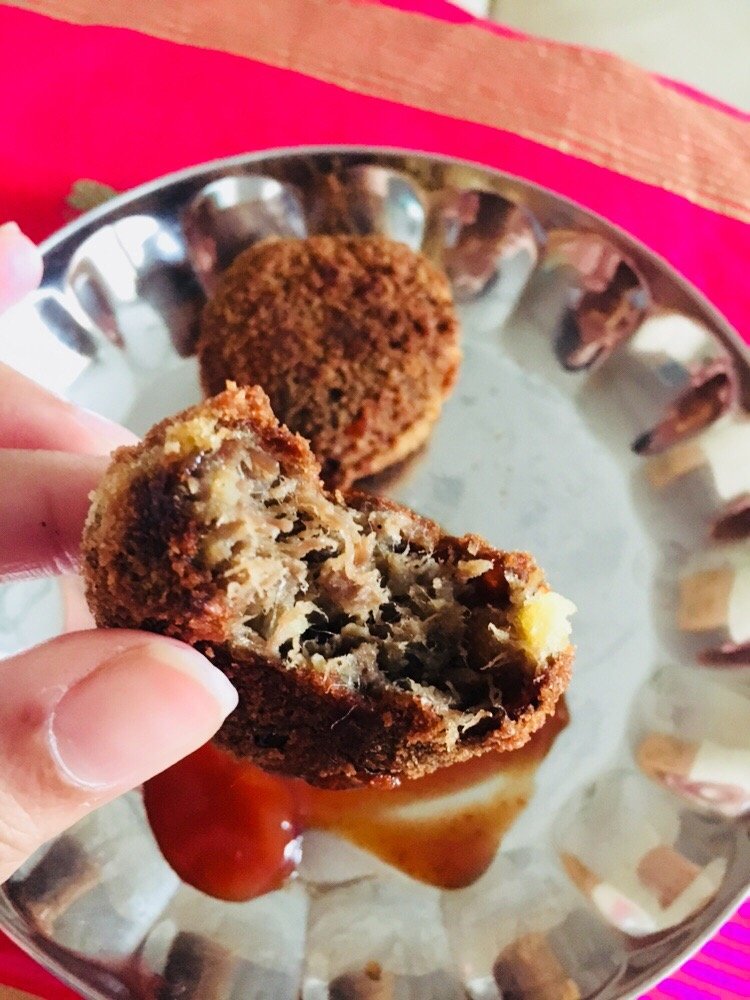
  7. Deep fry the cutlets in oil until both the sides are nice and brown and serve hot with ketchup.img_0564

Note: these cutlets after coated with the breadcrumbs stay well in the freezer for a month easily. You can make a big batch and leave them in the freezer, frying them as and when you need them.

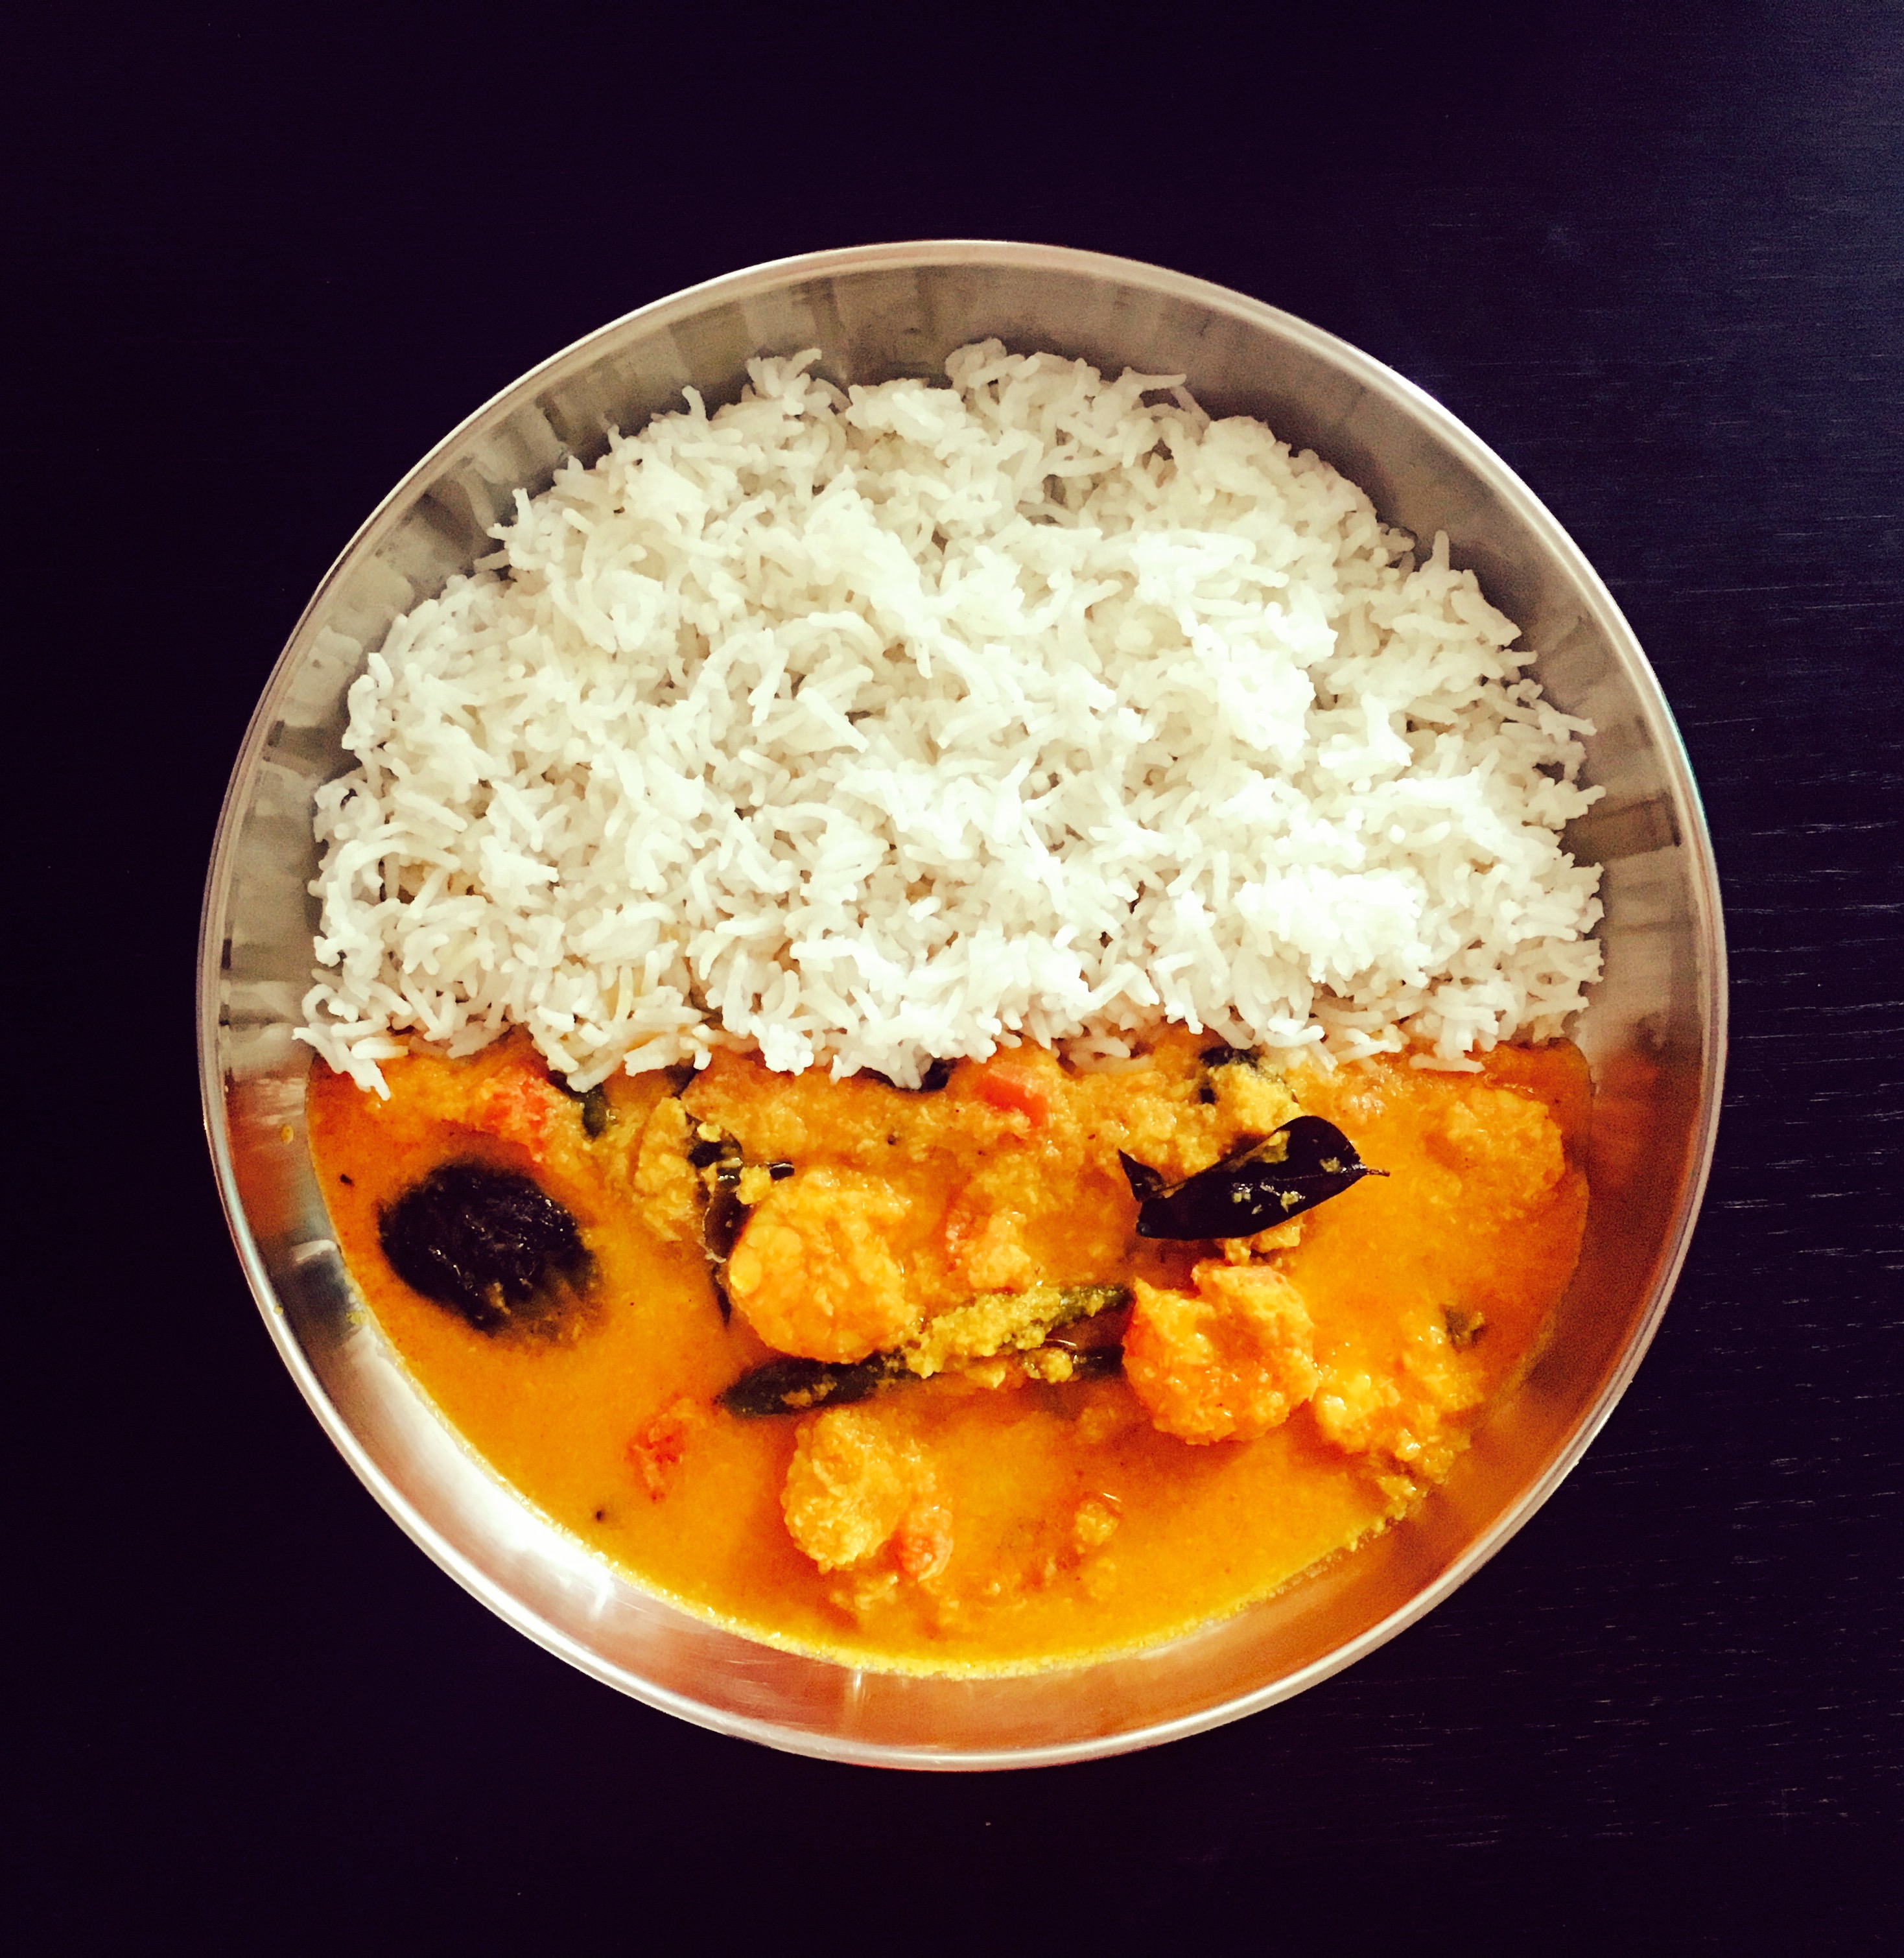
Coastal Style Prawn Curry

Anjali Venugopal July 31, 2017 2 COMMENTS

IMG_7229

My undying love for coastal flavours and cuisine is not the best kept secret. On the days I am not whipping up flavours from the seaside in the kitchen, take it for granted that my mind will be wandering far away, somewhere on pristine, white sands with a cool sea breeze on my face, salt on my lips, watching the waves wash against the shore, tirelessly. There is indeed something so comforting, so soothing about the ocean; especially in the dead of the night, under the moonlight.

Although it’d be criminal to whine, sitting in the beautiful city of Vienna, I cannot help but admit that I do sometimes miss the close proximity of the ocean and the fresh sea food that comes with the package of living by the coast. Anyway, today being one of my fidgety days when I can’t seem to find enough patience to put pen to paper, I am going to get down to business sooner than usual. This recipe is as easy as coastal cuisine gets. It is an authentic Kerala delicacy and may be prepared using prawns or fish. Another fact that may garner your interest is that you can fix on a south Kerala style or a north Kerala style depending on the variety of tamarind you use. Read on for more.

Things you will need:

  • Prawns- 500 gms
  • Grated coconut- ½ cup (even full fat desiccated coconut works fine)
  • Fenugreek seeds- ½ tsp
  • Turmeric powder- ½ tsp
  • Chilli powder- 1 tbsp (vary according to spice tolerance)
  • Tomatoes- 1 chopped roughly
  • Onion- 1 small
  • Green chillies- 3 slit
  • Ginger- a half inch stick
  • Malabar Tamarind/Cocum- 4-5 pieces soaked in water for 15 minutes. (If you would like to make this a south Kerala delicacy, instead of the cocum, take a gooseberry sized tamarind ball, soak it in water and take the juice)
  • Curry leaves- 2 sprigs
  • Cooking oil (I prefer to use coconut oil for the authentic flavour

How to go about it:

  1. Make a smooth paste out of the coconut, turmeric, chilli powder, onion, ginger and water enough to make it a loose paste.
  2. Heat 2 tbsp cooking oil in a wok, and allow the fenugreek seeds to splutter. Add the coconut paste to the wok with sufficient water to make a thick gravy. Add the chopped tomatoes, curry leaves, salt and slit green chillies. Add the soaked cocum pieces (or if you are using ordinary tamarind, add the juice to the gravy but make sure you reduce the water used to make the gravy, lest the gravy should be too watery)
  3. Add the cleaned prawns to the gravy, mix well, bring to a boil and leave the gravy to simmer for about 20 minutes keeping the wok closed.
  4. Your prawn curry is ready to be served with steamed white rice, or idiyappams (string hoppers) 🙂

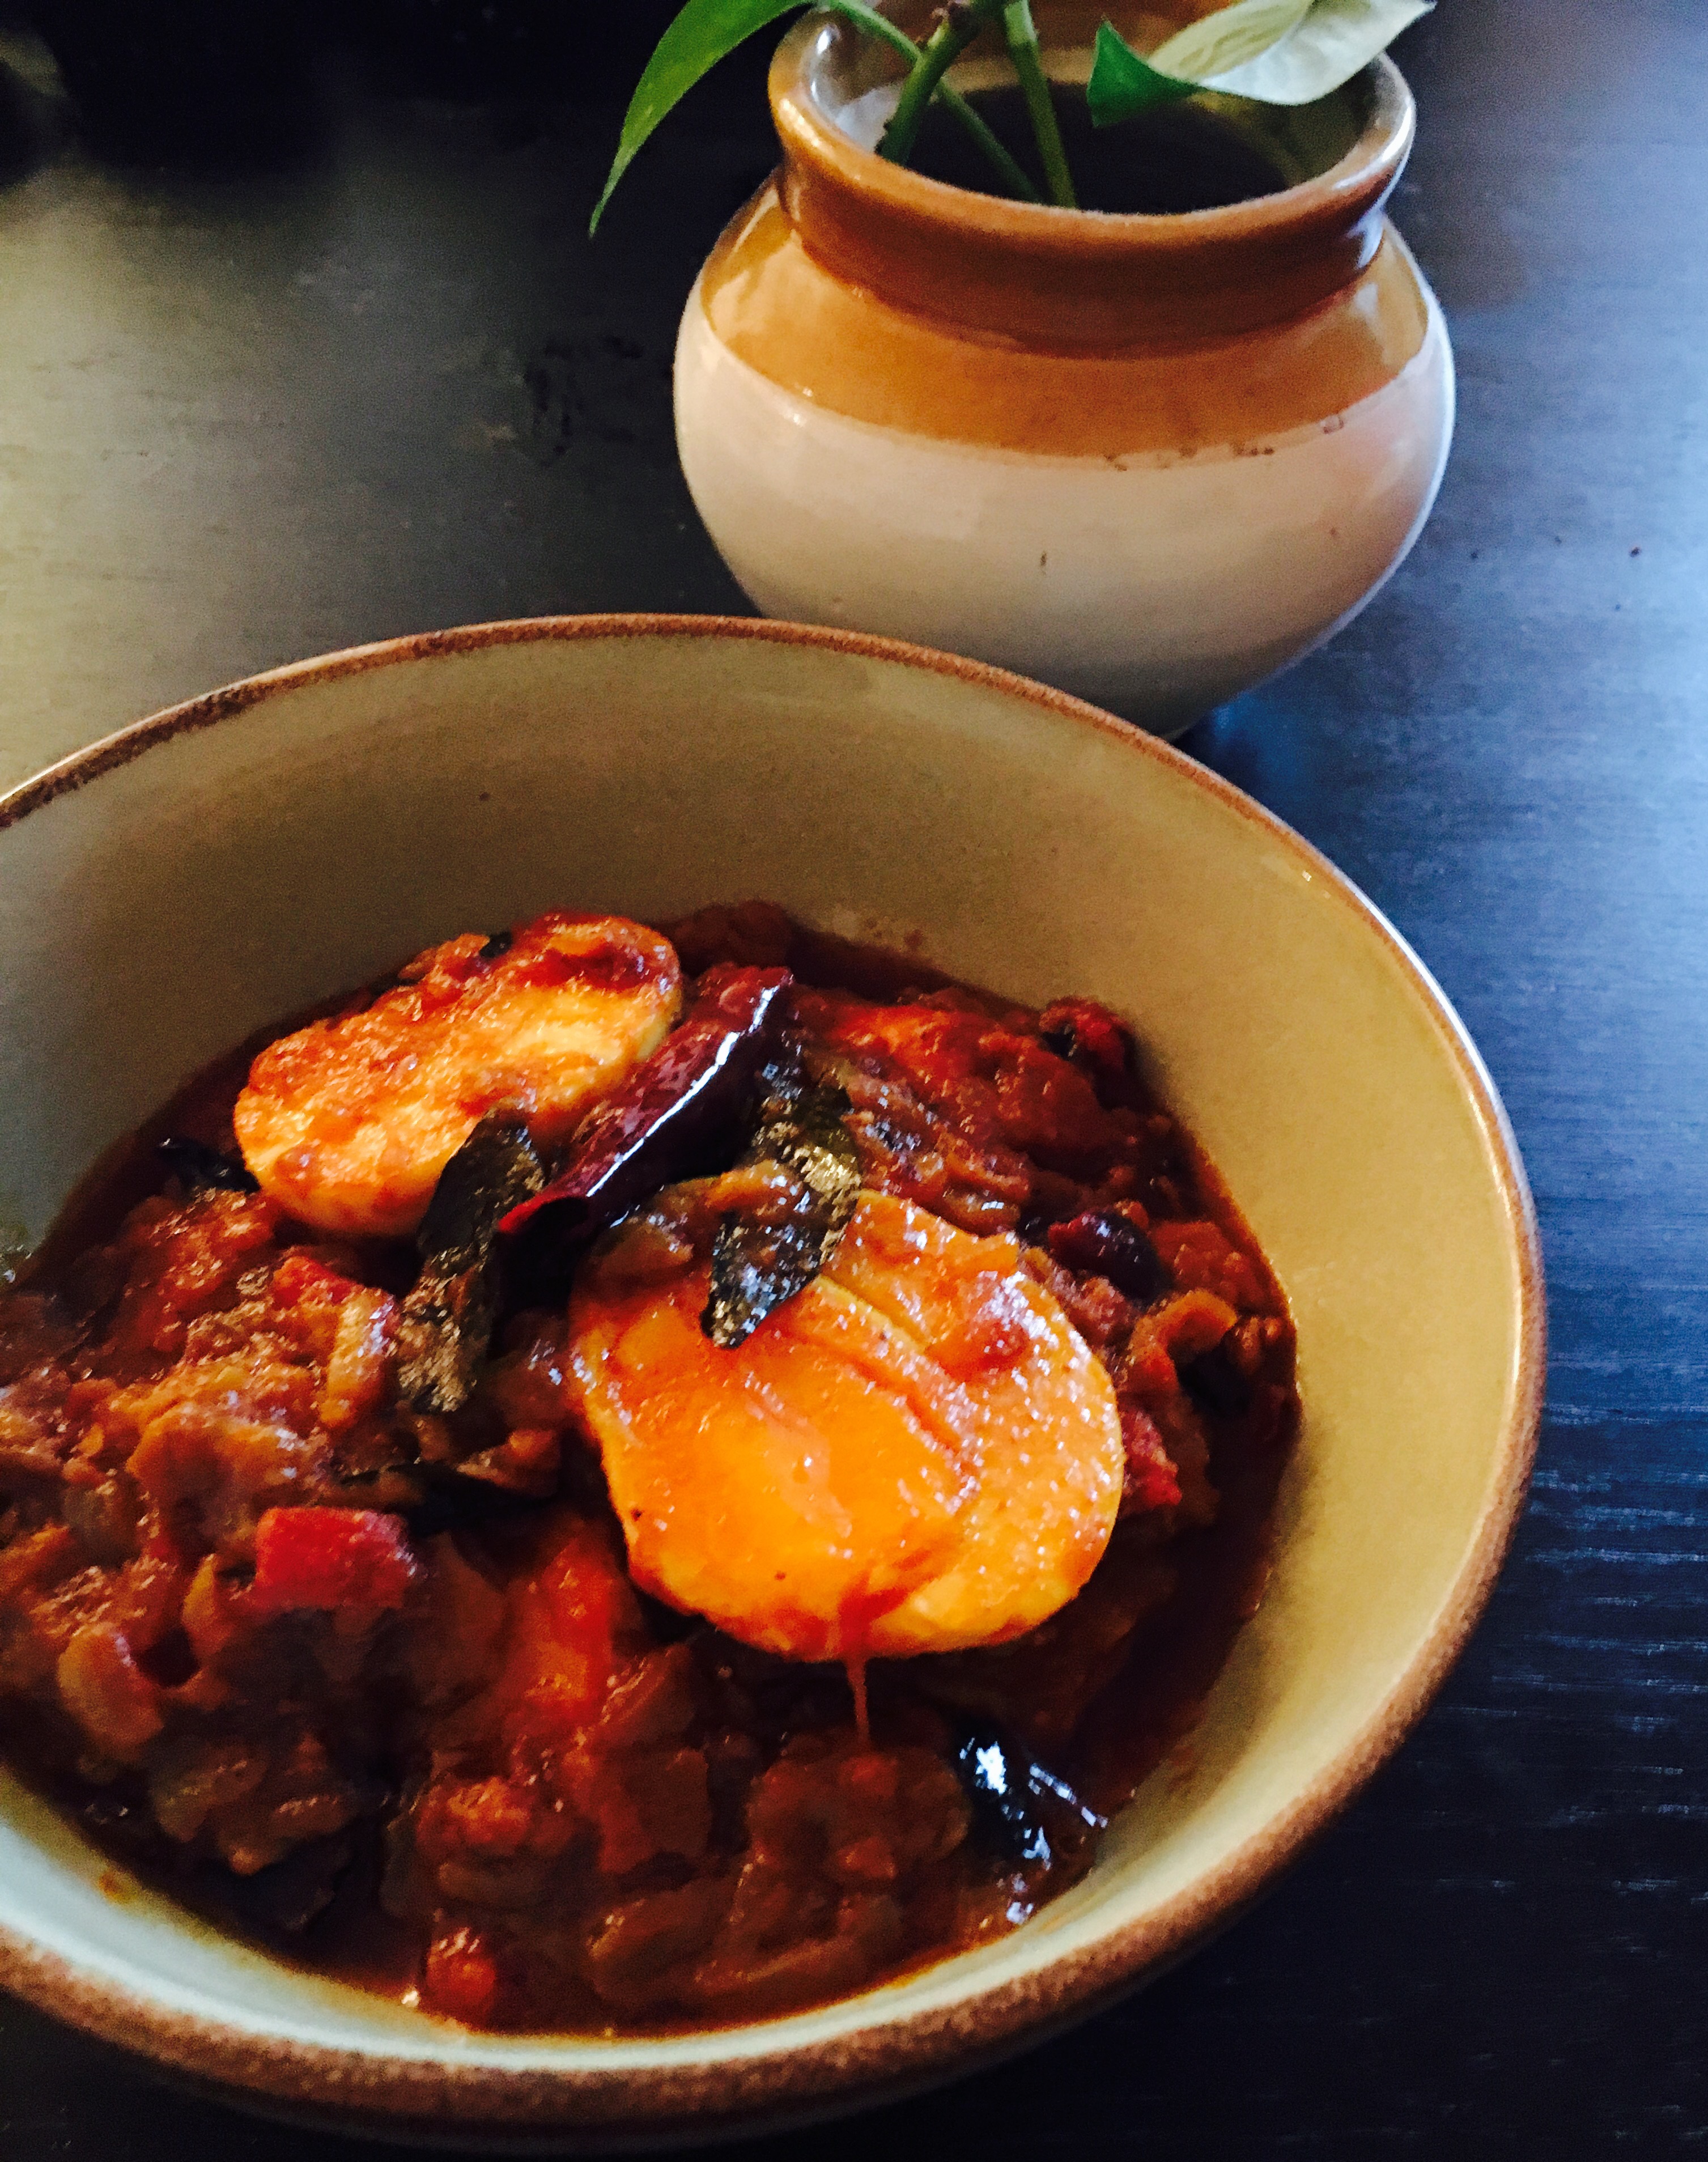
Kerala Style Egg Roast or Tamizhan Muttai Thokku

Anjali Venugopal July 15, 2017 NO COMMENTS

IMG_6541

Since I had decided to spend a quiet Saturday at home, I was just going about making my breakfast, listening to some Bollywood numbers from the early 2000s, singing along with the lovely Sunidhi Chauhan as she breathed out “bhaage re mann kahi..” in her husky, soulful voice. Before I realized, I found myself reminiscing about the umpteen bus journeys I have been on, in those “volvo buses” as we prefer to call all the enormous multi axel buses (irrespective of their actual manufacturer) we resort to, especially for overnight, inter-state travel.

As odd as it may sound to a lot of you, I have always been a fan of overnight travel in these semi sleeper buses. I have lost count of the number of times I have sat through the night, by the window, watching the silhouettes of the trees lining the highway in the dark; the lone house far away with an oil lamp flickering on the verandah; fleeting glimpses of men in groups of 3 and 4 walking back home, maybe after a glass or two of local country liquor (assumptions, assumptions). It was on these journeys that I undertook, most of the time on my own, that I got a lot of my thoughts in order. There was always something soothing, something comforting in sitting by those glass windows of the bus spending sleepless nights, watching the short-lived sights on the highway glistening in the moonlight; something that nudged the child in me while I spent hours racing with the moon; something that whispered to me to stay patient and that the choppiness of sea had to end at some point and that calm would inevitably prevail.

I remember vividly how travelling overnight on one of these buses was my escape route every time I felt the need for some solitude to get the calm restored. Those were the days when I quite literally loved the journey much more than the destination. I would invariably have a list of things to sort out in my head, that would take hours of arguing with myself, beating myself up, shedding a few tears and in the end pacifying myself right before feeling rejuvenated to take on the world and all it had to throw at me, all over again. By sunrise, when the skies turned a lovely hue of violet and blue, before turning into that lovely shade of pink I would without fail have had the rosiness in life restored.

Having said that, there is one other thing I have always looked forward to especially on my journeys from Trivandrum to Bangalore. The food. Amma has always (every single time) packed a yummy dinner for me every time I was travelling from home. More often than not, it would be a couple of soft chappatis and a spicy beef roast. I would be thinking about the tight package in aluminium foil, even before I got on to the bus. And I shall shamelessly admit to you at this point, that I would gobble it up as soon as the driver turned on the engine, which means I would be starving by the time 8PM (which is dinner time for normal souls) came a knocking.

I seldom had reason to fret because the bus would take a halt for dinner and on the Trivandrum Bangalore route, it was almost always at Haripad, the little township in Alapuzha district, home to great, authentic Kerala cuisine. As soon as the bus would stop at a little run down shack on the wayside, I would be the first to fly out of the door, quite contrary to the demeanour that is expected out of a young lady travelling alone in my part of the world. I would just not give two hoots to the looks and the stares that have been meted out to me for daring to look like anything but a docile house cat because only the women who travelling with their husbands or fathers or brothers were expected to step out of the bus as late as..wait for it..8pm.

I would find for myself a cozy nook in the shack and call for a plate of hot, soft, lacy, appams along with a plate of steaming hot, spicy egg roast or chicken curry. I don’t think I have it in me to put into words the emotion that every bite of those super soft appams dunked liberally in the hot gravy engulfed me in. You have to experience the raw culinary skill hidden in these run down shacks to believe it. Nothing I write will do justice to the love that is served as food in these little joints.

Today I share with you the recipe to the Kerala Egg Roast which is almost as the same as the Tamizhan Muttai Thokku. It is a hearty, semi gravy dish with spells out comfort for all the days you are feeling meh. Super easy and totally worth the negligible amount of effort it takes.

Things you will need:

  1. Eggs- Hard boiled and halved- 4
  2. Onions- 2 medium sized, chopped finely
  3. Garlic- 2 big pods minced
  4. Tomatoes- 1 large, chopped finely
  5. Turmeric powder- ½ tsp
  6. Chilli powder- 2 ½ tsp (I use the normal chilli powder, but feel free to use Kashmiri chili in case you are not up for some heat)
  7. Coriander powder- 2 tsp
  8. Garam masala powder- ½ tsp (available in all indian stores)
  9. Cumin seeds- ¼ tsp
  10. Black Mustard seed- ½ tsp
  11. Dried red chillies- (the large ones that is used for tempering) 2 or 3
  12. Curry leaves- 1 sprig


How to go about it

  1. In a wok, heat some oil on medium heat. Splutter the mustard seeds, cumin seeds, dried chillies and curry leaves. Sauté the chopped onions and sufficient salt till they turn soft and a nice golden brown. Should take about 7 minutes. Please feel free to keep sautéing because well cooked onions is what gives this recipe the flavour.
  2. Add the minced garlic, sauté for about 2 minutes, until the raw smell is lost. Add the tomatoes, mix well and keep the wok closed for about 2 minutes. After that, open the wok and keep sautéing till the tomatoes are mashed well and the onion tomato mixture start to look homogenous.
  3. Add the masala powders to this and keep sautéing till the oil starts to leave the sides of the gravy. Add some more oil if the mixture starts to look too dry. Sauté for about 5 full minutes.
  4. Add half a glass of water to this, mix well. Add the boiled and halved eggs to the gravy. Make sure you don’t stir excessively and mash the eggs up. Be easy on the eggs, coat them with the thick gravy, close the wok and let it simmer for about 4 minutes.
  5. Open the wok, if the gravy looks nice and thick, your Kerala style egg roast is ready to be served with chappatis, appams or idiyappams. Dig in 🙂